Quick Links
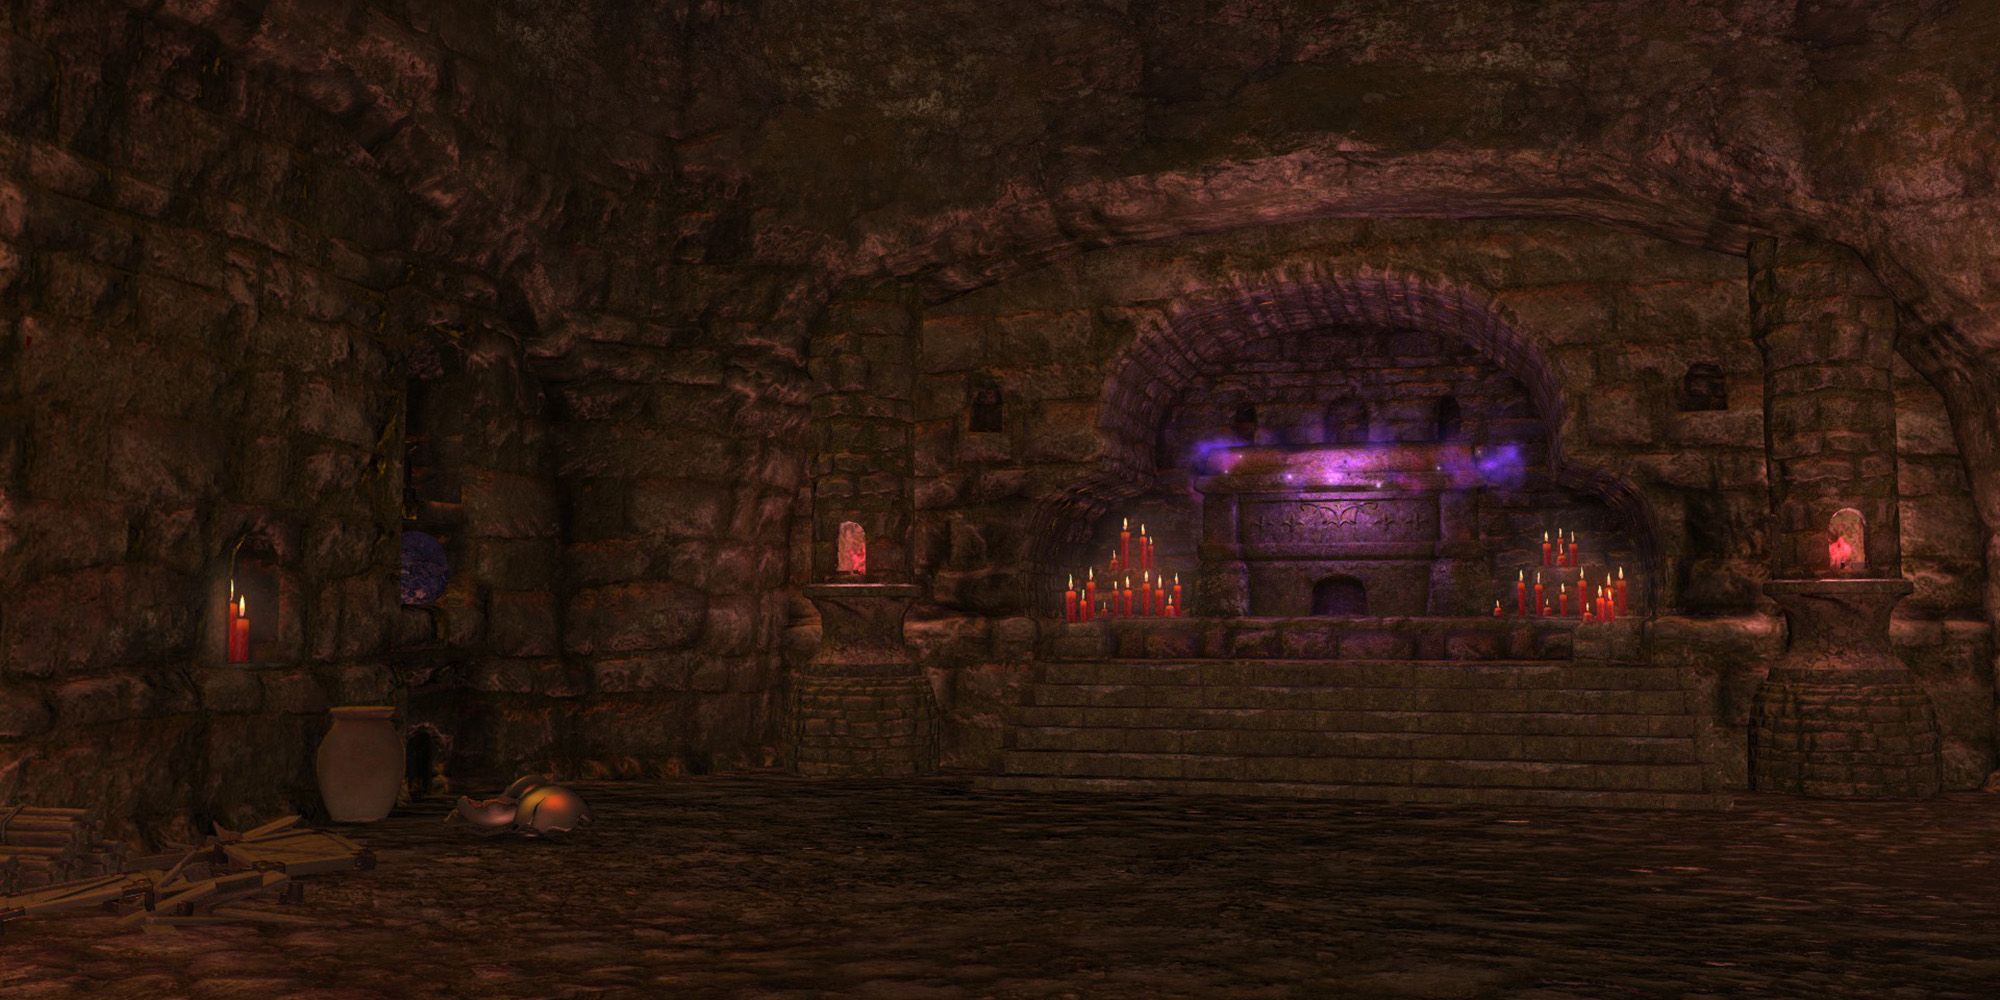
The Tam-Tara Deepcroft (Hard) is an optional level 50 dungeon in Final Fantasy 14. In this dungeon, you will return to the Tam-Tara Deepcroft to attend the wedding of Edda and her beloved Avere, who you previously witnessed the beheading of. Worried for his friend, Paiyo Reiyo urges you to venture inside the dungeon and find Edda before it's too late.
Although the scenery is similar to the original Tam-Tara Deepcroft, the Hard version of this dungeon has entirely new bosses and mechanics. Once you're prepared to face the horrors of this dungeon, let's take a look at each boss you'll fight inside, their attacks and mechanics, and how to beat them.
How To Unlock The Tam-Tara Deepcroft (Hard)
This dungeon can be unlocked by accessing the following side quest.
- Accept the quest 'Corpse Groom'
- NPC Location: Paiyo Reiyo - Ul'dah - Steps of Nald (X:12.2, Y:8.1)
This quest will appear after completing the Main Scenario Quest 'The Ultimate Weapon'.
Dungeon Walkthrough
In the first section of the Tam-Tara Deepcroft (Hard), you will encounter Usher-type enemies that are tethered to other enemies in the area. The tether makes the Usher invulnerable to attacks, so kill the enemies it's tethered to first. After the Usher is down, you'll be able to proceed to the next area.
After defeating the first boss, you will enter the crypts of the dungeon. Open each Defiled Coffin and kill the enemy that appears to proceed. Keep in mind that the player who opens the coffin will be inflicted with Terror for a few seconds, preventing them from moving or attacking. The summoned enemies can also inflict Terror with a large circle AoE attack.
In the third section of this dungeon, before the final boss, you will encounter glowing yellow orbs that float around the arena. Moving near one of these orbs will cause an AoE attack to appear. Simply move out of this AoE, and don't worry about clearing the orbs from the area, as they will shortly respawn.
Liavinne
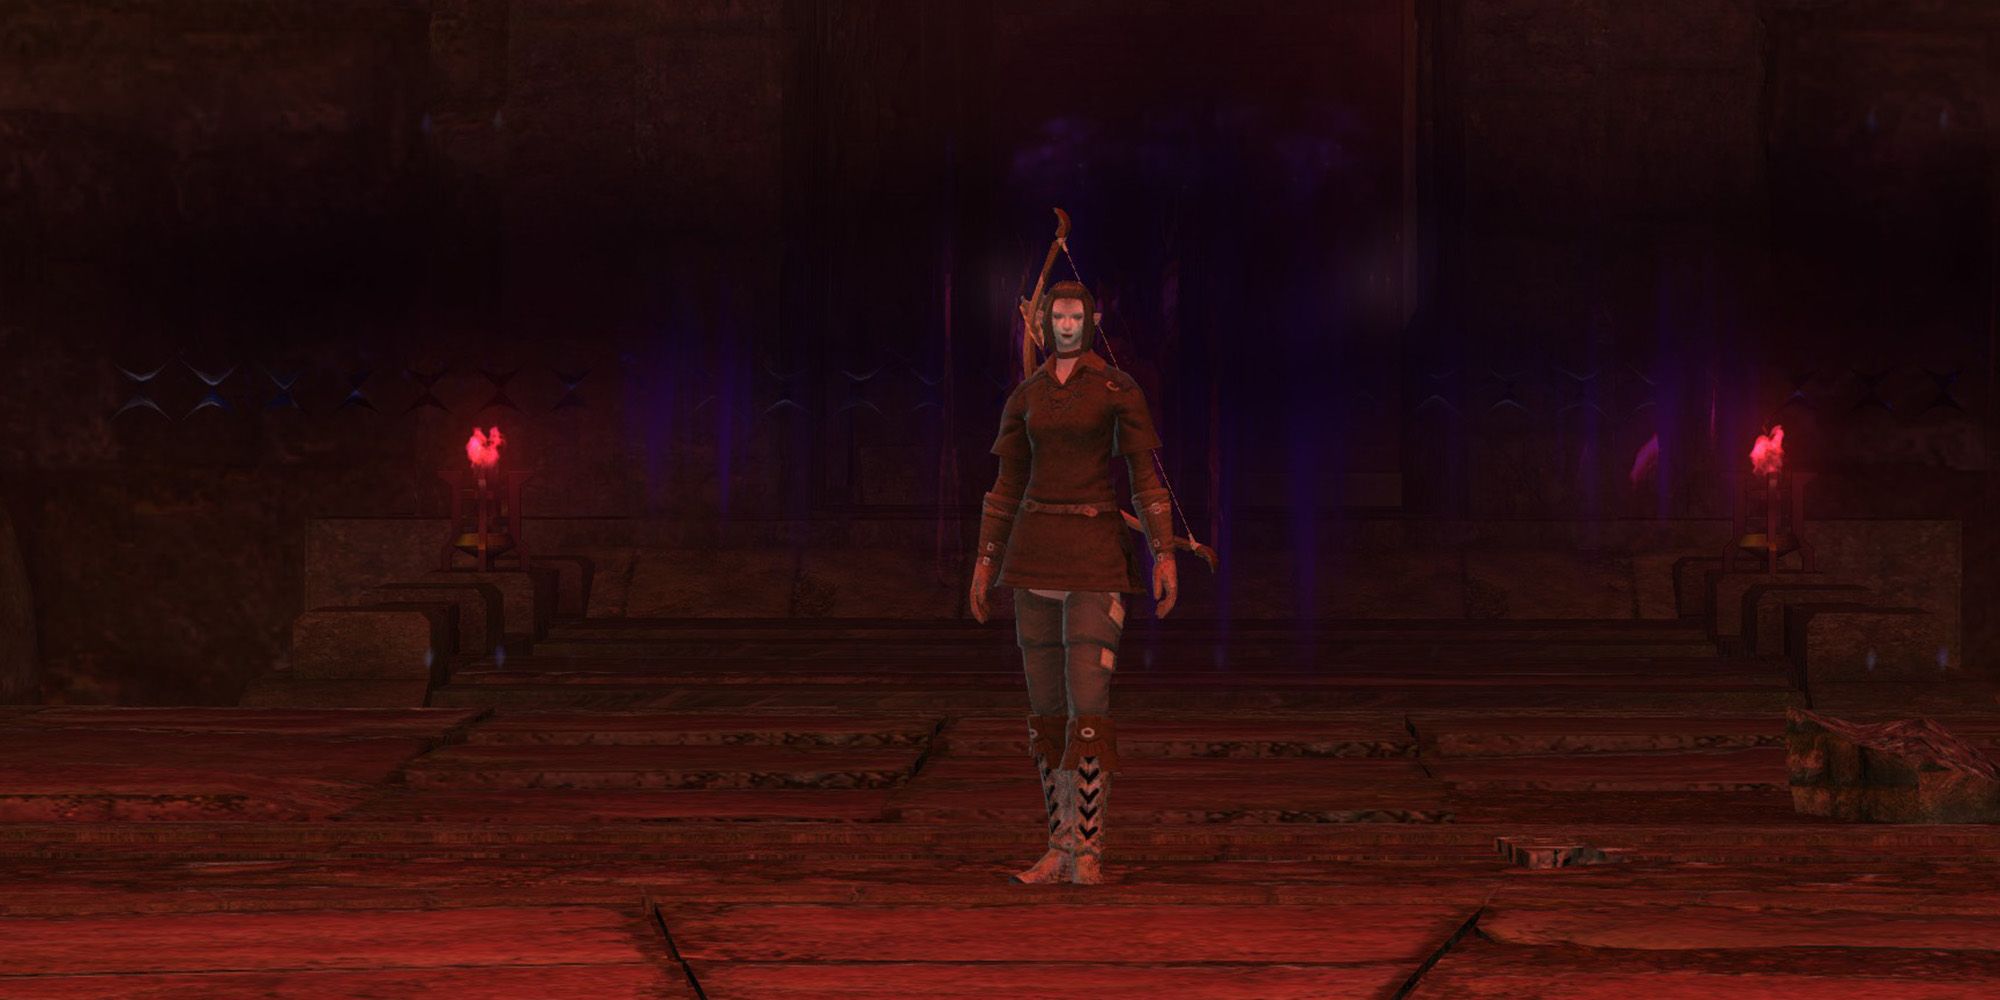
The first boss of the Tam-Tara Deepcroft (Hard) is Liavinne. Throughout the fight, Best Man and Bridesmaid enemies will appear and attack certain players. Liavinne's attacks and mechanics are detailed below.
- Quick Nock: Liavinne will deal damage in a conal AoE to her front. The Tank should face the boss away from the rest of the party to avoid hitting them with this attack.
- Inhumanity: Liavinne will deal damage to a player, then summon several Best Man and Bridesmaid enemies. These enemies will target the player marked with Inhumanity. Shortly after Liavinne casts Inhumanity, she will use Rotting Arrow and Tantrum.
- Rotting Arrow: Liavinne will target a random player with a large circular AoE marker that deals damage in the area. This attack will also kill the Best Man and Bridesmaid enemies in the AoE.
- Tantrum: Liavinne will deal damage to all party members and summoned corpses. When the Best Man and Bridesmaid enemies die to Tantrum, their corpses will explode, dealing high damage in the area and inflicting Vulnerability Up.
- To prevent this, the player targeted with Rotting Arrow should move to the player targted by Inhumanity, so that the AoE covers all summoned corpses, destroying them when Rotting Arrow deals damage.
Liavinne will repeat these mechanics until she is defeated. When the Best Man and Bridesmaid enemies are summoned, don't bother attacking them directly, as the damage from Rotting Arrow will instantly kill them. Be sure to kill all corpses in this way before the boss casts Tantrum.
Spare Body
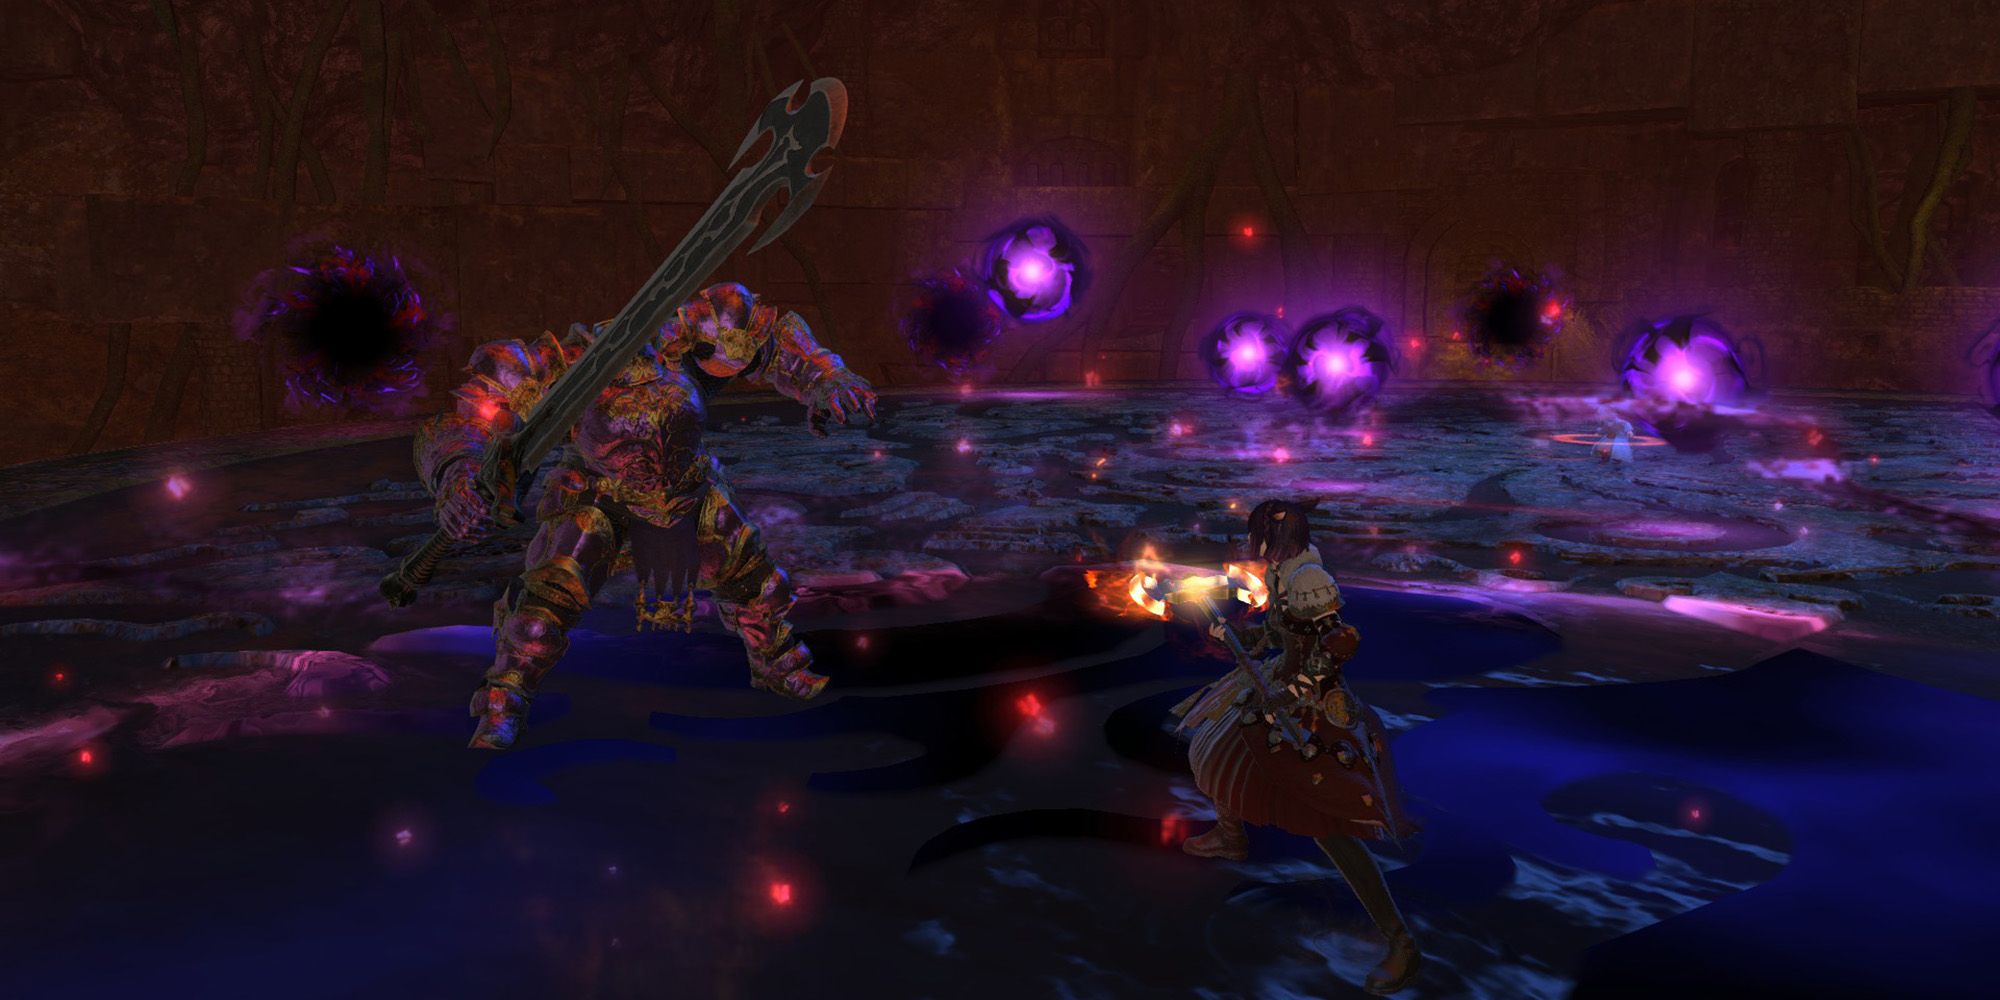
The second boss of the Tam-Tara Deepcroft (Hard) is the Spare Body. Paiyo Reiyo will remain in the center of the arena throughout the fight, and your objective is to prevent him from taking damage. Void Gates around the arena will periodically unleash Nameless Spirits that move towards Paiyo Reiyo. If the Spirits hit Paiyo Reiyo, he will take damage, and the Spare Body will gain a stacking damage buff and grow in size.
To prevent this, players should run into the Spirits before they reach the center, prematurely detonating them. Detonating a Nameless Spirit will deal damage in the area, so the Healer should be prepared to recover the party's health.
- Iron Justice: The Spare Body will deal damage in a short cone AoE to its front. The Tank should face the boss away from the rest of the party to avoid hitting them with this attack.
- Cloudcover: The Spare Body will target a player with an AoE attack, placing a Void puddle beneath them that deals damage over time. Avoid standing in this puddle while you deal with other mechanics.
- Black Nebula: If the Paiyo Reiya is hit four times by the Nameless Spirits, the Spare Body will cast this attack, dealing lethal damage to all party members.
The Spare Body will repeat these attacks until it is defeated. The Tank should keep the boss away from the party while the Healer and two DPS players run into Nameless Spirits.
Avere Bravearm
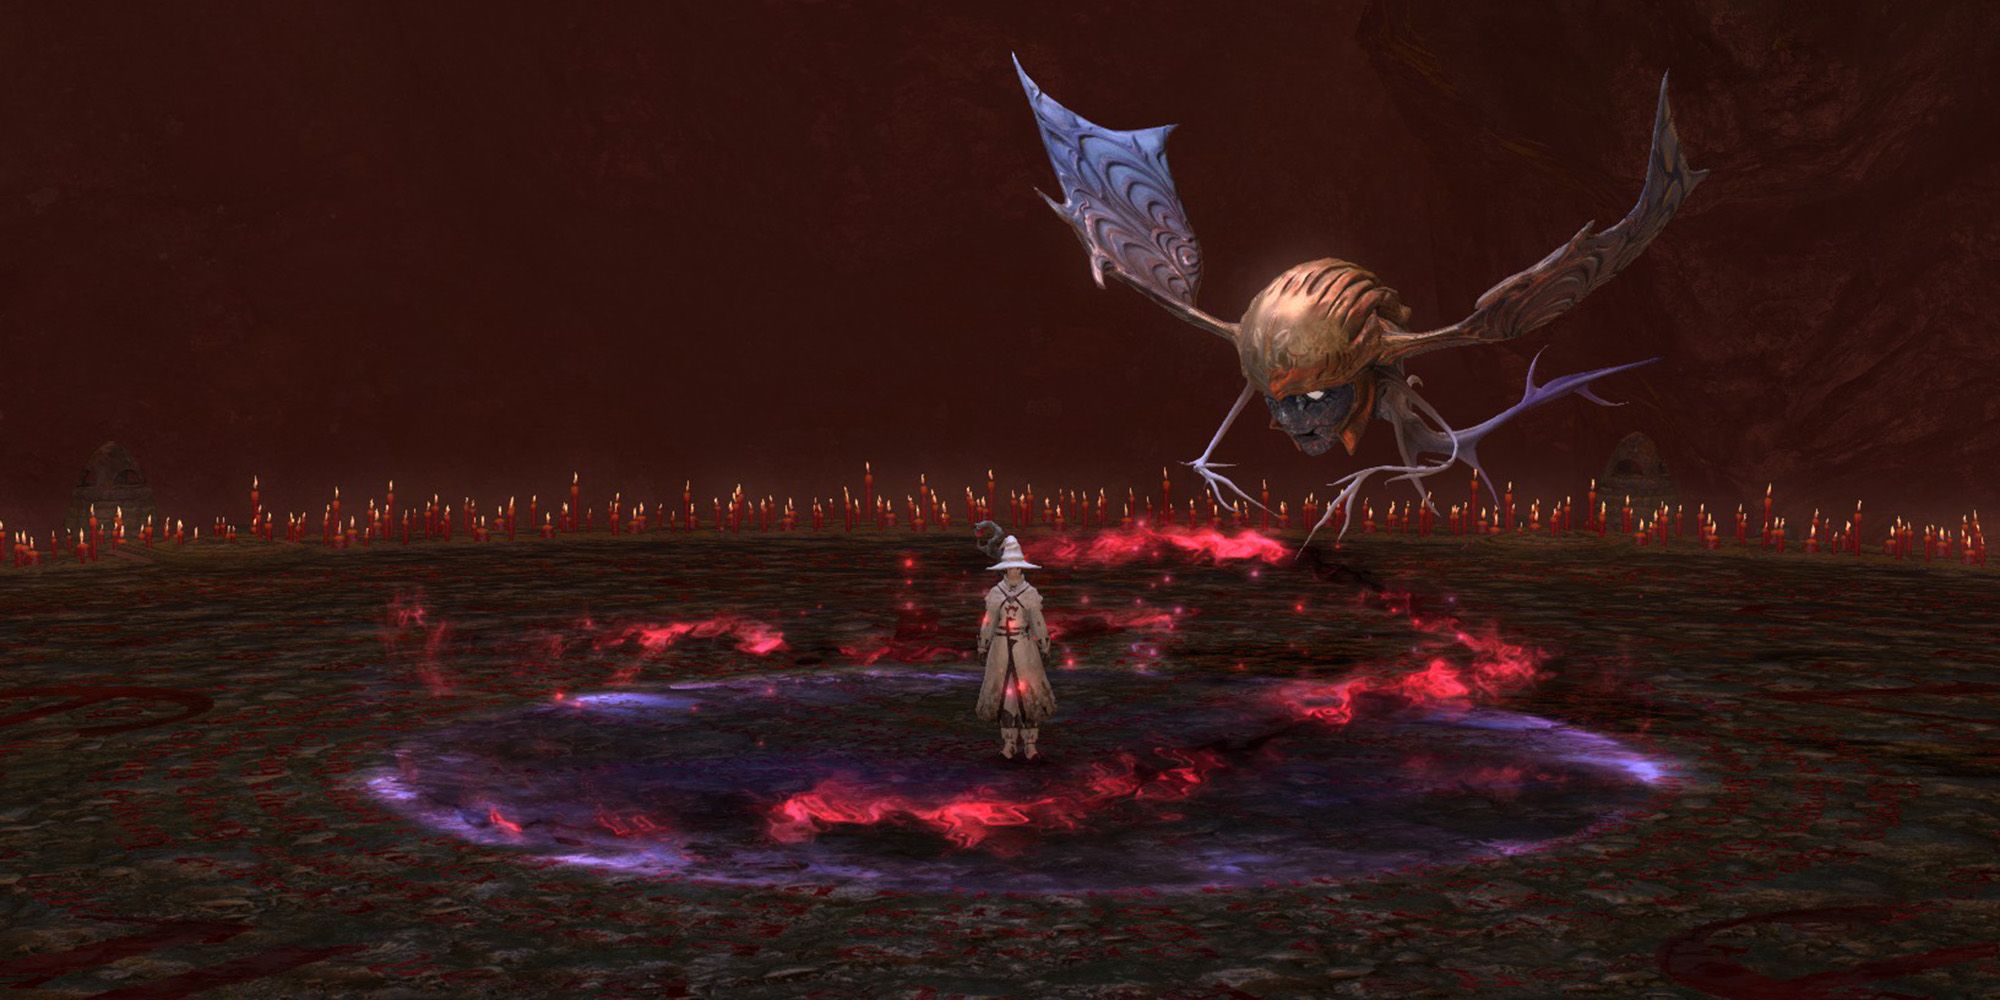
The final boss of the Tam-Tara Deepcroft is Avere Bravearm. Similar to the previous boss fight, several Void Gates are positioned around the arena during this fight. Edda will remain in the center of the arena throughout the fight, and a puddle surrounding her will inflict Bleeding if you step inside it. Avere Bravearm and Edda's attacks and mechanics are detailed below.
- Eyes for You: Avere Bravearm will deal damage in a short cone to his front. The Tank should face the boss away from the rest of the party to avoid hitting them with Eyes for You.
- Void Gates: As mentioned above, various enemies will be summoned through the Void Gates throughout the fight.
- Gargoyle: This untargetable enemy will cast Desolation, a long line AoE that deals moderate damage. Desolation will target players at random, and can cause multiple overlapping line AoEs to appear around the arena. Move to the safe spot between lines to avoid these attacks.
- Flying Gargoyle: This untargetable enemy will cast Terror Eye, dealing damage in a circle AoE targeted at random players. Similar to the previous enemy, move out of the AoE indicators to avoid taking damage.
- Groom-to-be: These enemies will appear from the Void Gates and slowly move towards Edda in the center of the arena. If they reach her Bleeding puddle, she will absorb them, lighting up one of the runes around the puddle. Then, she will cast Red Wedding, dealing damage to all party members. The damage of this attack increases with the number of runes that have been activated.
- To prevent Red Wedding from dealing increasing damage, kill the Groom-to-be enemies before they reach the center.
- Head Over Heels: The boss will deal damage to its primary target, healing for the amount of damage done. This attack is unavoidable, but doesn't heal the boss very much.
Avere Bravearm and Edda will repeat these mechanics until they are defeated. Be sure to kill the Grooms-to-be as quickly as possible, or else Red Wedding's damage can quickly become lethal. Additionally, more enemies will appear from the Void Gates as the fight progresses, so be ready to dodge lots of line or circle AoEs at once.


