Quick Links
Hullbreaker Isle (Hard) is a level 60 dungeon in Final Fantasy 14: Heavensward: Originally added in patch 3.2, this optional dungeon will have you return to Hullbreaker Isle, an island off the coast of Lower La Noscea that was once home to the legendary Mistbeard's treasure.
Now, Maelstrom Command has transformed the once mist-covered island into a training ground for new recruits, and they are asking you to be the first to test it out. Let's take a look at each boss you'll encounter in the Hard version of Hullbreaker Isle, their attacks and mechanics, and how to beat them.
How To Unlock Hullbreaker Isle (Hard)
Hullbreaker Isle (Hard) is unlocked through the following quest.
- Accept the quest 'Storming the Hull'
- NPC Location: Denston - Limsa Lominsa Uppder Decks (X:11.0, Y:10.4)
This quest will only appear after completing the Main Scenario Quest 'Heavensward', and the side quest 'King of the Hull', which involves clearing the normal version of Hullbreaker Isle.
Dungeon Walkthrough
In the first section of this dungeon, circles of light will appear while you fight trash mobs. These will buff the enemies attack and cast time, making them deal more damage. Move the enemies out of the light so the Healer doesn't have to heal as much.
Near the end of the dungeon, you will face Storm Commander Rhiki, a mini-boss just before the final boss. This enemy will inflict a slash attack vulnerability up debuff on the Tank, increasing the damage they take from all attacks. The Healer should be prepared to recover the Tank's health during this small fight.
Maelstrom Trial
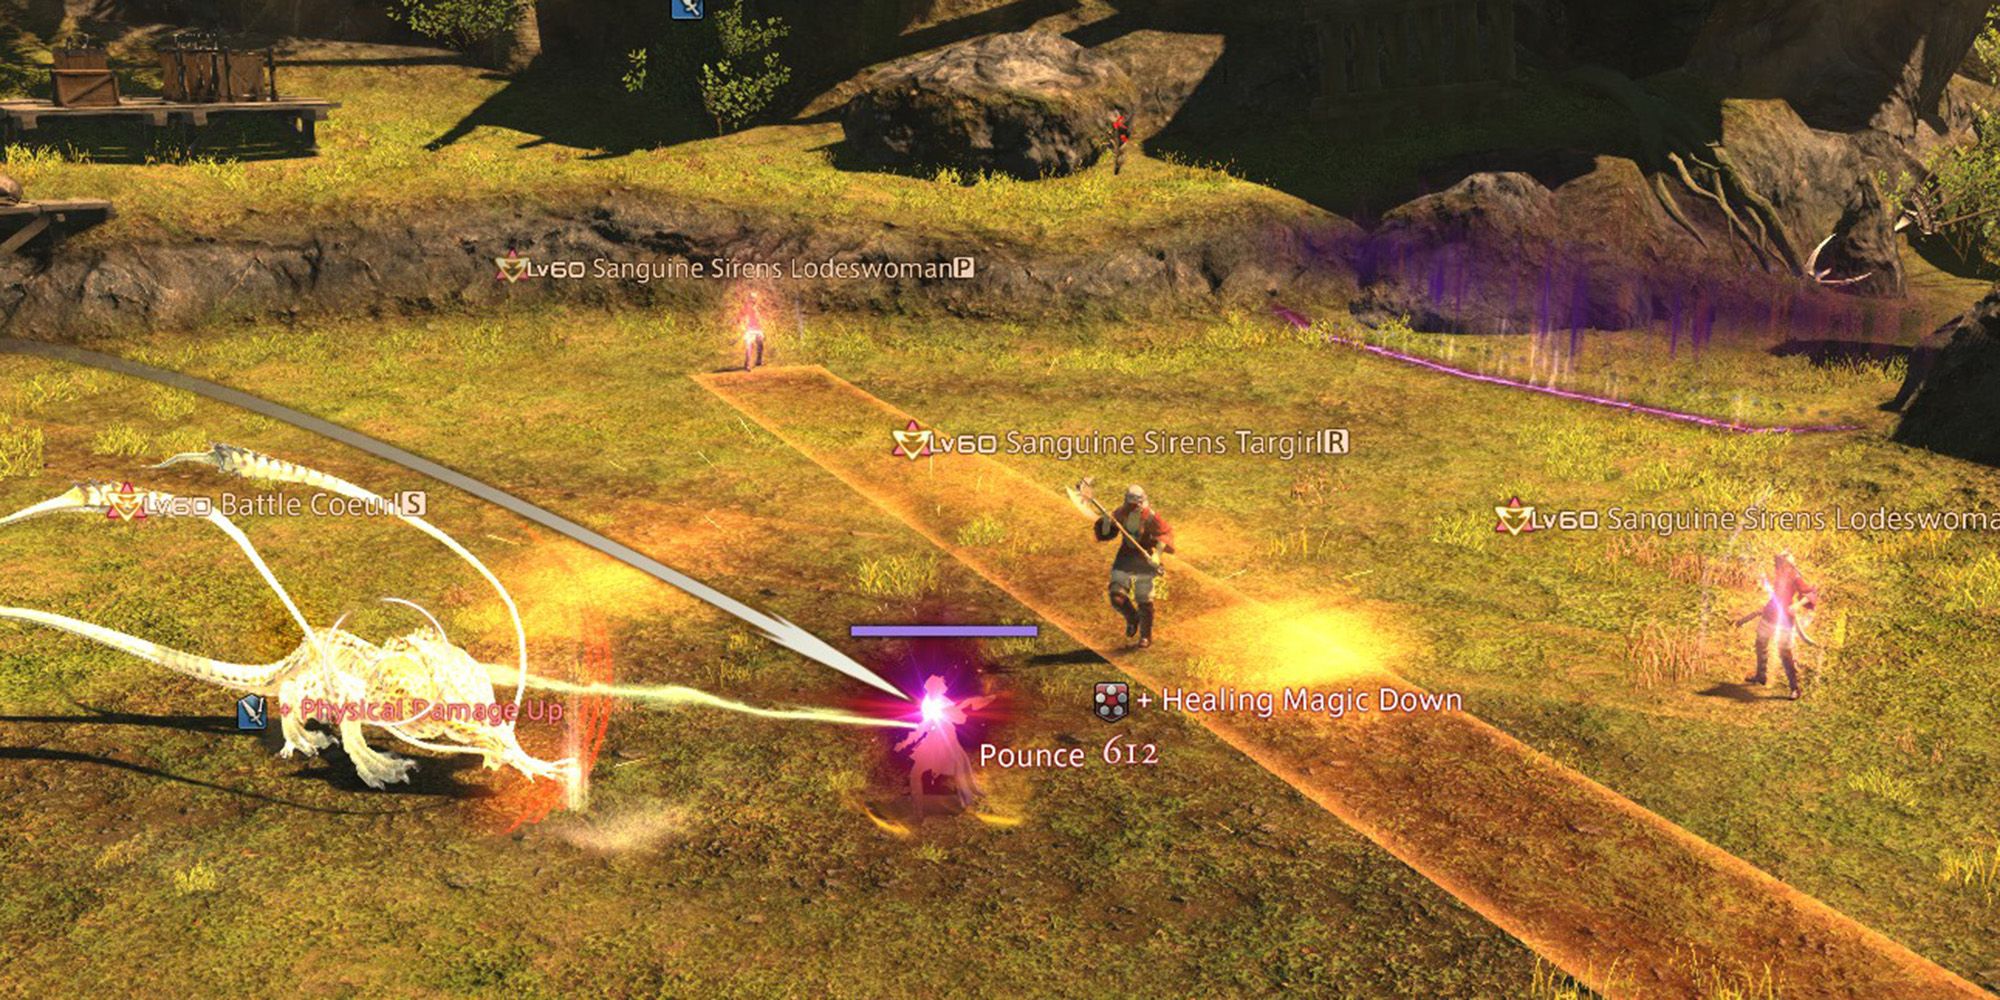
The first boss of Hullbreaker Isle (Hard) is actually a series of battles against various enemies. Overseen by Captain Rhoswen, you will face waves of different enemies that will each use different attacks. As you dodge line and circle AoEs, watch out for the Battle Coeurls that will periodically spawn. These enemies will tether to the healer and repeatedly attack them. Focus on defeating the Coeurl when it spawns.
Other than that, this fight is basically an extended trash pull. Group up enemies, heal through their attacks, and dodge AoEs as you defeat each one. After all the adds are down, you are free to progress further into the dungeon.
Ymir
The second boss of Hullbreaker Isle (Hard) is Ymir. This snail will use the following attacks and mechanics.
- Blanket Thunder: Ymir will deal damage to all party members, then chain two players together with a lightning chain. This chain will deal damage over time to both tethered players, but can be broken by moving far away from one another. Move to opposite ends of the arena from the tethered player to break the chain.
- Megavolt: Ymir will create mud puddles around the arena that inflict Fetters if entered, making you unable to act. Then, Ymir will begin casting Megavolt, which deals high damage to all players. To avoid this attack, move into one of the mud puddles. This will negate the damage of the attack at the cost of you being unable to attack or move while in the mud.
- Flash Freeze: Ymir will cover the arena in slippery ice, forcing you to slide uncontrollably when attempting to move. Then, Ymir will cast Iceberg on all players.
- Iceberg: Targets all players with an ice circle AoE. After the AoE explodes, it will leave behind an Iceberg on the arena that will explode again after a few seconds, dealing damage in the area. All players should spread out from each other to avoid overlapping this attack before quickly moving to the other side of the arena to avoid the Iceberg explosion.
Ymir will repeat these attacks until it is defeated. Later in the fight, Ymir will cast Megavolt during Flash Freeze, making it more difficult to get into the mud puddle. Keep this in mind when the arena is covered in slippery ice.
Grand Storm Marshal Slafyrsyn
The final boss of Hullbreaker Isle (Hard) is the Grand Storm Marshal Slafyrsyn.
- Galadion Ram: Deals damage in a cone to the front of the boss. The Tank should face Slafyrsyn away from the rest of the party to avoid hitting them with this attack.
- Maelstrike: Deals damage to all party members. Recover with AoE healing.
- Ghomoro Splitter: Creates AoE circles around the arena. Move out of the AoE indicators to avoid.
Around 80 percent health, Slafyrsyn will transform into Mistbeard, gaining access to a variety of new attacks and mechanics.
- Spread Shot: A short cone AoE targeted towards the Tank. Similar to Galadion Ram, the Tank should face Mistbeard away from the rest of the party.
- Poison Mist: Mistbeard will inflict all players with Dirty Venom, reducing their maximum health and damage dealt. Then, after a few seconds, several chests will spawn around the arena. Four of them will contain an antidote to the Venom, while the others will contain bombs. After a short delay, the chests will close, hiding what they hold. To remove the debuff, all players need to move to a chest with the Antidote. Each antidote can only heal one player, so everyone needs to go to their own chest. If you are unable to clear the Venom, it will remain until the next opportunity to do so.
- Bullet Hell: Mistbeard will use this attack soon after Poison Mist, dealing high damage to all players. The Healer should be ready to restore the party's health with AoE healing.
- Leg Graze: Mistbeard will target a random player, dealing damage to them and inflicting Heavy, drastically reducing movement speed. Then, he will cast Grenado Shot on their position.
- Grenado Shot: Deals high damage in a small circle AoE. The Healer should cleanse the targeted player of Heavy so they can run out of the AoE.
- Firesand Kegs: Mistbeard will summon Firesand Kegs around the arena that he will periodically target and cause to explode. Attacking the Kegs will knock them back slightly, allowing you to create a safe area.
Mistbeard will repeat these attacks until he is defeated. Be sure to spread out and get the Antidote, or else this fight will become much more difficult.


