Sohm Al (Hard) is a level 60 dungeon in Final Fantasy 14: Heavensward. Originally added in patch 3.5, this optional dungeon will have you return to the mountains of Sohm Al, this time to clear the monsters from the volcanic realm of the mountain's heart that have moved in following Nidhogg's displacement as leader of the Horde.
The Hard version of Sohm Al will once again pit you against draconic foes and poisonous beasts. Expect to fight some familiar enemies as you make your way to the center of the mountain. Let's take a look at each of the bosses you'll encounter in Sohm Al (Hard), their attacks and mechanics, and how to beat them.
How To Unlock Sohm Al (Hard)
Sohm Al (Hard) is unlocked through the following side quest.
- Accept the quest 'The Fires of Sohm Al'
- NPC Location: Gossamer Moogle - Idyllshire (X:4.6, Y:8.4)
This quest will appear after clearing the Main Scenario Quest 'Heavensward'.
Dungeon Walkthrough
As you make your way through the first section of this dungeon, watch out for the steam geysers that periodically erupt in the area. This AoE will inflict vulnerability up on players and enemies that stand in it, which can be used to your advantage if you position the enemies just right.
In the section of the dungeon just before the final boss, Blood of the Mountain enemies will appear and cast Torch. This attack has a long cast time, but will deal high damage to all players. Focus on the Blood of the Mountain enemies before others to keep the DPS and Healer players safe.
The Leightonward
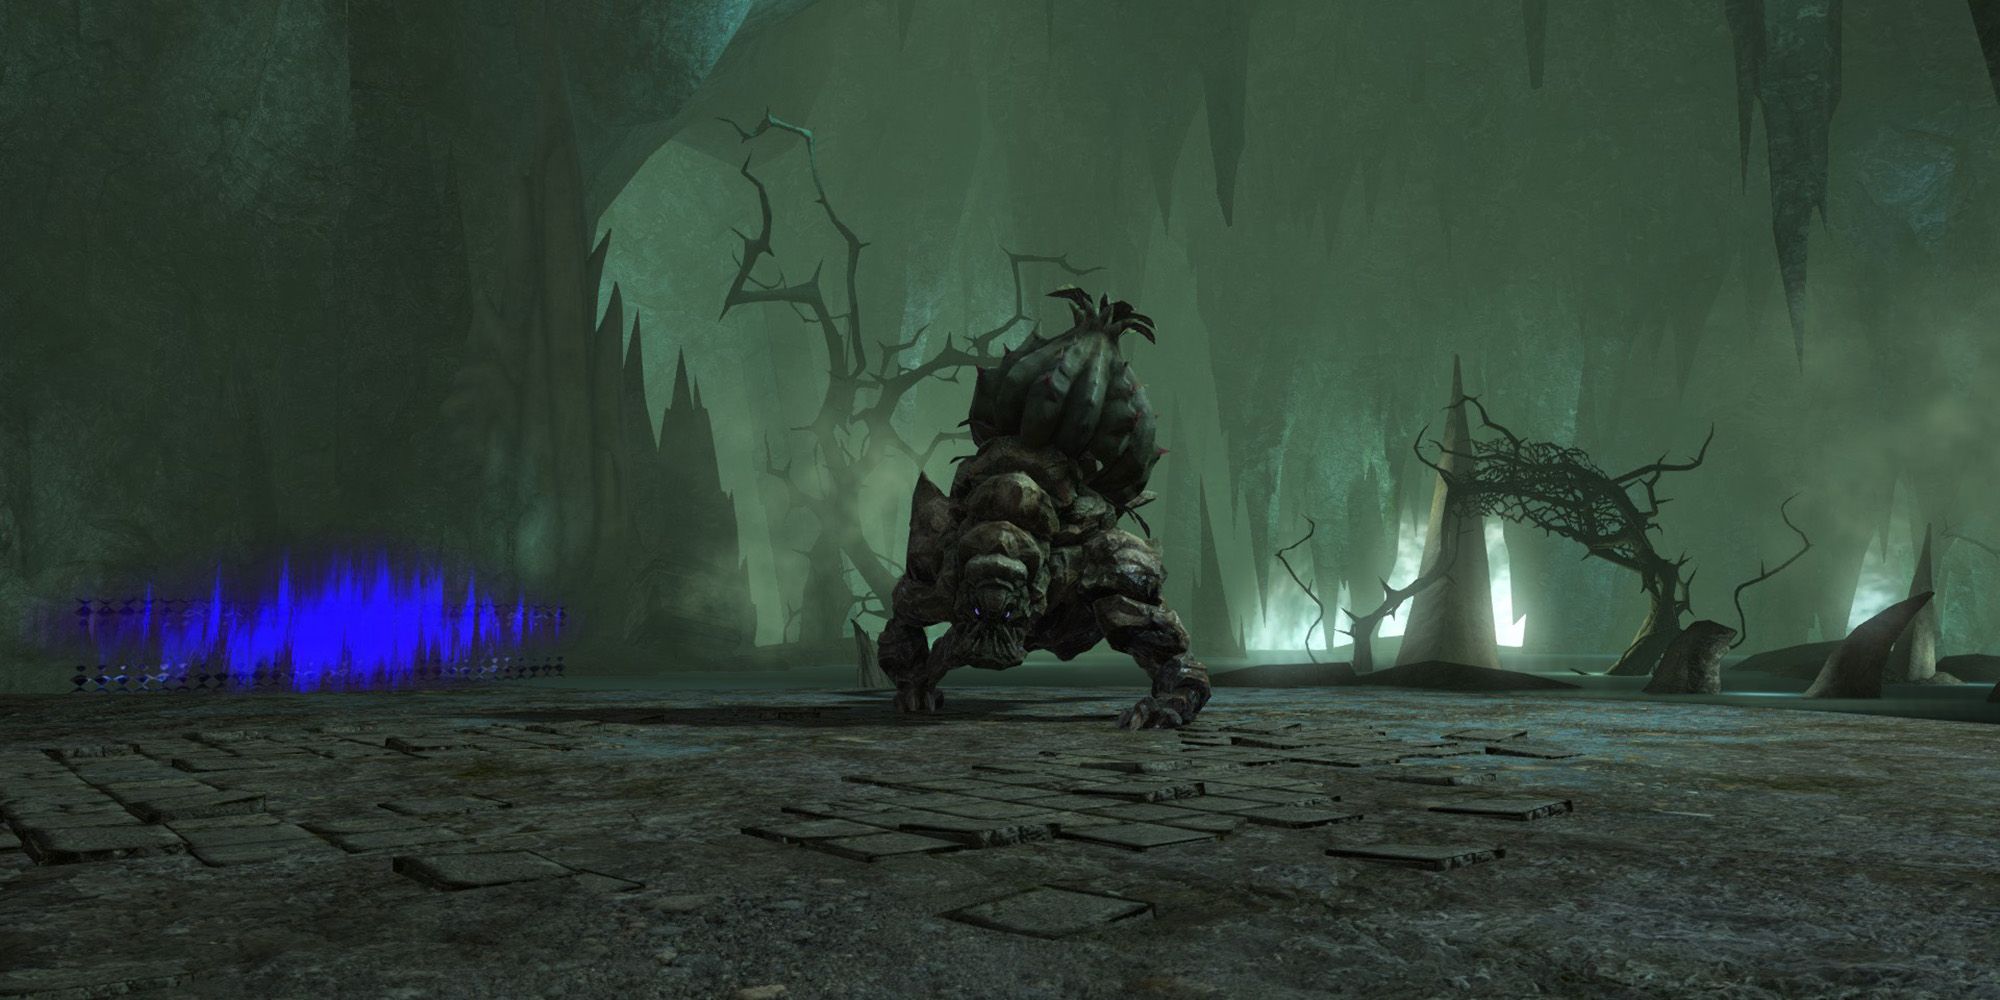
The first boss of Sohm Al (Hard) is the Leightonward. This boss will use the following attacks and mechanics.
- Wild Horn: The Leightonward will attack in a cone-shaped AoE to its front. The Tank should face the boss away from the rest of the party to avoid them getting hit with this attack.
- Inflammable Fumes: Deals damage to all party members. Use AoE heals to recover as necessary.
- Spore Sac: The boss will spawn Small Spore Sacs around the arena that explode in a circular AoE after the Leightonward casts Inflammable Fumes. Quickly move away from the Sacs when they spawn.
- Big Spore Sacs: Later in the fight, larger Spore Sacs will be created during this attack. These will explode in a proximity-based AoE, dealing more damage to players that are closer to the Sac. As you dodge the Small Spore Sacs, move as far away as you can from the large one.
- Excretion: Targets a random player, dealing damage to them and inflicting the Heavy debuff, slowing movement speed, which will make avoiding Spore Sac explosions more difficult. This healer should cleanse this debuff with Esuna.
The Leightonward will repeat these attacks until it is defeated. As the fight progresses, more Spore Sacs will be summoned at once, making this attack harder to avoid. Move carefully during this attack and have AoE heals ready to recover the party's health.
Gowrow
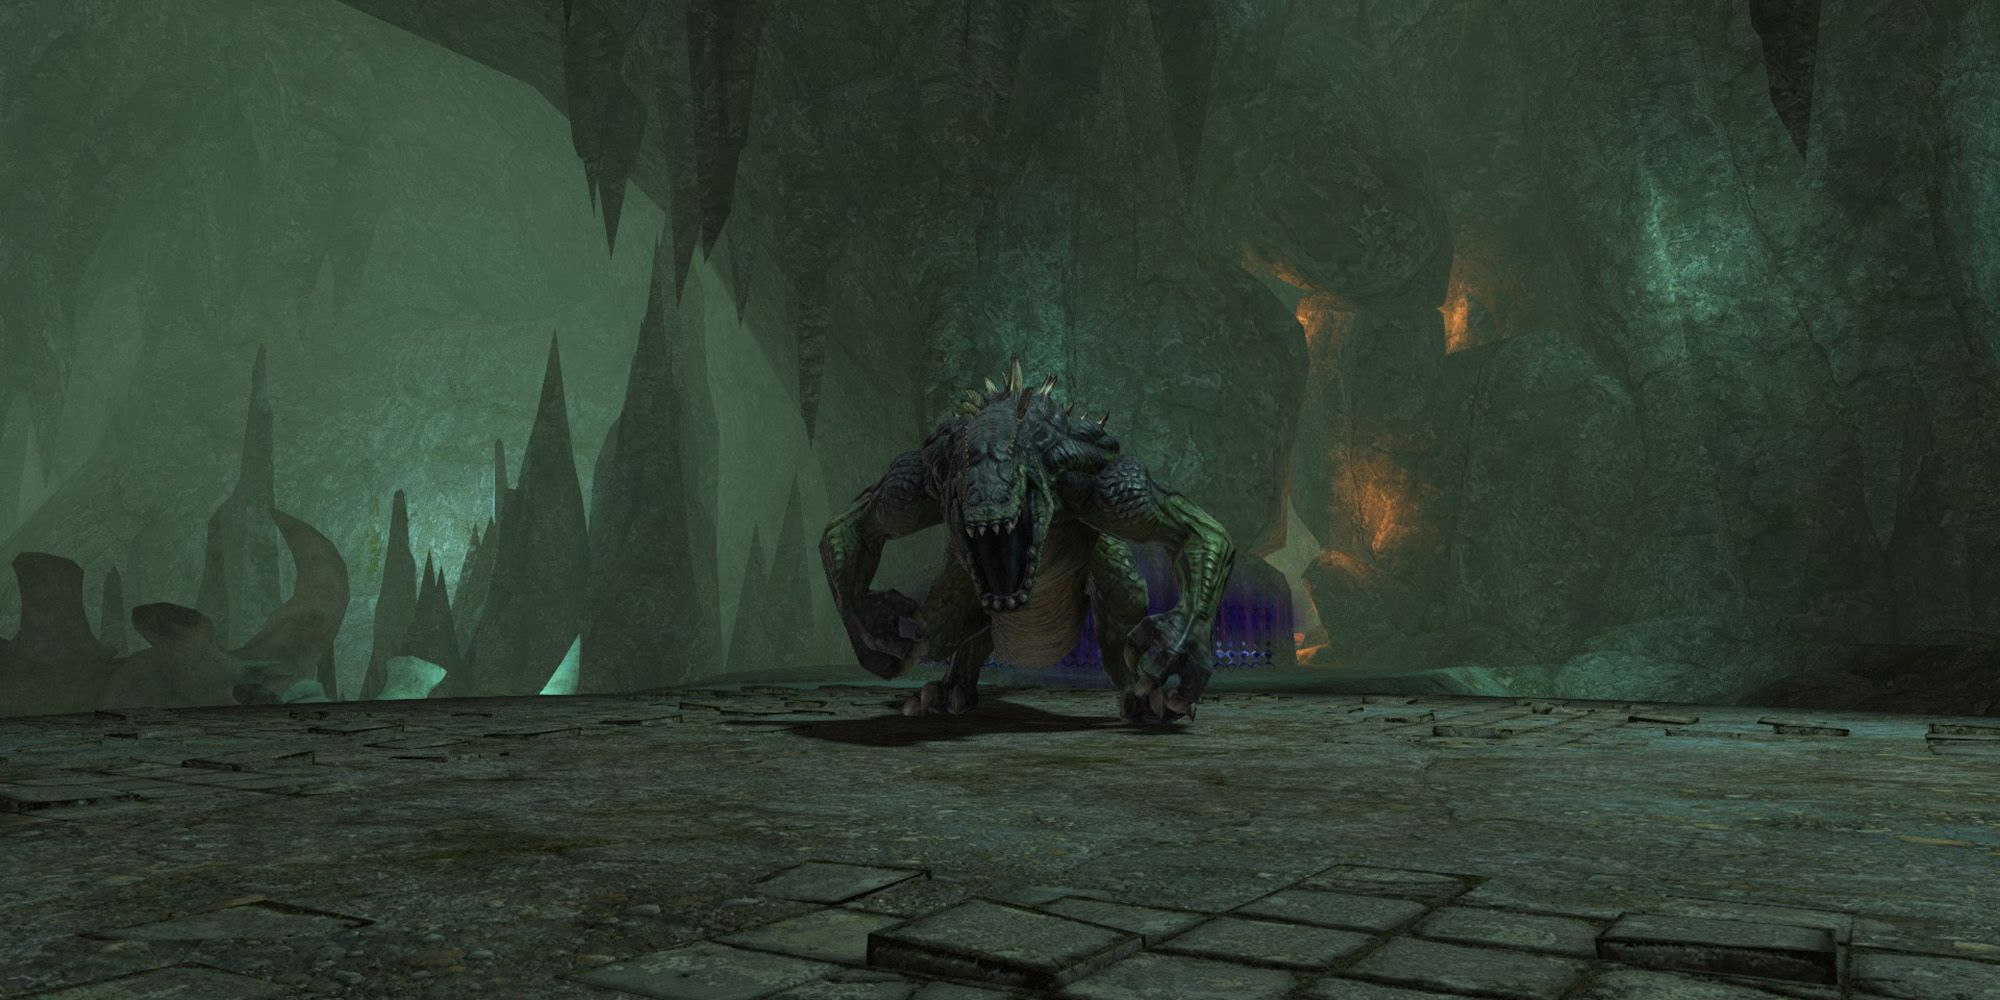
The second boss of Sohm Al (Hard) is Gowrow. This boss does not have AoE indicators for its attacks. Instead, you must rely on how Gowrow moves its body before each attack to determine what to do. Each of Gowrow's attacks are detailed below.
- Volcanic Howl: Gowrow will deal damage to all party members and grant itself a damage buff that also changes some of its abilities. Use AoE heals to recover after this attack, then prepare to deal with new mechanics.
- Ripper Claw: Gowrow will raise its left arm before swiping at the Tank, dealing damage in a cone to its front and inflicting the Infirmity debuff, reducing the amount of health restored through magic. If Volcanic Howl is active, this attack will create a Wind Slash AoE in the area, which will shortly explode, dealing damage and knocking back slightly.
- The Tank should face Gowrow away from the rest of the party to avoid hitting them with this attack.
- Tail Swipe/Tail Swing: Gowrow will raise its tail before swiping in the area, dealing damage in the area to its back. If Volcanic Howl is active, this attack will instead deal damage in a large circle around the boss, which can be avoided by moving away from the boss.
- Wild Charge: Gowrow will crouch down slightly while moving its right arm to the opposite side. Then, the boss will charge forward slightly, dealing damage in its path. Move to the side or behind the boss to avoid this attack.
- Fire Ball/Lava Flow: Gowrow will stand up straight before launching a fireball directly to its front. While under the effects of Volcanic Howl, Gowrow's back will begin to glow as it stands, and Fire Ball will become Lava Flow. This attack will have Gowrow spray lava to its front, dealing continuous damage in the area. In both cases, move away from the front of the boss to avoid.
Gowrow will repeat these attacks until it is defeated. Throughout the fight, you will need to watch carefully as Gowrow moves its arms and tail to determine where to move to stay safe. This may be difficult at first, but after a few attacks you should be able to get the hang of it.
Lava Scorpion
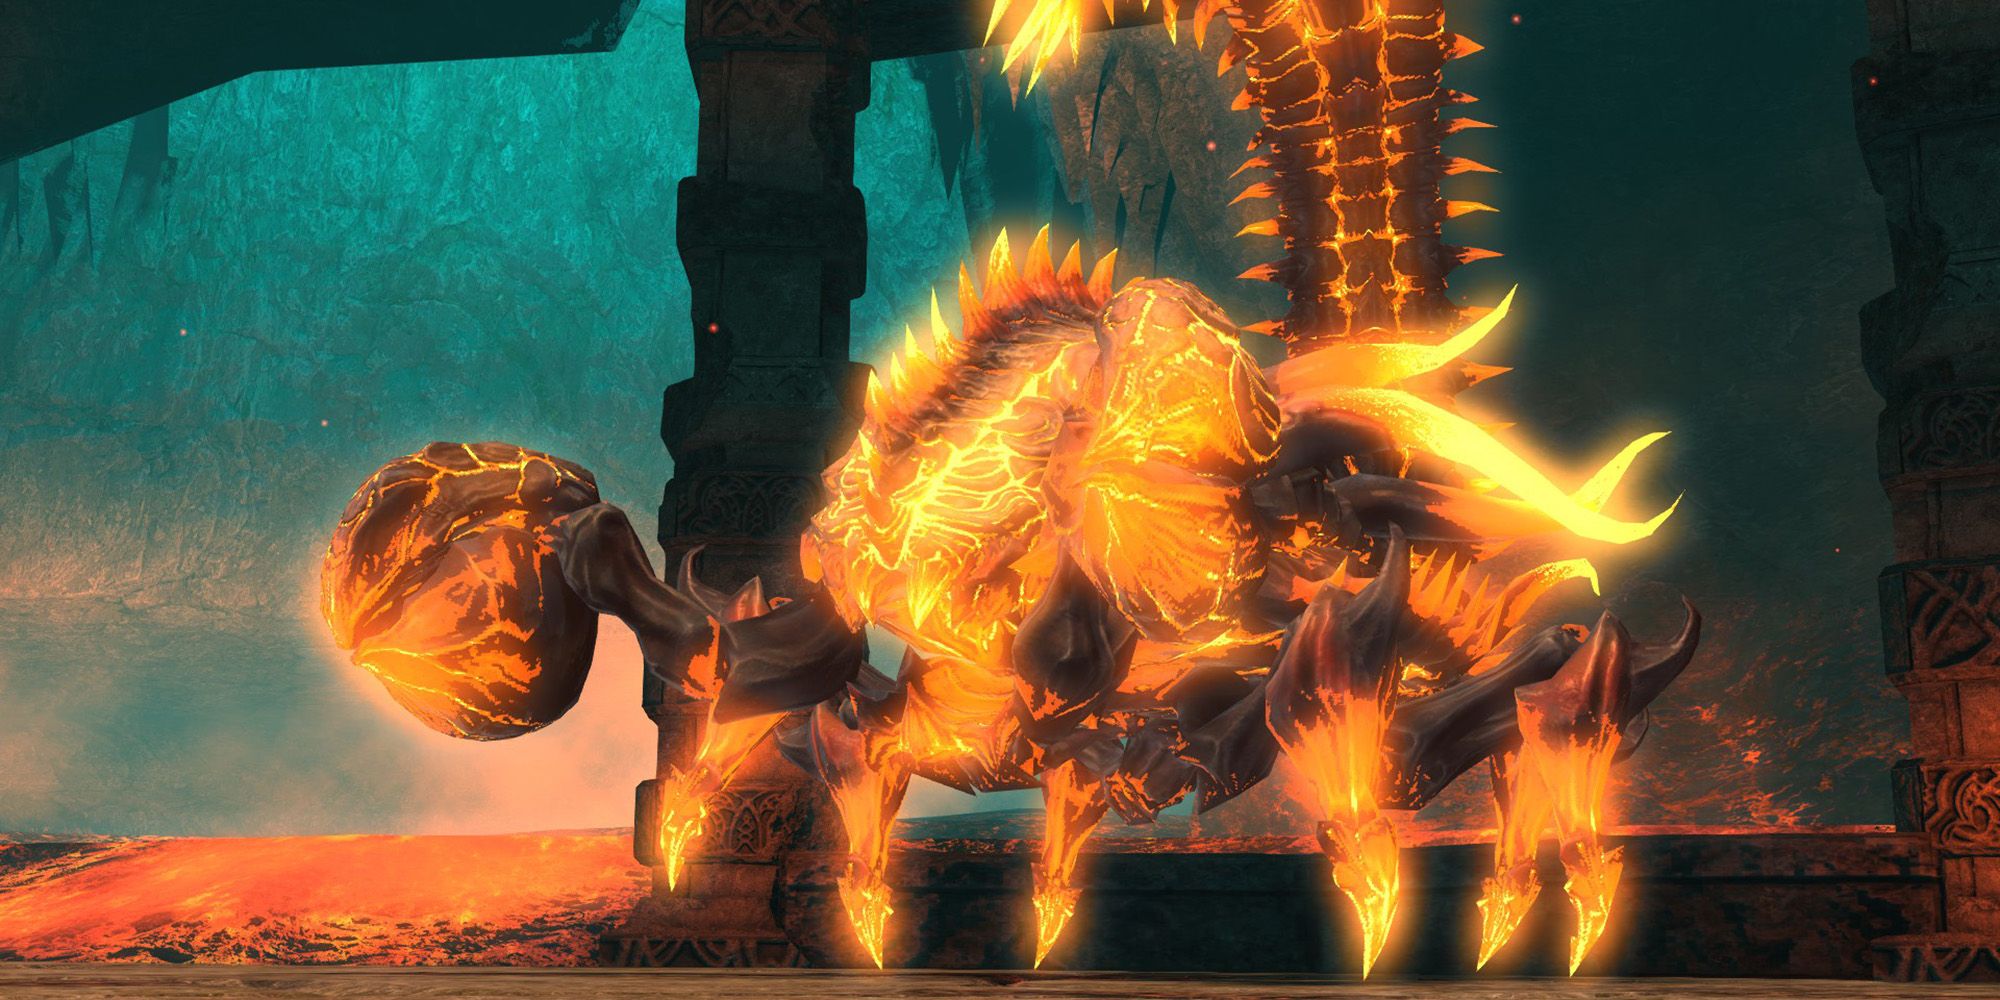
The final boss of Sohm Al (Hard) is the Lava Scorpion. At the beginning of the fight, the boss will destroy the edges of the arena, which is surrounded by lava. Avoid moving into the lava as you fight the Lava Scorpion, whose attacks and mechanics are outlined below.
- Molten Silk: Deals damage near the boss in an AoE. The shape this AoE takes is different each time the boss uses this attack, so move according to the AoE indicator when it appears.
- Flying Press: The Lava Scorpion will target a random player before jumping to their location, dealing damage in the area and leaving behind a lava puddle that slowly increases in size over time. At the same time, circle AoEs will begin falling around the map; move accordingly to dodge these.
- Deadly Thrust: Deals high damage to the Tank. Use defensive cooldowns as necessary to mitigate this damage.
- Hiss: The Lava Scorpion will summon two types of adds to the arena, which have the following effects.
- Scorpion's Claw: Casts an attack that creates an additional lava puddle in the area. Focus on killing this add first when it spawns.
- Scorpion's Tail: Attacks like normal. Focus on this add after defeating the Scorpion's Claw.
- Subsequent uses of this attack will cause more adds to spawn. Stay focused on the Scorpion's Claw to avoid adding more lava puddles to the arena.
- Realm Shaker: A point-blank circle AoE centered on the boss. Move outside the AoE indicator to avoid.
The Lava Scorpion will repeat these attacks until it is defeated. As the fight progresses, the safe area in the arena will slowly decrease as more lava puddles are created and grow. To combat this, players that are targeted by Flying Press should move as close as possible to the edge of the arena. This will create a larger safe area in the middle of the arena. Kill the Lava Scorpion quickly before the entire arena is covered in lava.


