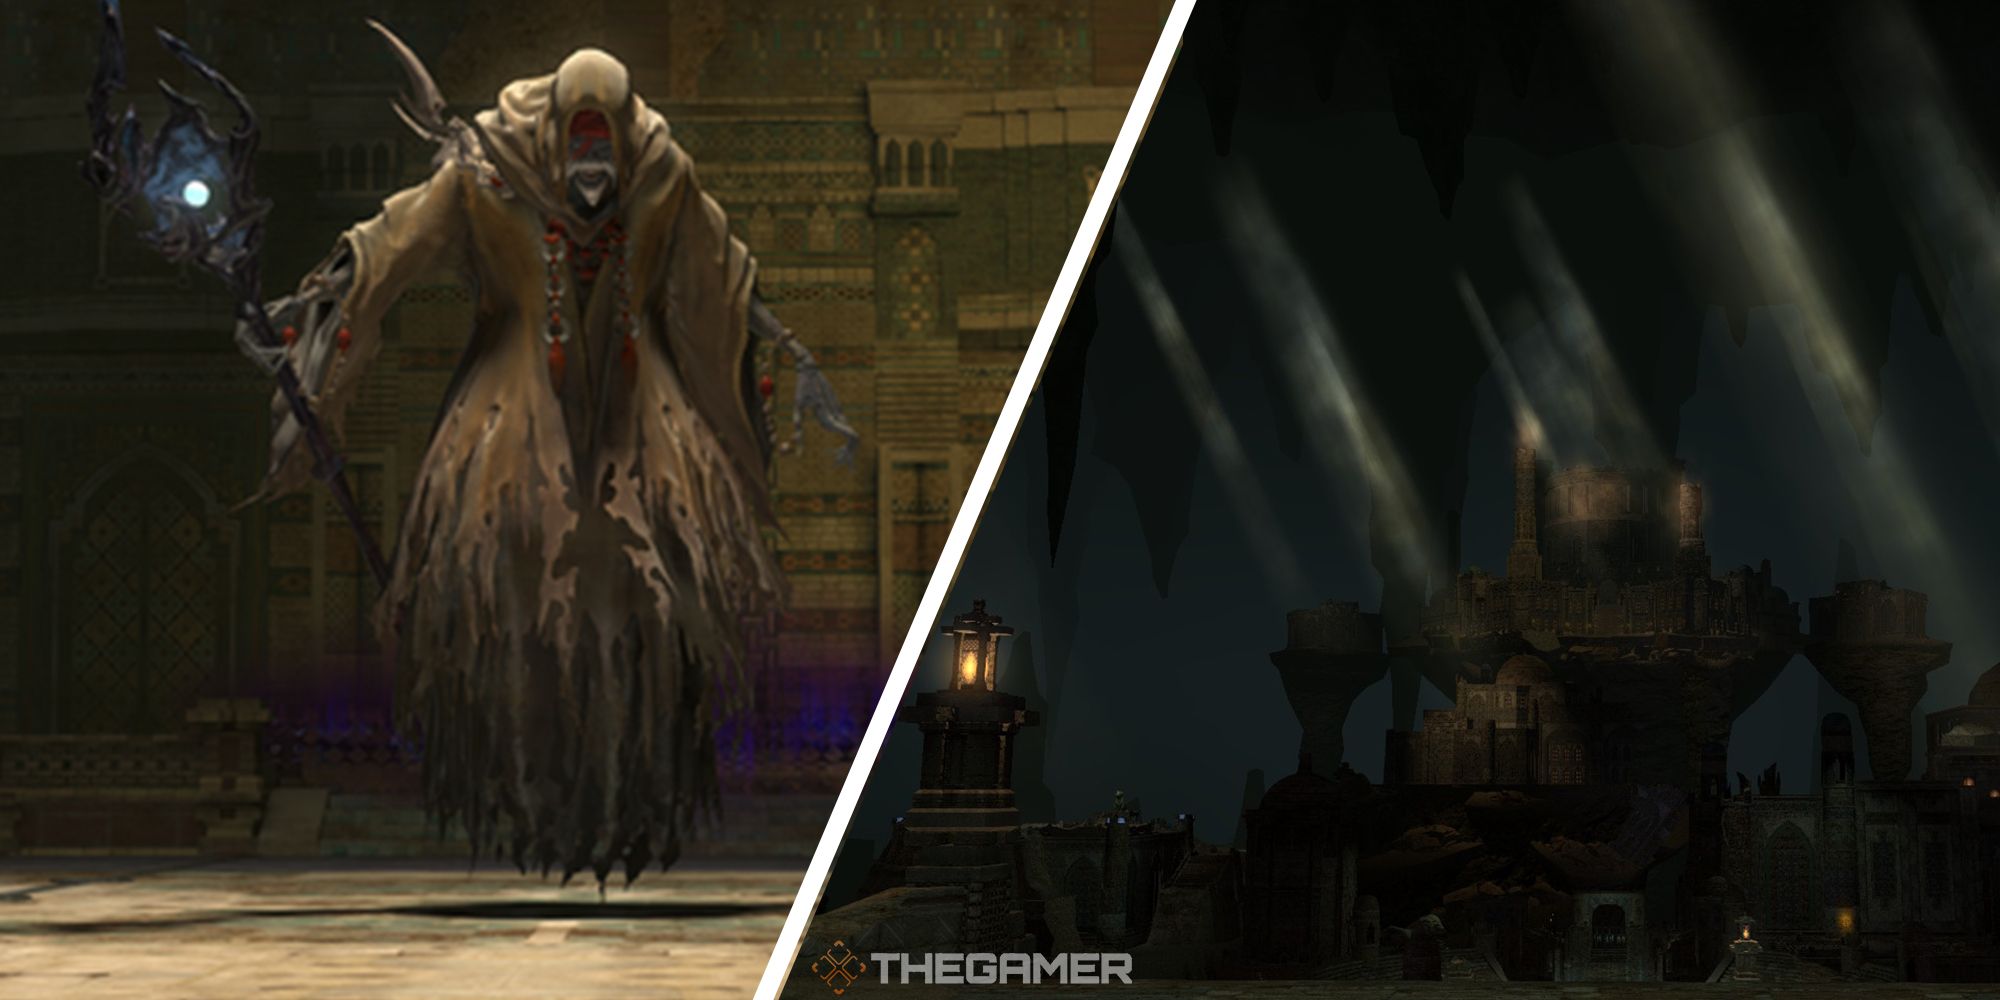
You've made it halfway through Final Fantasy 14's Delubrum Reginae, but the worst is yet to come. Luckily, the Bozjan Phantom is the calm before the storm, so take this opportunity to prepare for the final two bosses following.
The Bozjan Phantom is the third boss of Delubrum Reginae, and is one of the simpler fights in the dungeon. There are only a few different mechanics to be aware of, and you should be able to get the hang of them quickly. Let's go over each of this boss's mechanics and how to avoid them.
Bozjan Phantom Walkthrough
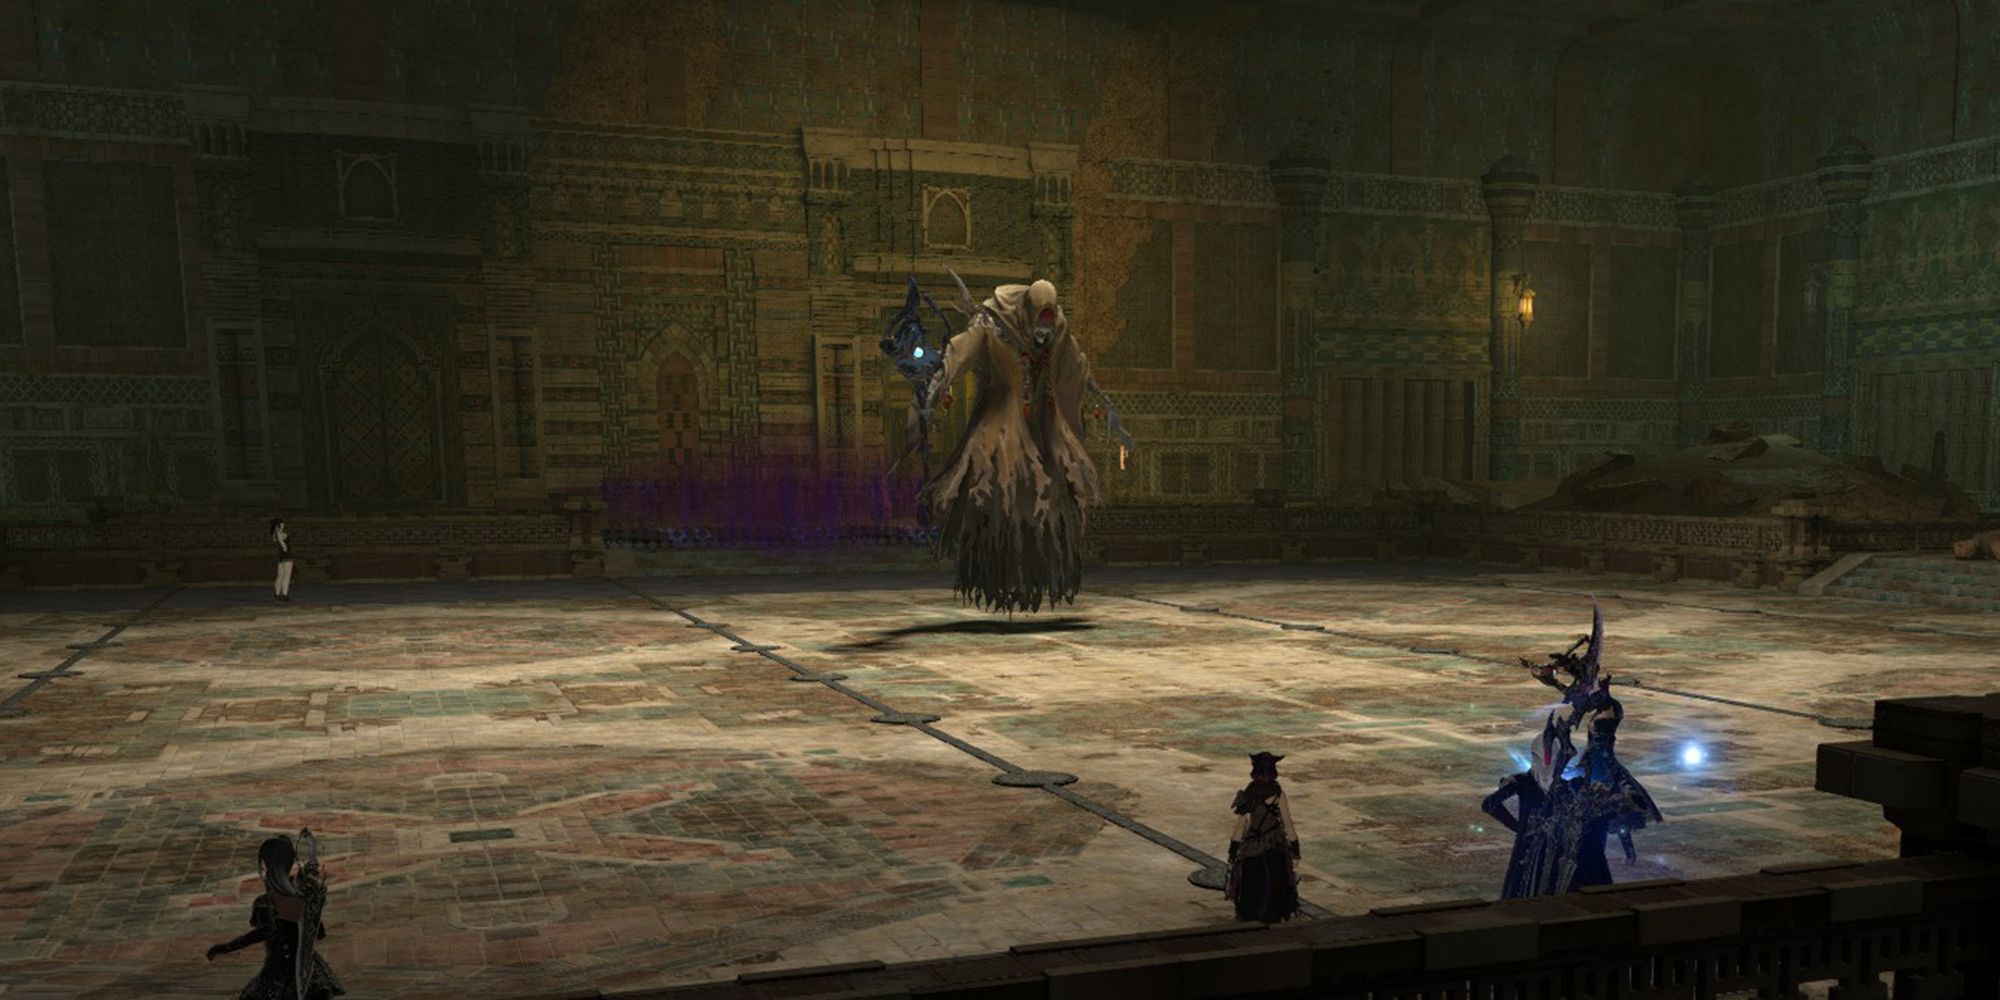
In the arena where you fight the Bozjan Phantom, the north and south walls will be covered in a death zone, which will instantly kill any player that touches it. Avoid entering this area at all costs.
Each of the Bozjan Phantom's attacks are listed below.
- Malediction of Agony: Bozjan Phantom will deal damage to all party members. This attack is often used before or after other mechanics, and sometimes twice in a row. Be sure to have raid-wide heals and shields ready.
- Excruciation: Bozjan Phantom will deal large damage to the main Tank. Mitigate and heal as necessary.
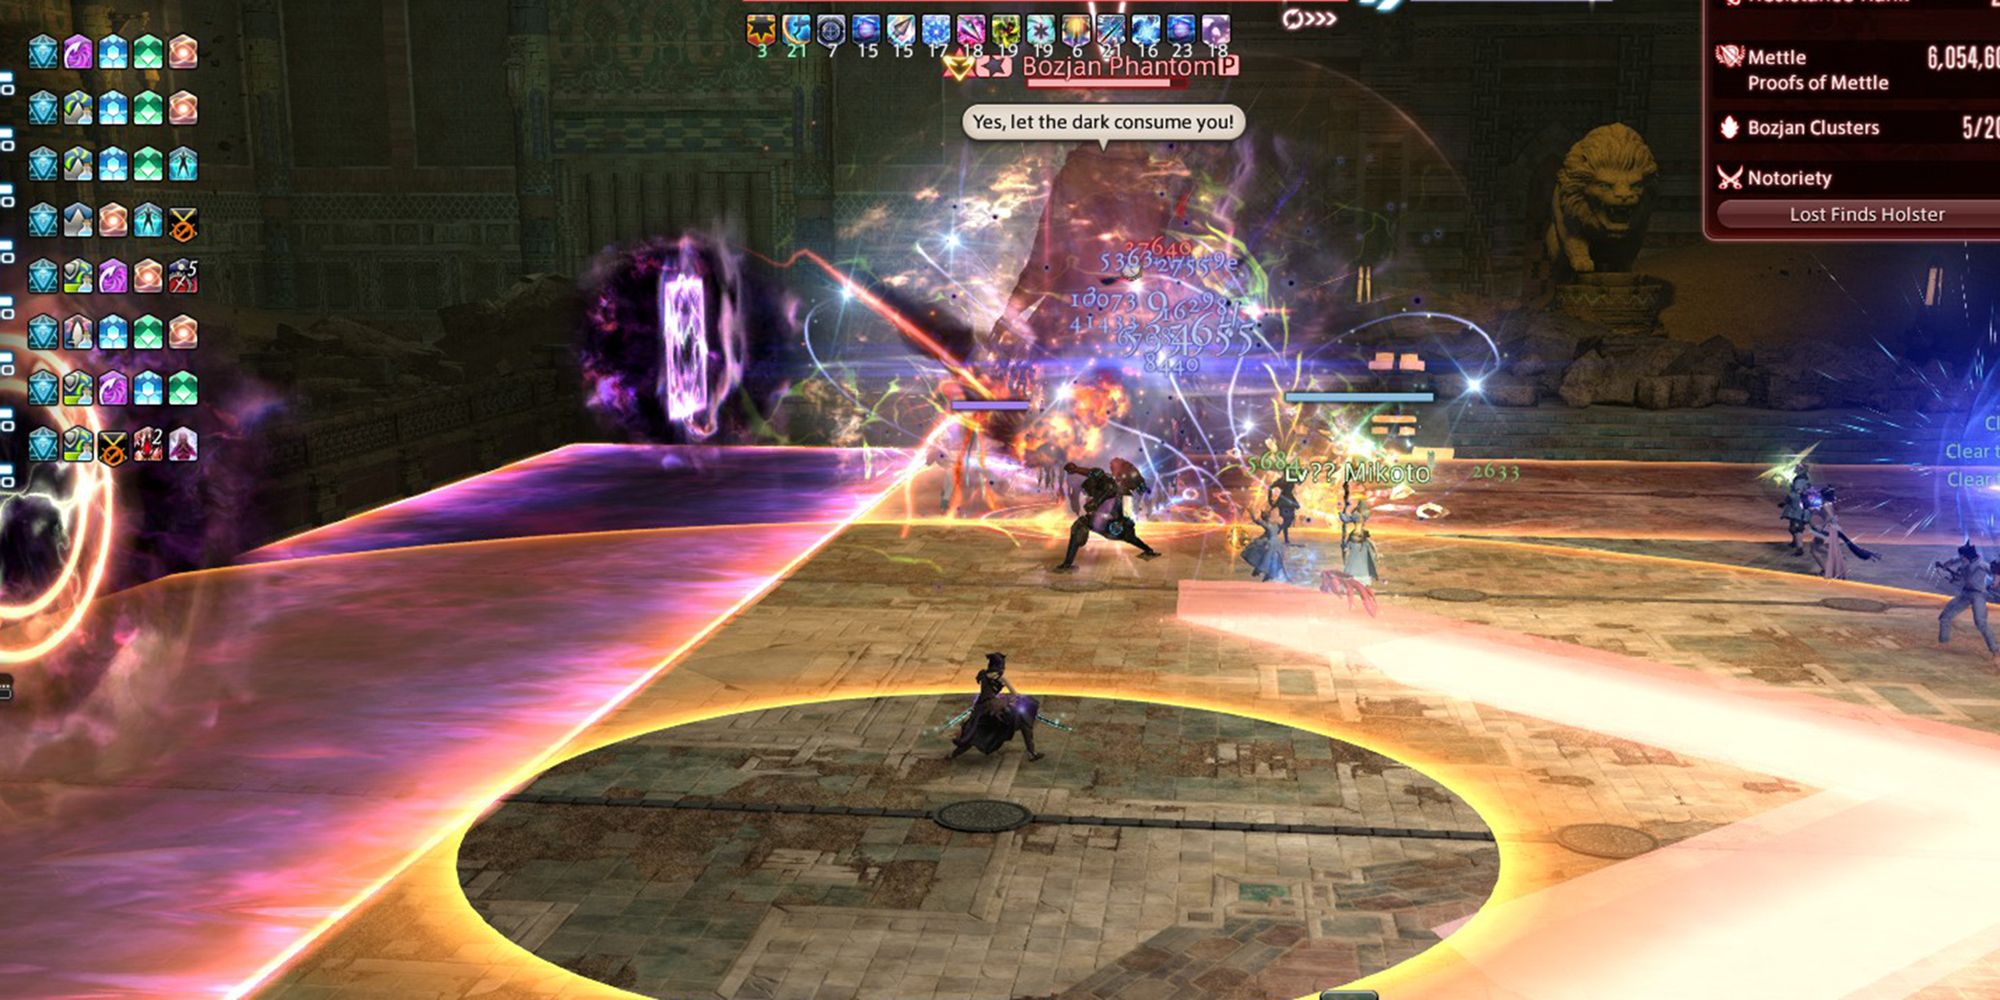
- Weave Miasma: This is the main mechanic of the fight with Bozjan Phantom. Throughout the fight, the boss will use this attack multiple times, the effects of which are added to each time it is cast. In its basic form, Weave Miasma will split the arena into four 'lanes'. In each lane will be either a 'donut' shape or a square. These symbols will appear above each lane at the north edge of the arena.
- In donut lanes, a donut-shaped AoE will continuously move down the lane until it reaches the south end. This can be avoided by standing in the center of the donut and moving along with it. Note that the AoE marker is large enough that it covers the two lanes adjacent, making those lanes unsafe.
- In square lanes, the entire lane will be unsafe, and damage will be dealt to any player inside. Avoid standing in these lanes entirely.
- The first time Weave Miasma is cast, there will only be one donut and one square. Move inside the donut AoE marker's safe spot and move along the lane with the donut.
- The second time Weave Miasma is cast, there will be two donuts and two squares. Choose either donut and proceed as normal.
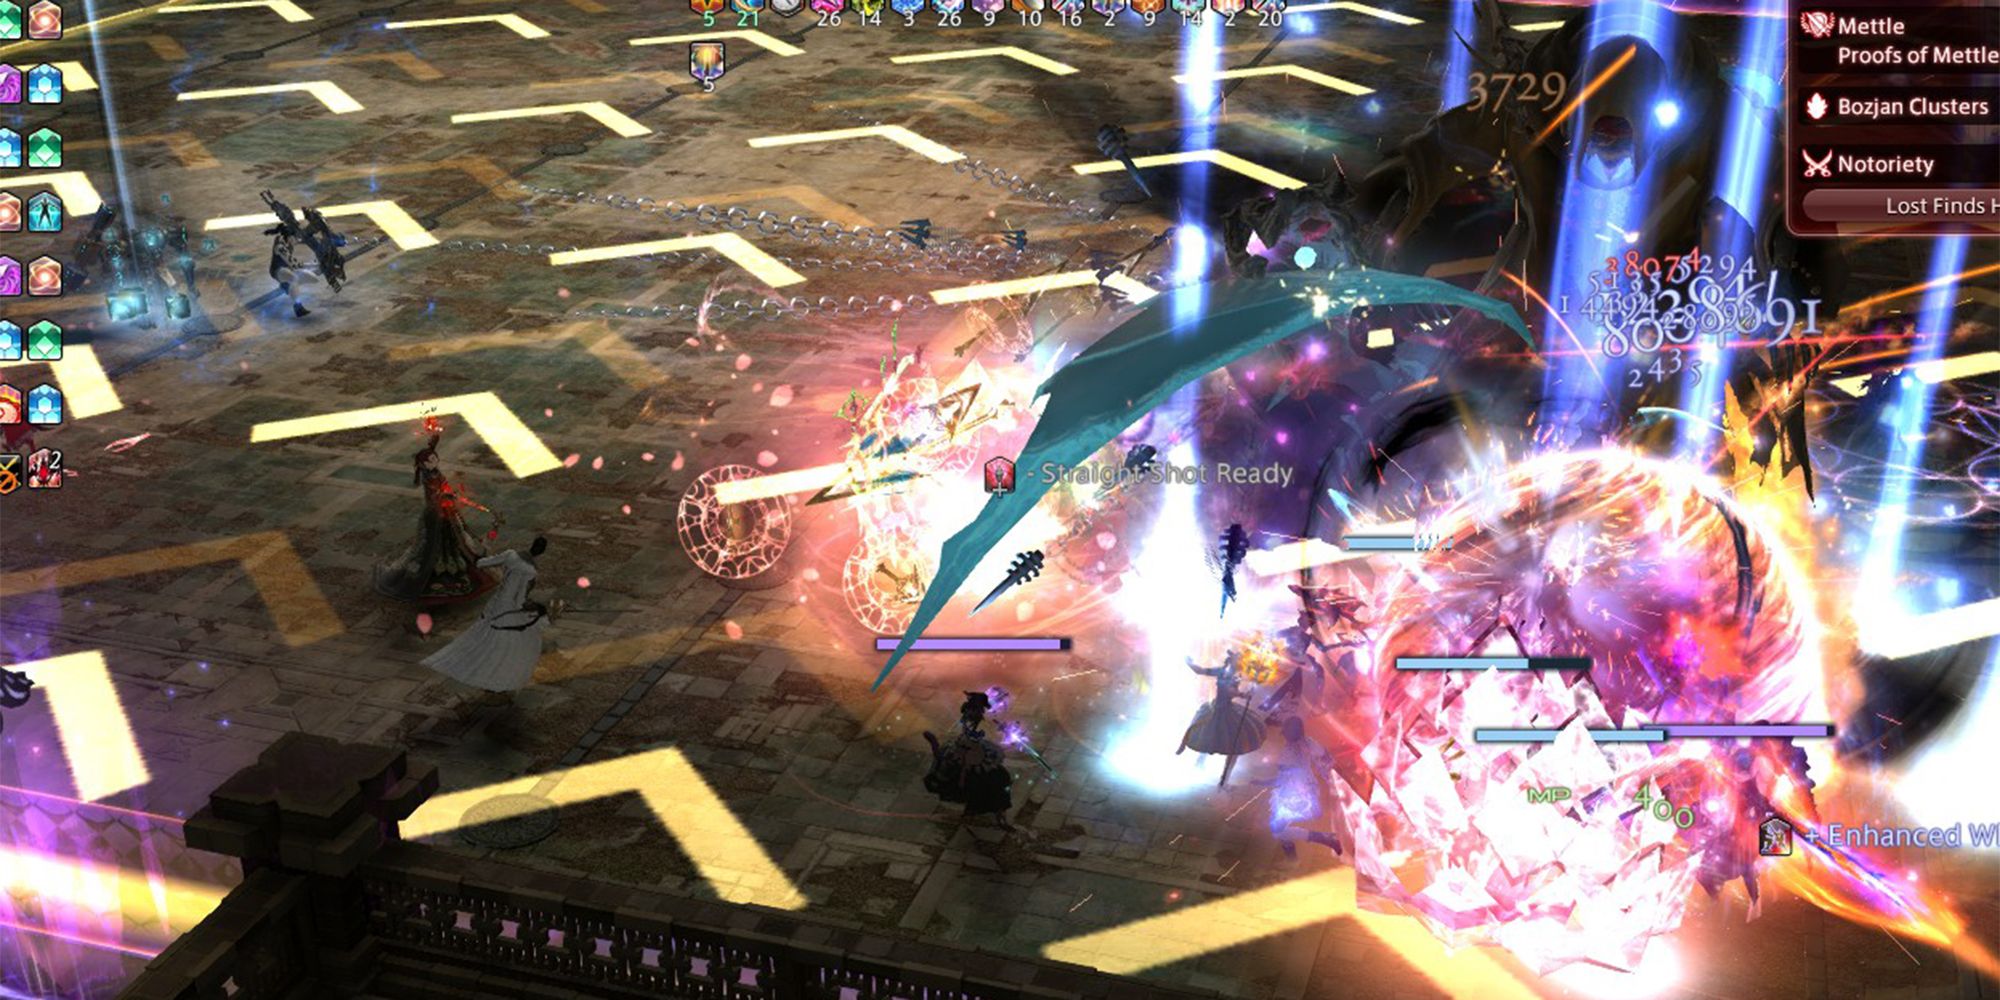
- Summon Phantom: Eventually, the Bozjan Phantom will summon an additional phantom at the south edge of the arena. This phantom will cast a knockback, knocking players towards the north edge's death zone. Avoid this attack by getting as close as possible to the Summoned Phantom. Additionally, take note of how far you are knocked back from this attack, as this distance will come in handy the next time this attack is used.
- The second time the phantom is summoned, it will be immediately before the boss uses Weave Miasma. This means you will need to be knocked into the donut's safe spot to avoid Weave Miasma. There is enough time between when you get knocked back and before the AoE is cast that you are able to run inside the safe spot if you are close enough.
- Vile Weave: After each knockback, Bozjan Phantom will use Vile Weave, an attack with a large cone AoE telegraph that deals high damage. After being knocked back from the Summoned Phantom, the boss will aim this attack at a random player. Run to the side of the attack to avoid taking damage.
Loot
Guaranteed:
- 1 Bozjan Silver Coin
Chance to receive the following:
- Queen's Soldier Piece
- Forgotten Fragment of Observation
- The Sochen Cave Palace (Zodiac Age Version) Orchestrion Roll


