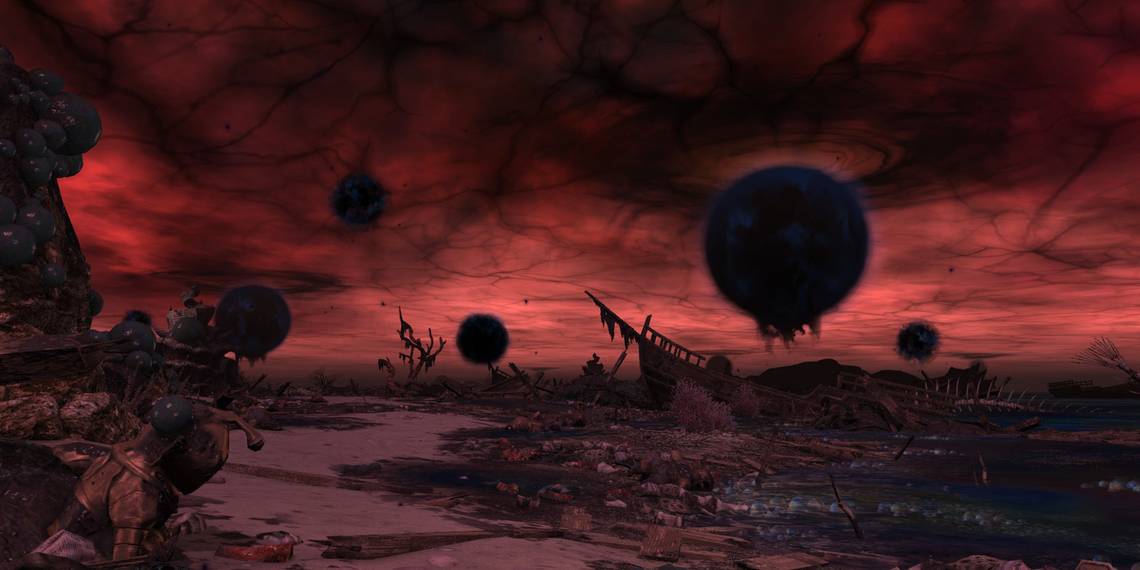
The Dead Ends is a level 90 dungeon in Final Fantasy 14: Endwalker. Here you'll witness distant civilizations in their final moments. Your task is to overcome the enemies of dying worlds in pursuit of Meteion.
As the first level 90 dungeon of Endwalker, expect a slightly higher level of difficulty from some of the bosses in The Dead Ends. Let's go over each boss you'll encounter, their attacks and mechanics, and how you can beat them.
How To Unlock The Dead Ends
The Dead Ends is unlocked through the final main story quest of the expansion.
- Accept the Main Scenario Quest 'Endwalker'
- NPC Location: Alphinaud - Ultima Thule (x:21.5, y:21.5)
Dungeon Walkthrough
In the first part of this dungeon, you will walk through a toxic wasteland. Surrounding the path are poisonous puddles that will inflict the debuff Toxicosis, dealing heavy damage over time to any player standing in the area of effect. Stay on the path and avoid these dangerous puddles as you move through the first part of The Dead Ends.
Additionally, being hit by most of the boss's attacks will inflict vulnerability up, making you take more damage from all attacks. Try to clear mechanics without being hit for the best chances of making it through this dungeon.
As with the other Endwalker dungeons, The Dead Ends can be completed with Trust allies. We recommend using this approach the first time you attempt this dungeon, as it will help you learn the mechanics of each boss and let you go at your own pace.
Caustic Grebuloff

The first boss of The Dead Ends is Caustic Grebuloff. This enemy will use toxic-based attacks, so prepare to clear some debuffs. Listed below are each of Grebuloff's attacks and mechanics.
- Miasmata: Before Grebuloff uses this attack, wind will start blowing in the arena. Then, several AoEs will spawn randomly around the arena. After a short delay, they will move down the arena in the direction of the wind, dealing damage at set intervals. Find a safe gap between the AoEs near the origin point of the wind to avoid this attack.
- Additionally, getting hit by this attack will inflict Necrosis, a dangerous debuff that can be fatal. The Healer should cleanse this from affected players as soon as possible.
- Cough Up: Targets each player with a set of three puddle AoEs. Spread out to avoid overlapping these with other players, while staying out of the puddles created. Immediately after, all party members will be targeted with a red arrow; stack together to dispel this. Otherwise, you will lose control of your character, leaving you vulnerable to the boss's next attack.
- Wave of Nausea: A large AoE that covers most of the arena. There will be a safe spot directly underneath the boss, so move into Grebuloff's hitbox to avoid Wave of Nausea.
- Pox Flail: Deals high damage to the Tank. Use defensive cooldowns and heal as necessary.
- Blighted Water: Targets a random player with a stack marker; group up on the affected player to spread out the damage of this attack.
- Befoulment: Targets all players with an AoE circle attack; spread out to avoid overlapping these AoEs, and heal as necessary after.
Caustic Grebuloff will repeat these attacks until he is defeated. Keep an eye on the direction of the wind and watch your debuffs throughout this fight. After defeating Caustic Grebuloff, enter the portal to move to the second section of this dungeon.
Peacekeeper

The second boss of The Dead Ends is the Peacekeeper. Despite its name, this boss will give you a hard time if you're not prepared; expect to dodge a lot of AoEs. Listed below are each of the Peacekeeper's attacks and mechanics.
- Decimation: Deals damage to all party members and covers the edge of the arena in flames, dealing damage to players who enter. Stay away from the edge of the arena to avoid taking unnecessary damage.
- Electromagnetic Repellant: Peacekeeper will create an AoE inside his hitbox, leaving a persistent damage over time effect in the area. Avoid standing directly underneath the boss while this attack is active.
- Order To Fire: Spawns turrets in a circle around the boss, then gives them the order to fire. The turrets will fire a beam in a straight line, so stand between two of the turrets to avoid getting hit. At the same time, the boss will target players with AoE markers, so spread out from each other to avoid overlapping these AoEs.
- No Future: Peacekeeper will create AoEs in patterns around the arena. Watch these AoEs carefully and dodge accordingly, as there will be numerous overlapping AoEs during this attack.
- Peacefire: Creates two sets of AoEs that rotate around the arena. Move with the AoEs to avoid getting caught by them as they advance around the arena. Additionally, Electromagnetic Repellant and Order To Fire will be used during this attack, so be sure to dodge the turrets' beam attack while moving.
- Eclipsing Exhaust: Peacekeeper will create AoEs around the arena, then begin casting a knockback attack from the center of the arena. Position yourself so that you aren't knocked into one of the AoEs.
- Elimination: Deals high damage to the Tank. Mitigate as needed.
The Peacekeeper will repeat and overlap these attacks until it is defeated. The most important thing to watch out for later in the fight is No Future, as this attacks numerous AoEs can be overwhelming if you're not careful.
Ra-La

The final boss of The Dead Ends is Ra-La. This boss will force you to pay attention to your position throughout the fight. Ra-La's attacks and mechanics are listed below.
- Warm Glow: Deals damage to all party members.
- Pity: Deals high damage to the Tank.
- Prance: Ra-La will jump four times around the arena, dropping a large AoE circle where it lands. Follow the boss as it jumps, then stay in the final AoE created. After the first one explodes, move into that area to avoid the following AoEs.
- Lifesbreath: Ra-La will jump to one side of the arena and begin charging this attack. Lifesbreath will deal damage in a straight line AoE. This attack will also summon numerous untargetable butterfly adds. Each butterfly has a direction marker, indicating which way it will shortly shoot an AoE line attack. Position yourself so that you are behind any of the butterflies to avoid this attack. If you are hit with this attack, you will be inflicted with Doom. Have the Healer restore your health to 100 percent to clear the Doom debuff.
- Benevolence: Ra-La will target a random player and place a stack marker on them. All players should group up to spread out the damage of this AoE.
- Loving Embrace: One of Ra-La's wings will begin glowing, indicating that it will use an AoE attack in that direction. Move to the opposite side of the boss to avoid this attack.
- The second time Ra-La uses Lifesbreath, it will be combined with Loving Embrace. While moving to avoid the butterfly's attacks, make sure you are on the correct side to additionally avoid Loving Embrace.
- Still Embrace: Targets all players with an AoE marker. Spread out to avoid overlapping these AoEs with other players.
Ra-La will repeat these attacks until it is defeated. Watch out for subsequent uses of Lifesbreath, and make sure you are on the correct side during Loving Embrace. Defeat Ra-La and you will complete The Dead Ends.


