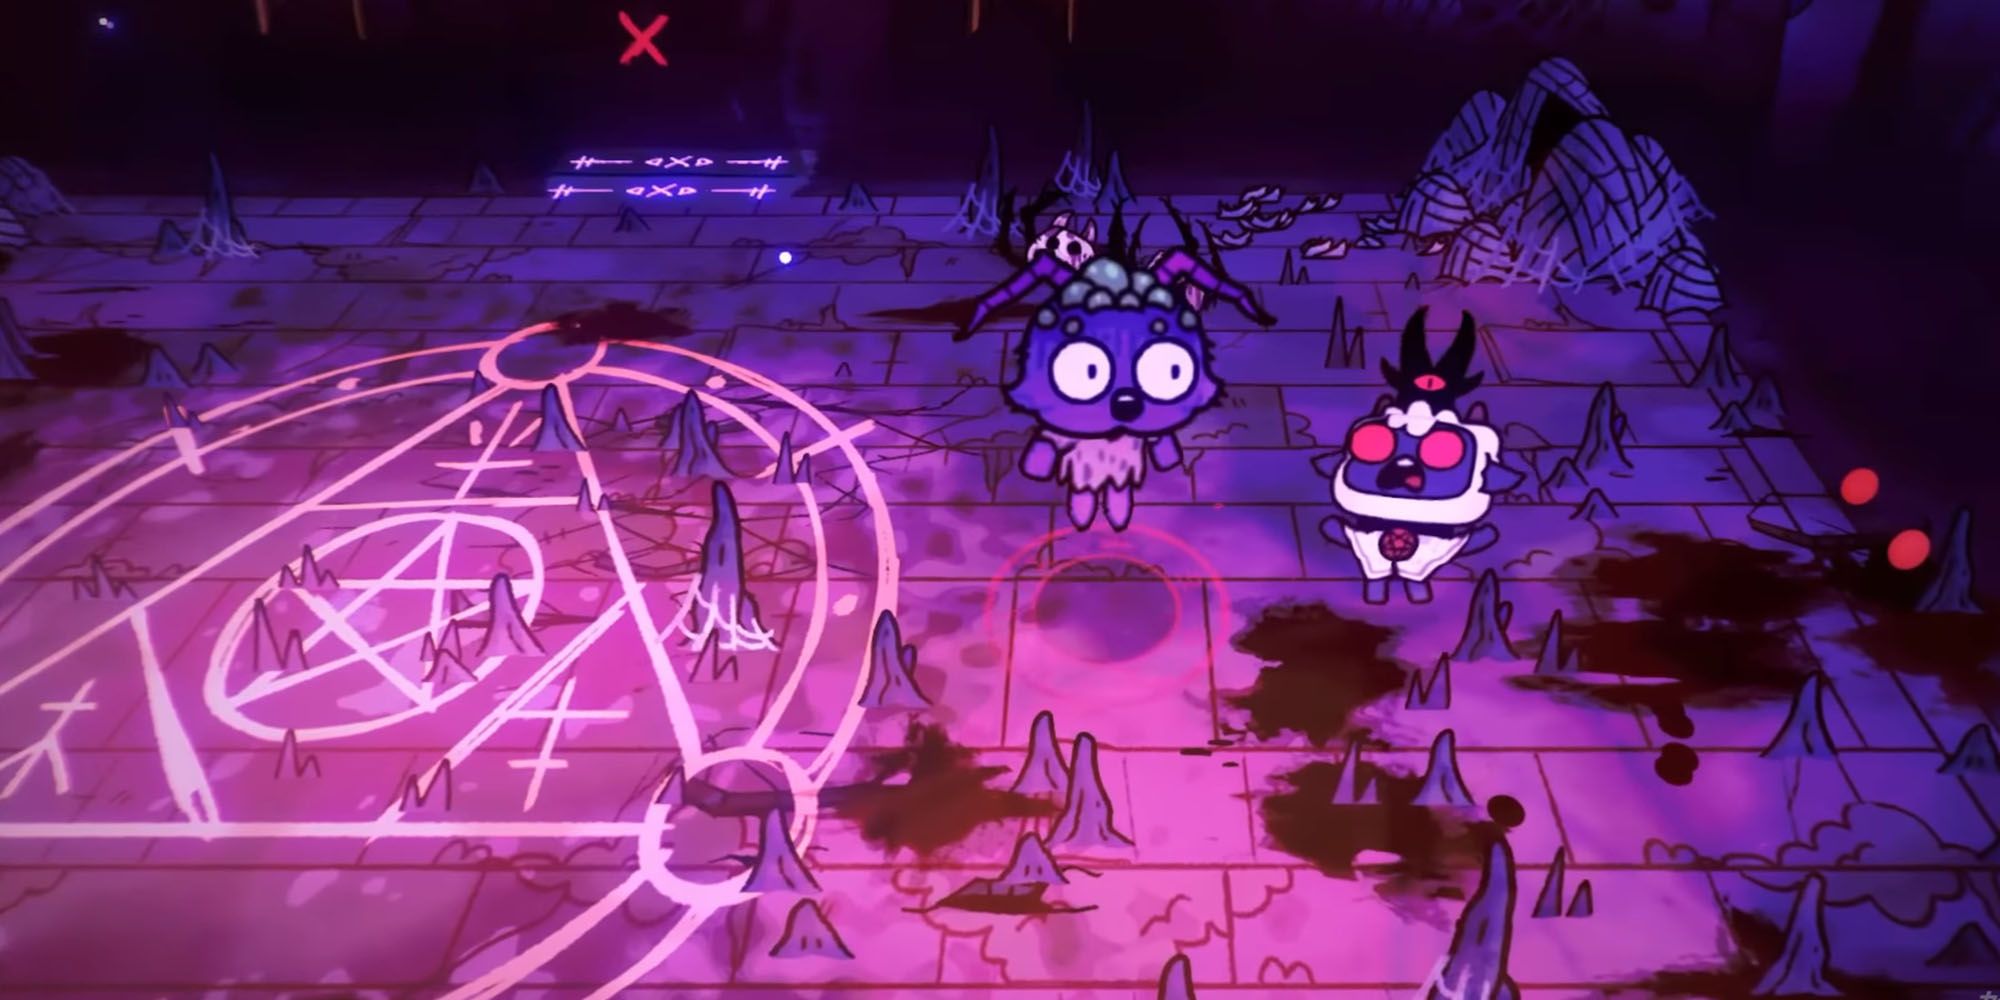
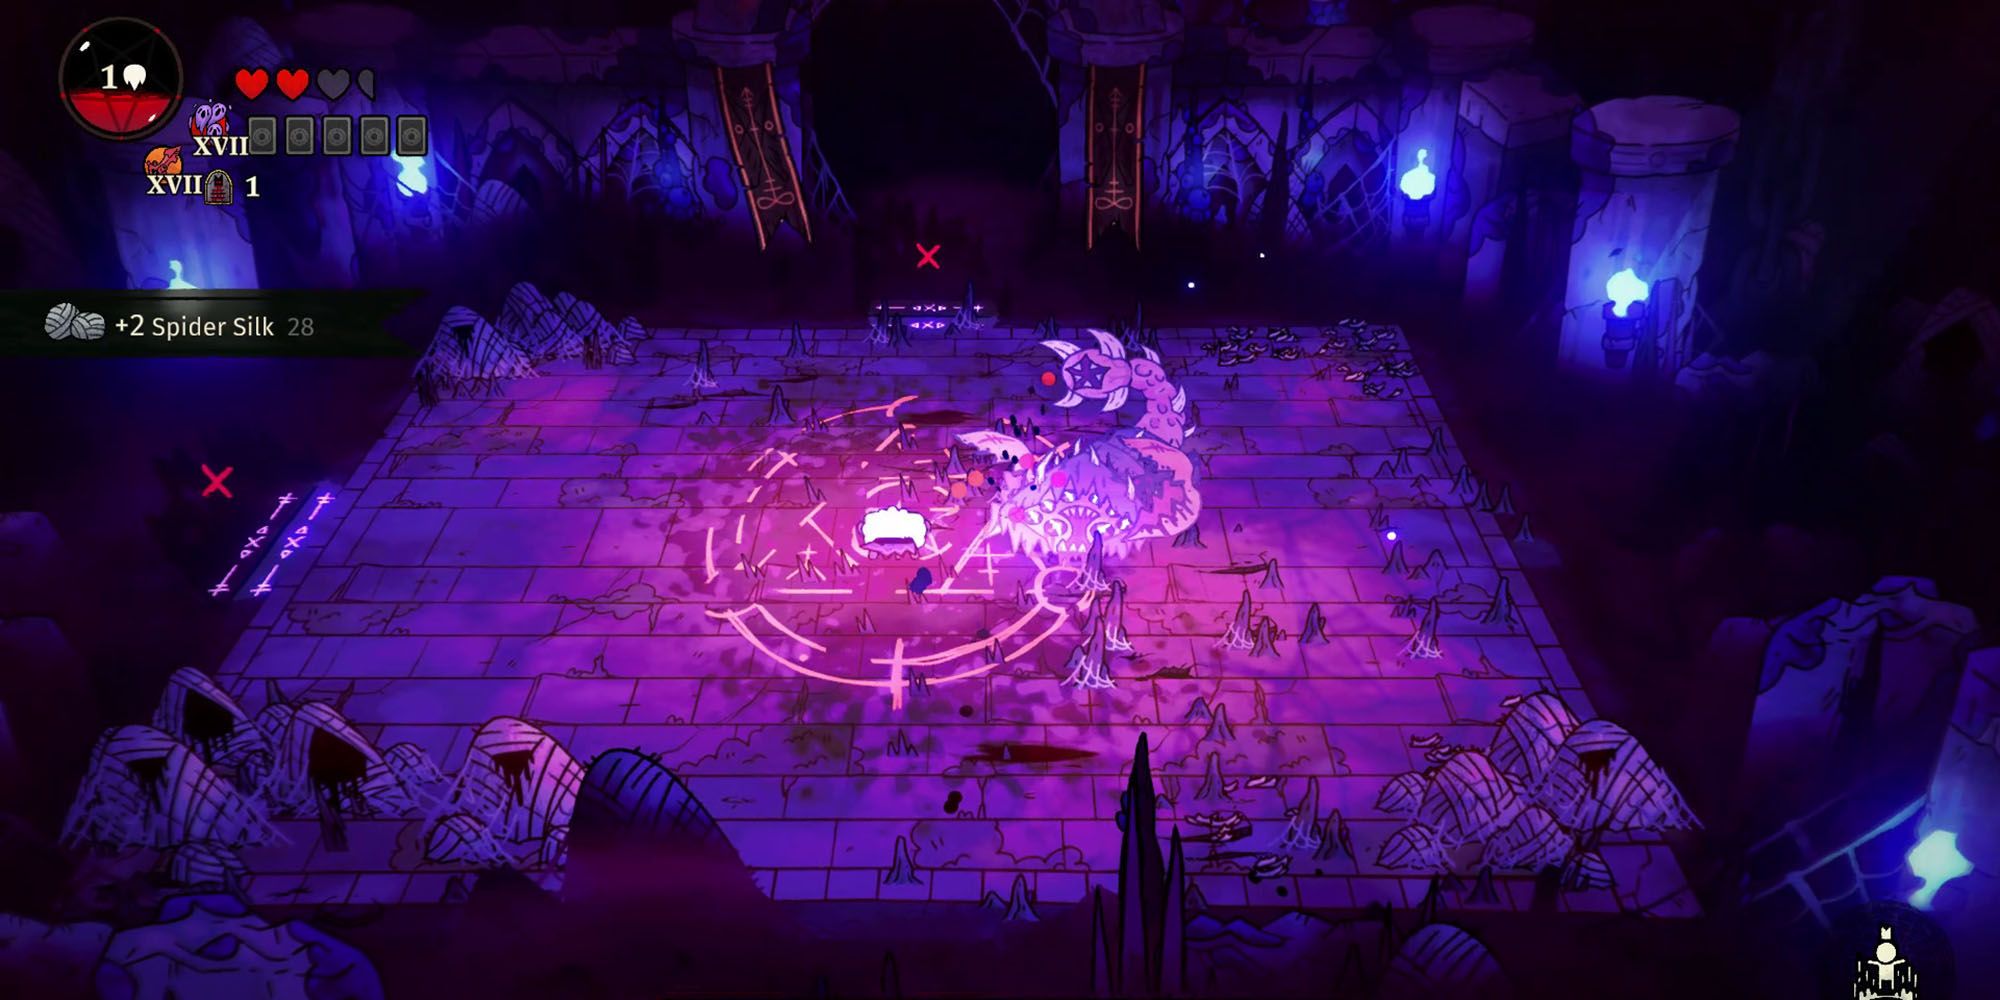
Silk Cradle is the final "Realm" that players will be crusading across in Cult of the Lamb, and it's one of the more atmospheric locations. This Cult-simulator, roguelite wonder is made by Massive Monster games and published by Devolver Digital, and it has such a weirdly adorable yet incredibly dark -charm to it.
For example, the Silk Cradle is a web-covered realm covered in skeletons, monsters, and rotting meat where players need to fight a gigantic spider, centipede, and scorpion. And, because it's the last "area" in the game, players are more likely to struggle with it than with the Bosses from the other Realms. So, let's go over all four bosses in Silk Cradle, where their attacks are, and how to beat them.
As always, when you beat these bosses, they'll turn into followers that you can recruit to your cult.
The First Boss: Focalor


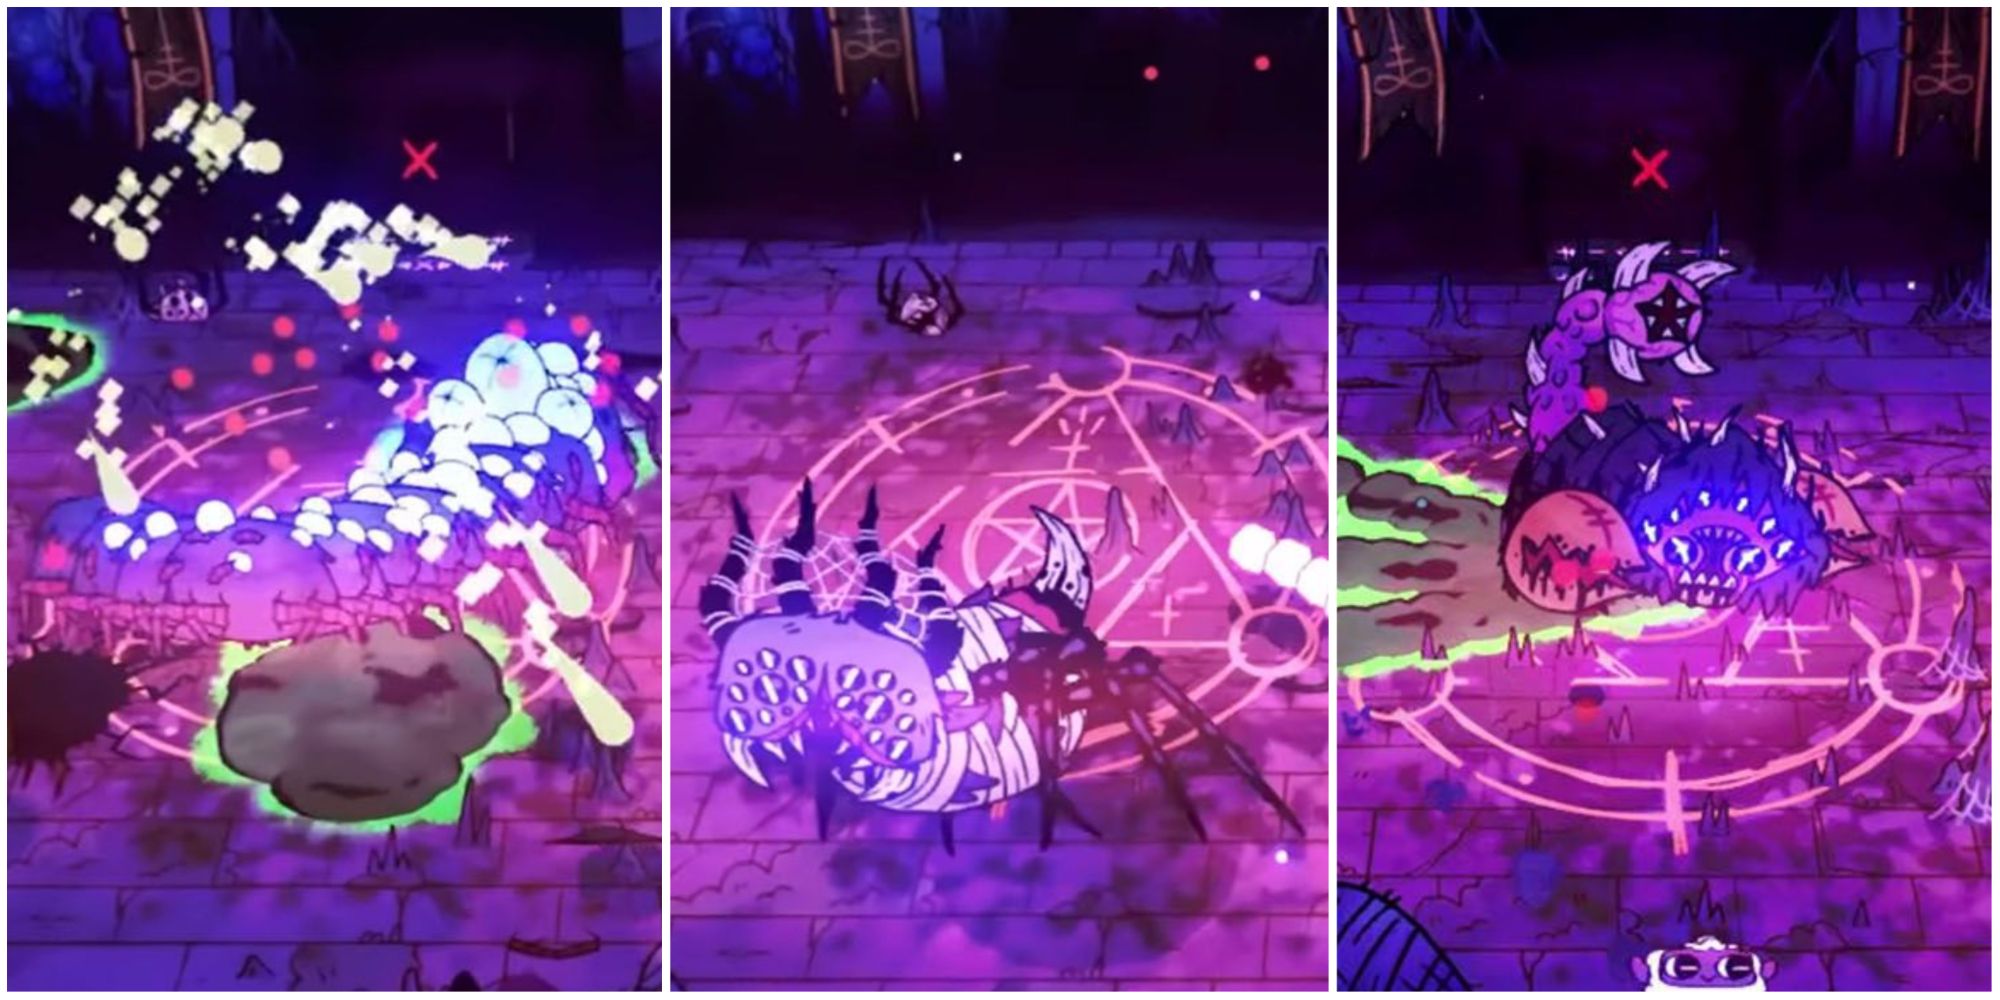
Focalor is the first boss players will be up against while trying to put down the fourth Bishop of the Old Faith, Shamura, and it actually shares a lot of similarities with the Bishop. For one, they're both spider-type enemies. Two, they actually have a few attacks in common - or that are at least similar. So, players should think of Focalor as basically the Shamura appetizer.
| Attack | Description | Best Response |
|---|---|---|
| Charging Attack | Focalor charges up, glowing white, then charges forward with eyes closed. | Roll at any point while it's glowing white, and it should avoid the attack. |
| Spider Projectiles | Charges up white and fires a "wave" of white projectiles from its abdomen toward the Lamb's location. | Wait for it to fire, then roll to either side of it. |
| Web Up & Slam Down | Focalor expels a string of web from its abdomen and then pulls itself off-screen. Next, a telegraph appears on the ground showing where it'll land before Focalor comes crashing back down. On impact, it fires white projectiles in all directions before needing to briefly recover. Additionally, it will often spawn two small spiders when webbing off-screen. | Use the time it's off-screen to take out the small moves, get a decent distance from the telegraph, and roll through the projectiles when it lands. |
The Second Boss: Vephar


Next up is Vephar, the disgustingly long centipede boss with a whole swath of what appears to either be egg sacs or pustules on its back. Now, Vephar is actually the most simple of the four bosses and might be the boss with the least attack patterns in the game.
Not including the mobs that automatically spawn, Vephar only has two attacks. That said, these attacks can stack up damage deceptively well, so players should still be at least a bit cautious when attacking.
| Attack | Description | Best Response |
|---|---|---|
| Mob Summon | At the start of the fight, two random Silk Cradle mobs will spawn from pools of Ichor next to Vephar. Then, throughout the fight, more will spawn from time to time | Not really all too invasive, just take the mobs out when it's most convenient. |
| Spike Defense | Quickly charges up bright white before extending spikes out all over its body that damage the Lamb on contact. | Can still be hit with spikes out, otherwise, just avoid it until the spikes retract. |
| Poison Spray | Same charging animation as Spike Defense but unleashes a volley of Poison globs in a spread the leave behind puddles of Poison for a couple of seconds. | Poison builds slowly in this game so just try and stay out of the puddles until they disappear. |
The Third Boss: Hauras


The last "mini-boss" before the real deal is Hauras, this odd scorpion-esque monster with a second "mouth" on the end of its tail instead of a stinger. Now, technically Hauras has two attacks "patterns" just like Vephar, but the tail attack does have two different variations.
Basically, when attacking with its tail, Haruas can unleash a variety of different projectile patterns or even some globs of poison. That said, overall, this boss is pretty simple to fight.
| Attack | Description | Best Response |
|---|---|---|
| Tail Charge: Projectiles | Hauras extends its tail outward and upward while charging up bright white, then unleashes a wave of projectiles towards Lamb. | Wait for the projectiles to fire, then roll to either side, and it's easy to avoid the attack. |
| Tail Charge: Poison Spray | Same animation leadup as the Projectiles variant, but instead Hauras launches three Poison Globs in a fan-formation that leaves trails of Poison underneath them. | Be cautious of the Poison on the ground, but otherwise, the Globs are easy enough to roll through. |
| Charging Attack | Opens its pincers, charges up bright white, and then physically charges forward across the arena. | Roll before Hauras moves at all, and the attack should be easily avoided. If the timing is off, just roll straight down or straight up, and most times Hauras will miss, too. |


