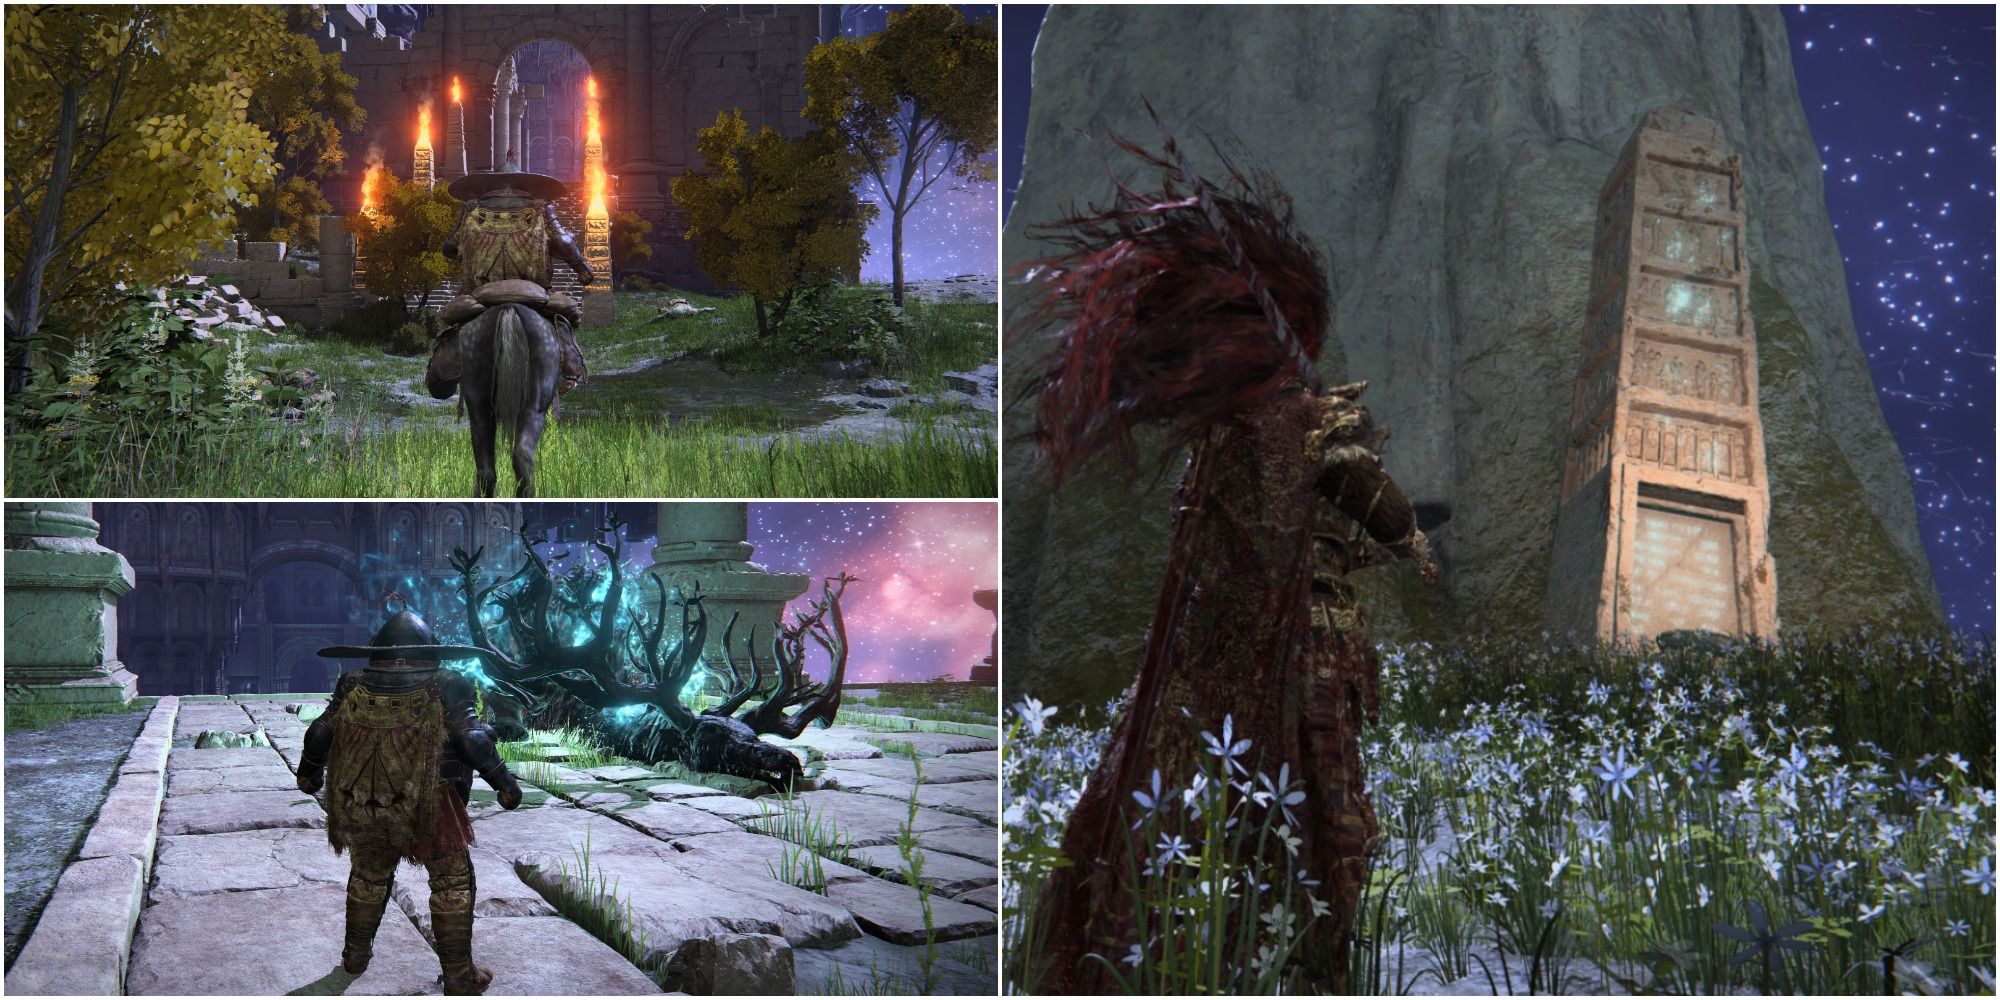
Elden Ring has many secrets to discover in its vast, dense world, with the Eternal City of Nokron being amongst the best offerings. While not nearly as expansive an area as the Siofra River, Nokron has arguably more brutal encounters and trickier braziers, making it a much more challenging task overall.
However, the good news is there are only six braziers you need to light in Nokron, Eternal City, rather than eight, which makes the challenge a bit more doable in the grand scheme of things. Additionally, the region where the braziers are found is significantly smaller than Siofra River, offering a more compact challenge that doesn't feel impossible.
Overview
After defeating the Mimic Tear mini-boss in Nokron, Eternal City, you will come across a small, densely packed area with six braziers to find, and ignite, scattered around the region. However, several enemies guard each brazier, making things more challenging if you get too careless. But, overall, this region isn't much more complicated than the one found in Siofra River. If you could tackle that challenge, this one shouldn't be much of an issue for you!
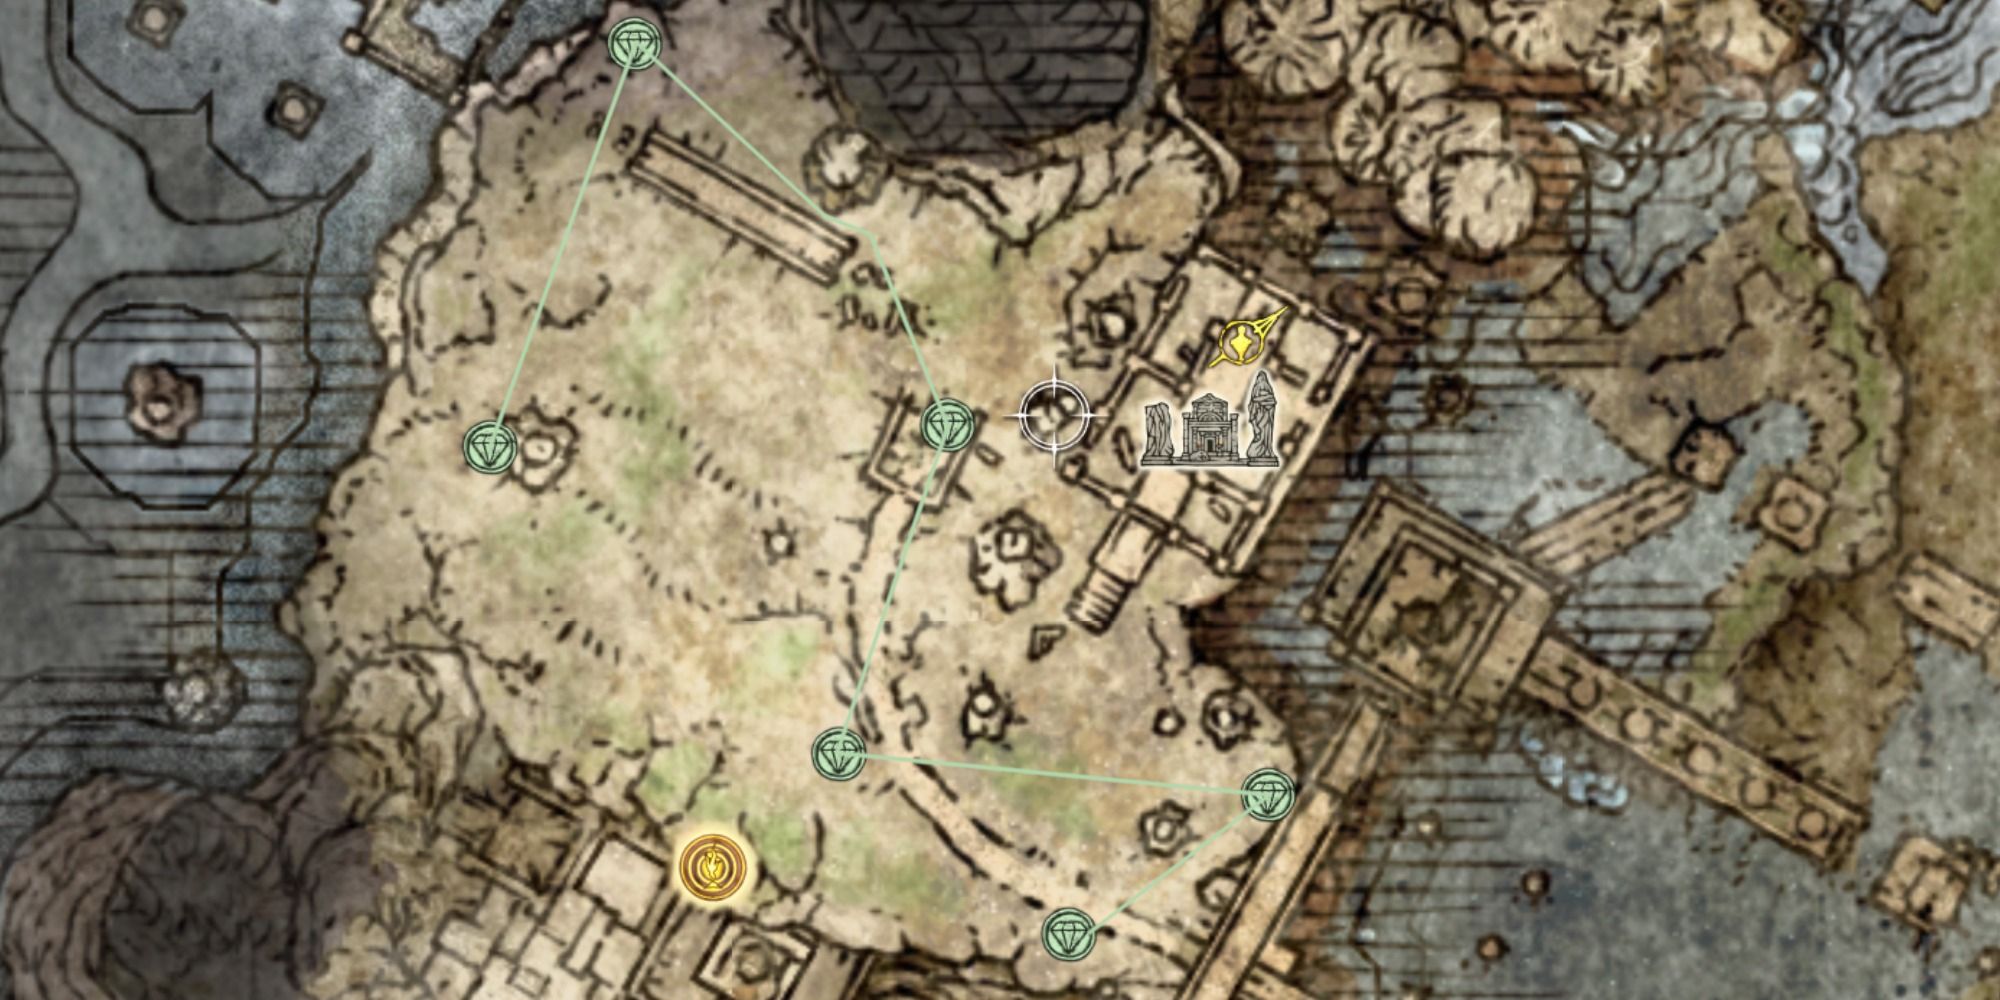
This guide focuses on the braziers, their location, enemy placement, and the best way to tackle each of them but not the Regal Ancestor Spirit boss fight that follows. Additionally, the map above shows the most optimal route, starting from the south end of the map and the entrance to the area. Please note that the map above only highlights the most optimal pathway, and a more detailed, step-by-step guide can be found below!
Brazier Locations
Igniting the braziers scattered around Nokron, Eternal City, will light a corresponding obelisk in the northeastern part of the map called the Hollowhorn Grounds. The Hollowhorn Grounds is where you will travel to face the area's boss, Regal Ancestor Spirit, which is a tad different encounter than the Ancestor Spirit fight found in the Siofra River. Though, for the most part, the mechanics and strategy remain the same.
This area can be quite challenging due to enemy placement and composition, so be prepared before coming here. However, since you can only access this area after taking down Starscourge Radahn, you should be more than capable of tackling this. We will warn you that there is a Red Wolf here, which can prove challenging to many, especially ranged-based users. So, if the Raya Lucaria Academy gave you issues, prepare accordingly before attempting this!
Brazier 1
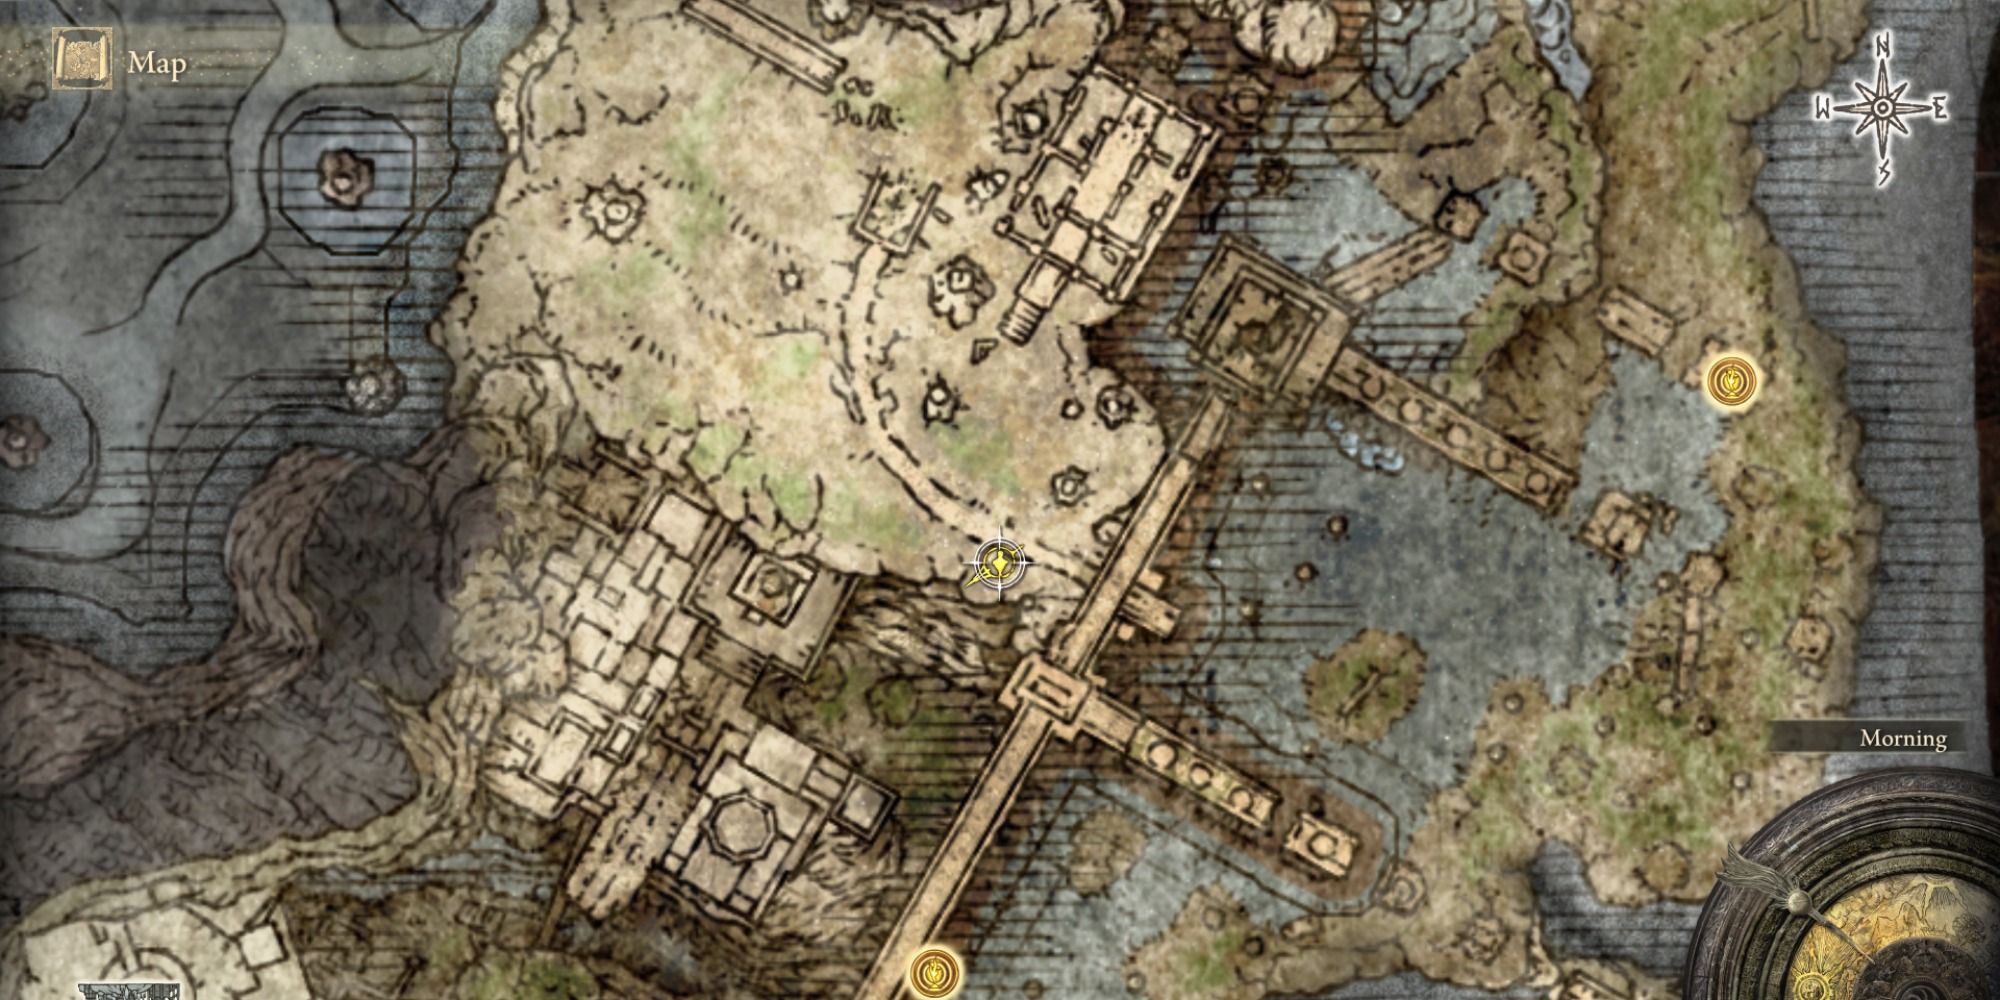
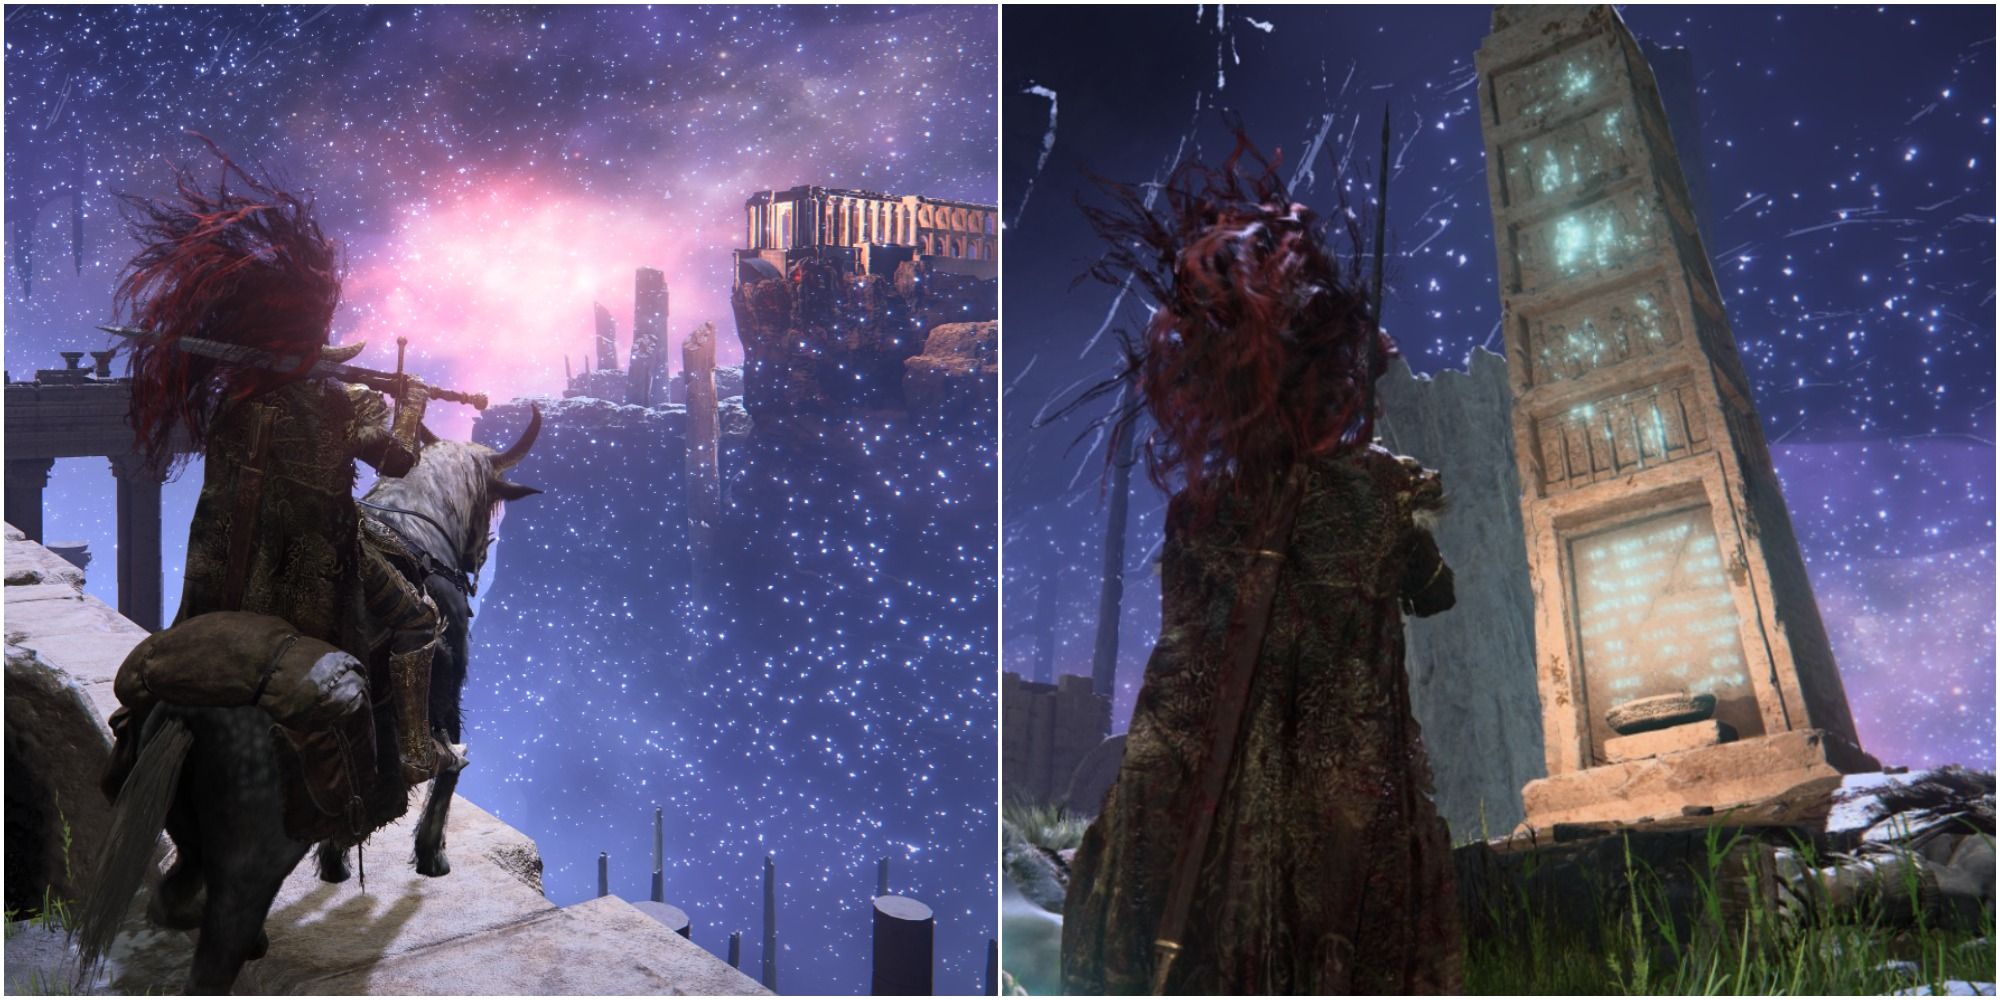
The first brazier is the easiest of the bunch and is accessible almost immediately upon entering the area. When entering the region from the large bridge accessible after defeating the Mimic Tear mini-boss, you will see an obelisk directly to the left at the start of a road. You can ignite the brazier without getting into combat, but be mindful of the two patrolling Ancestral Followers coming down the street. We recommend taking them down after lighting the brazier and moving forward.
Brazier 2
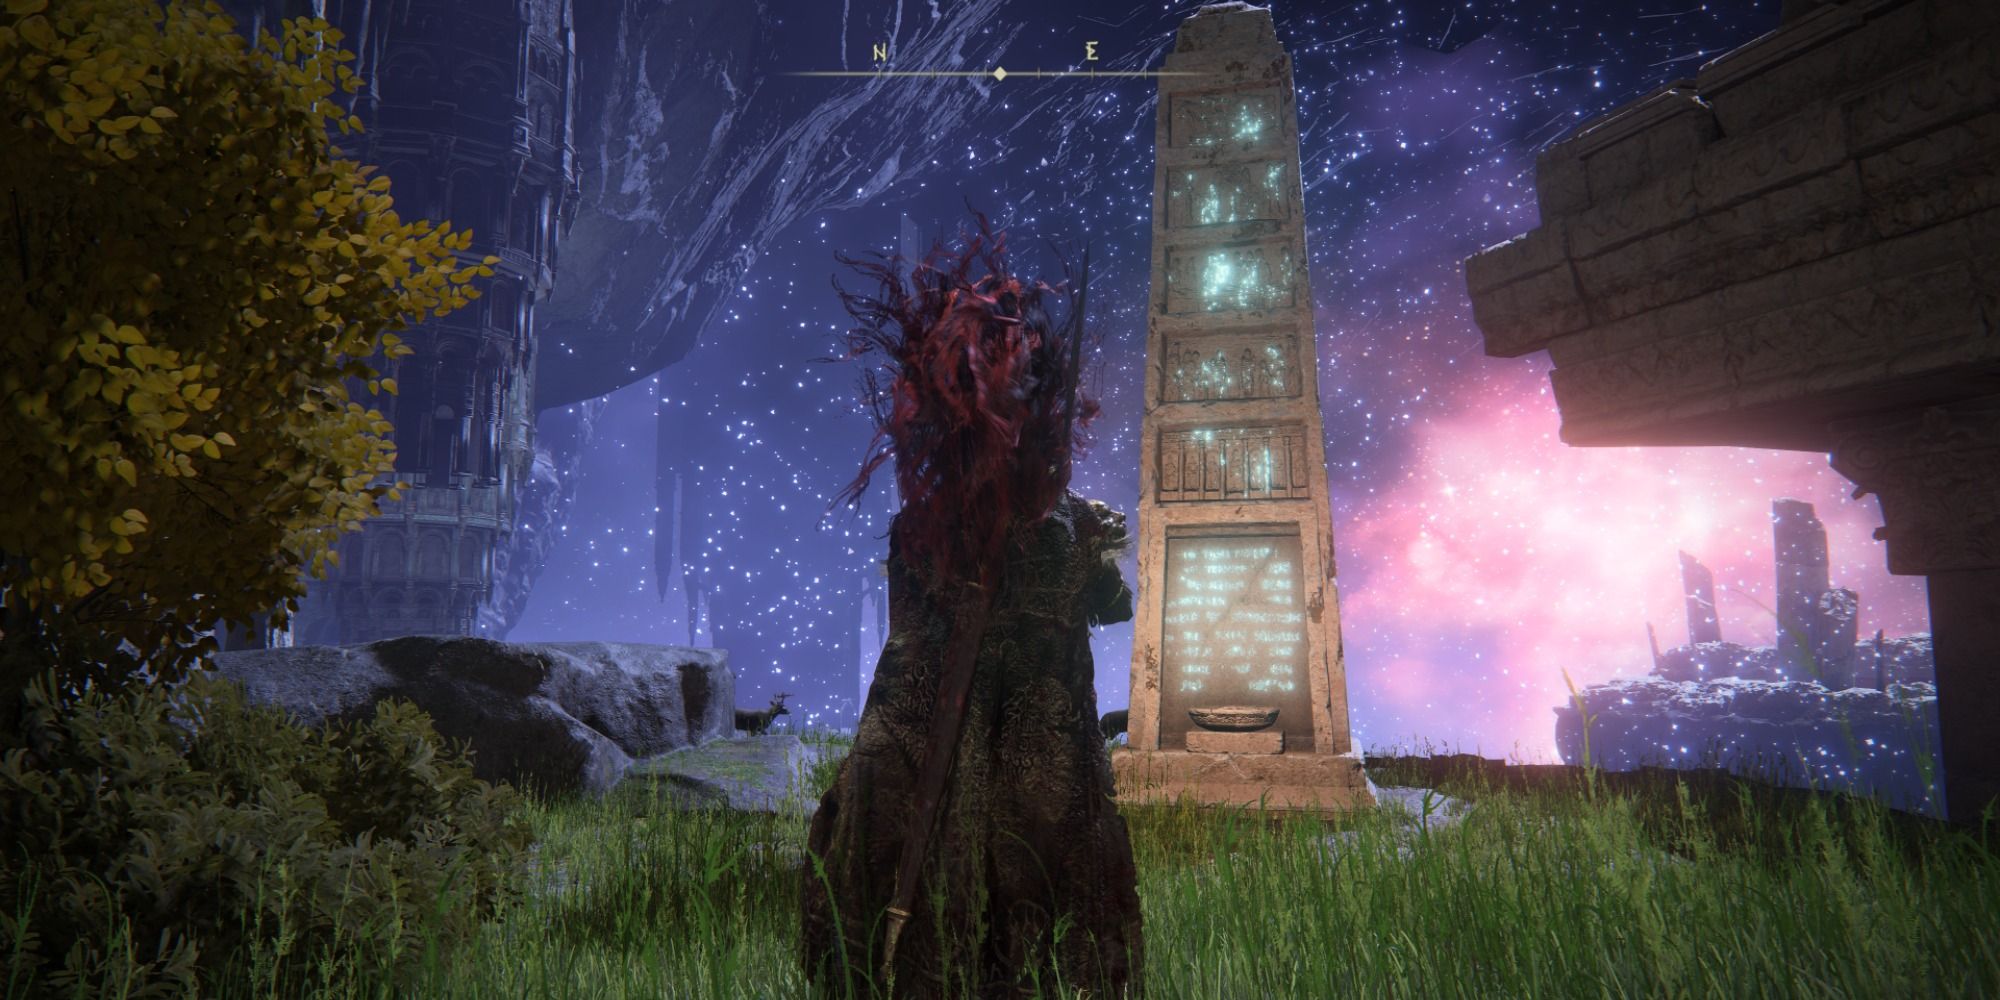
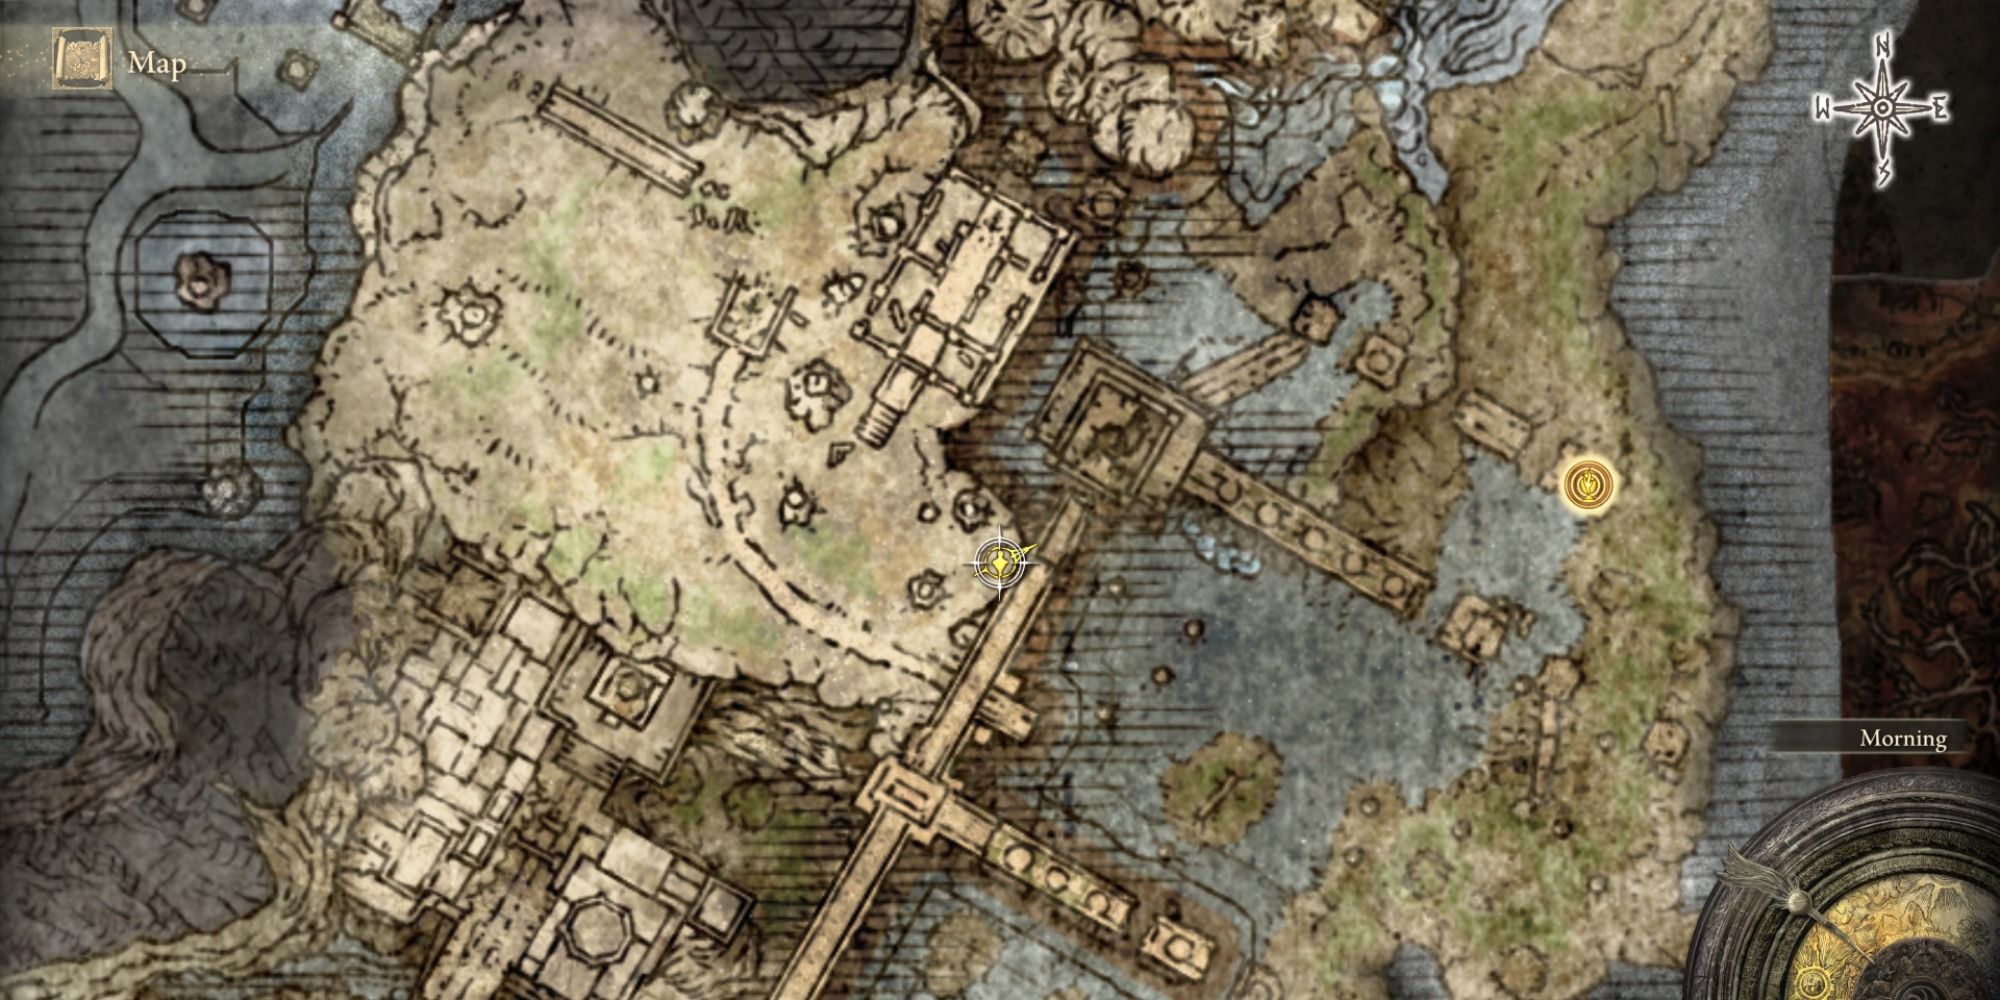
From the last brazier, turn around and head across the road, and continue to head straight until you see another group of Ancestral Followers. Take them out however you seem fit. You should see the obelisk standing near the edge of the cliffside overlooking the starry sky. Light the brazier and remain put not to attract any more enemies.
Brazier 3
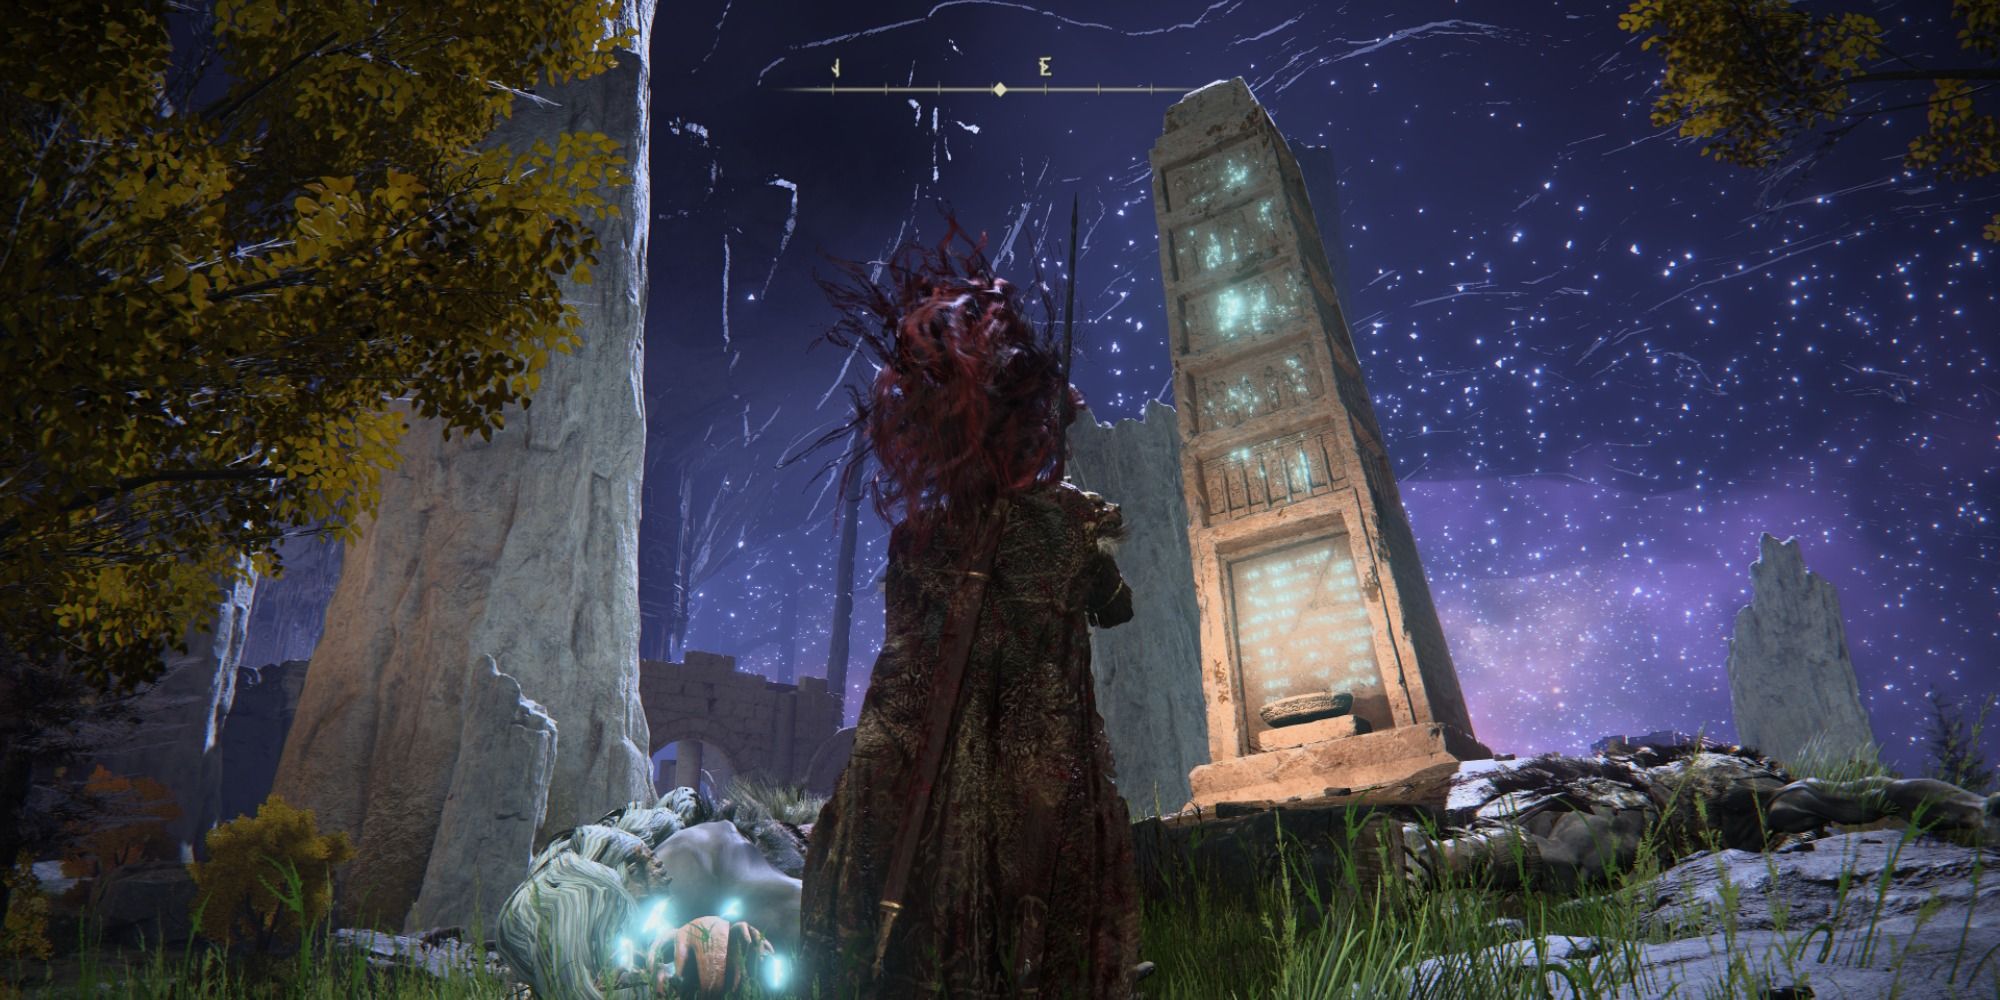
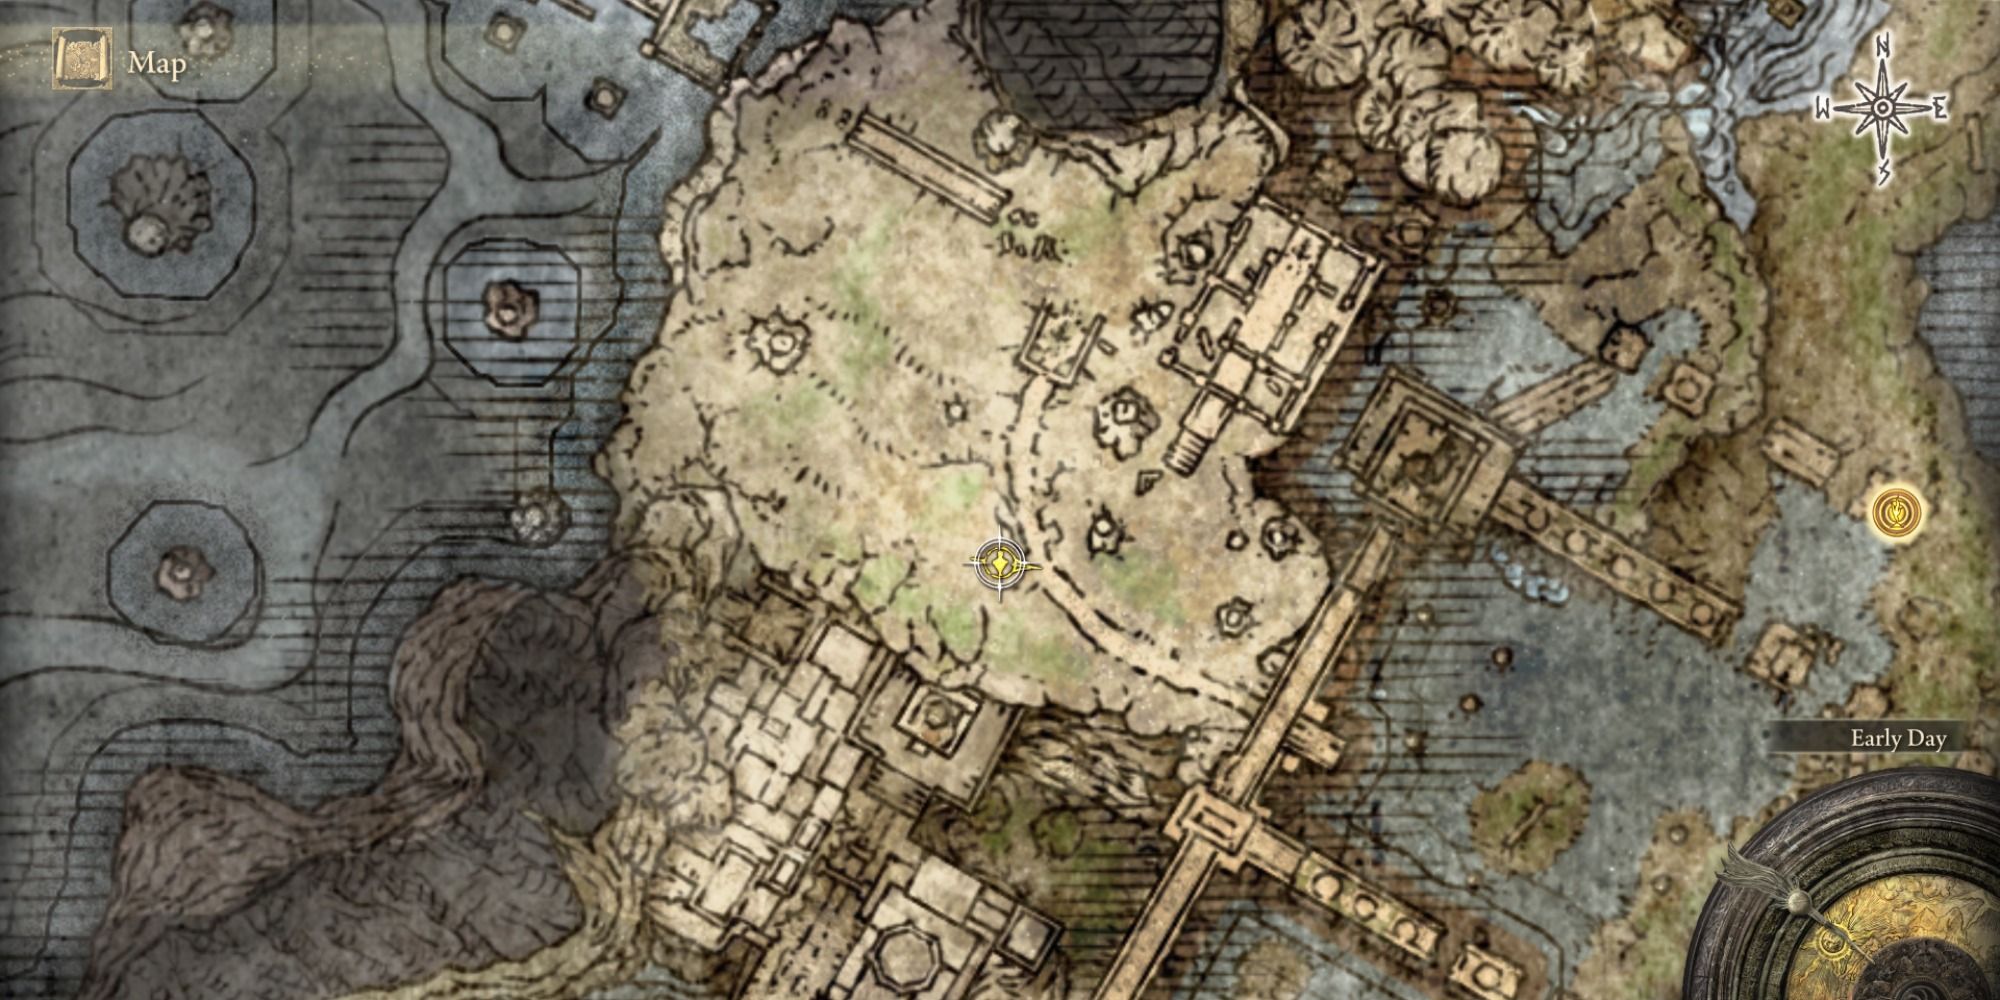
After lighting the second brazier, double back to the first one you lit, and head north while sticking as far to the left of the route as possible. You will see a singing Ancestral Follower standing at the edge of a cliff, in front of the brazier. Sneak up behind the singing Ancestral Follower and swiftly take her down, then immediately prepare for two standard Ancestral Followers to run at you. Eliminate them, light the brazier and get ready for the next one!
Brazier 4
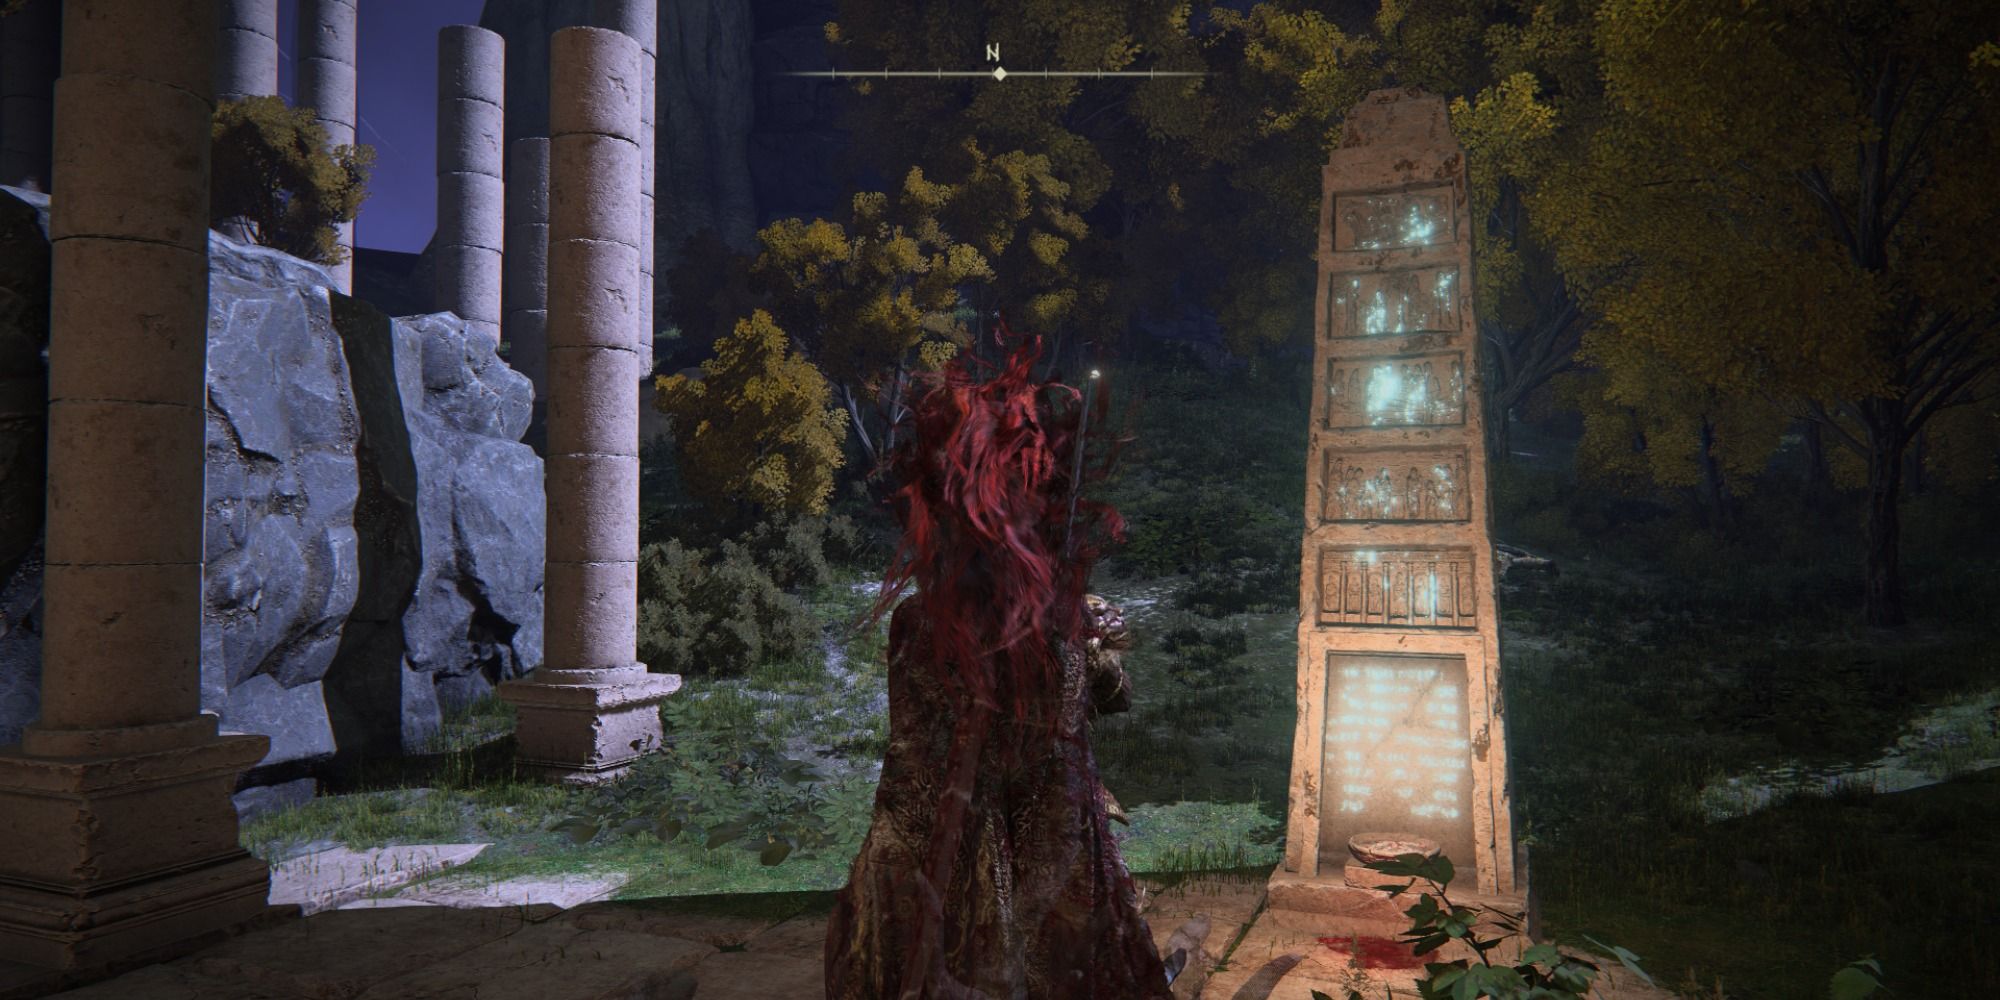
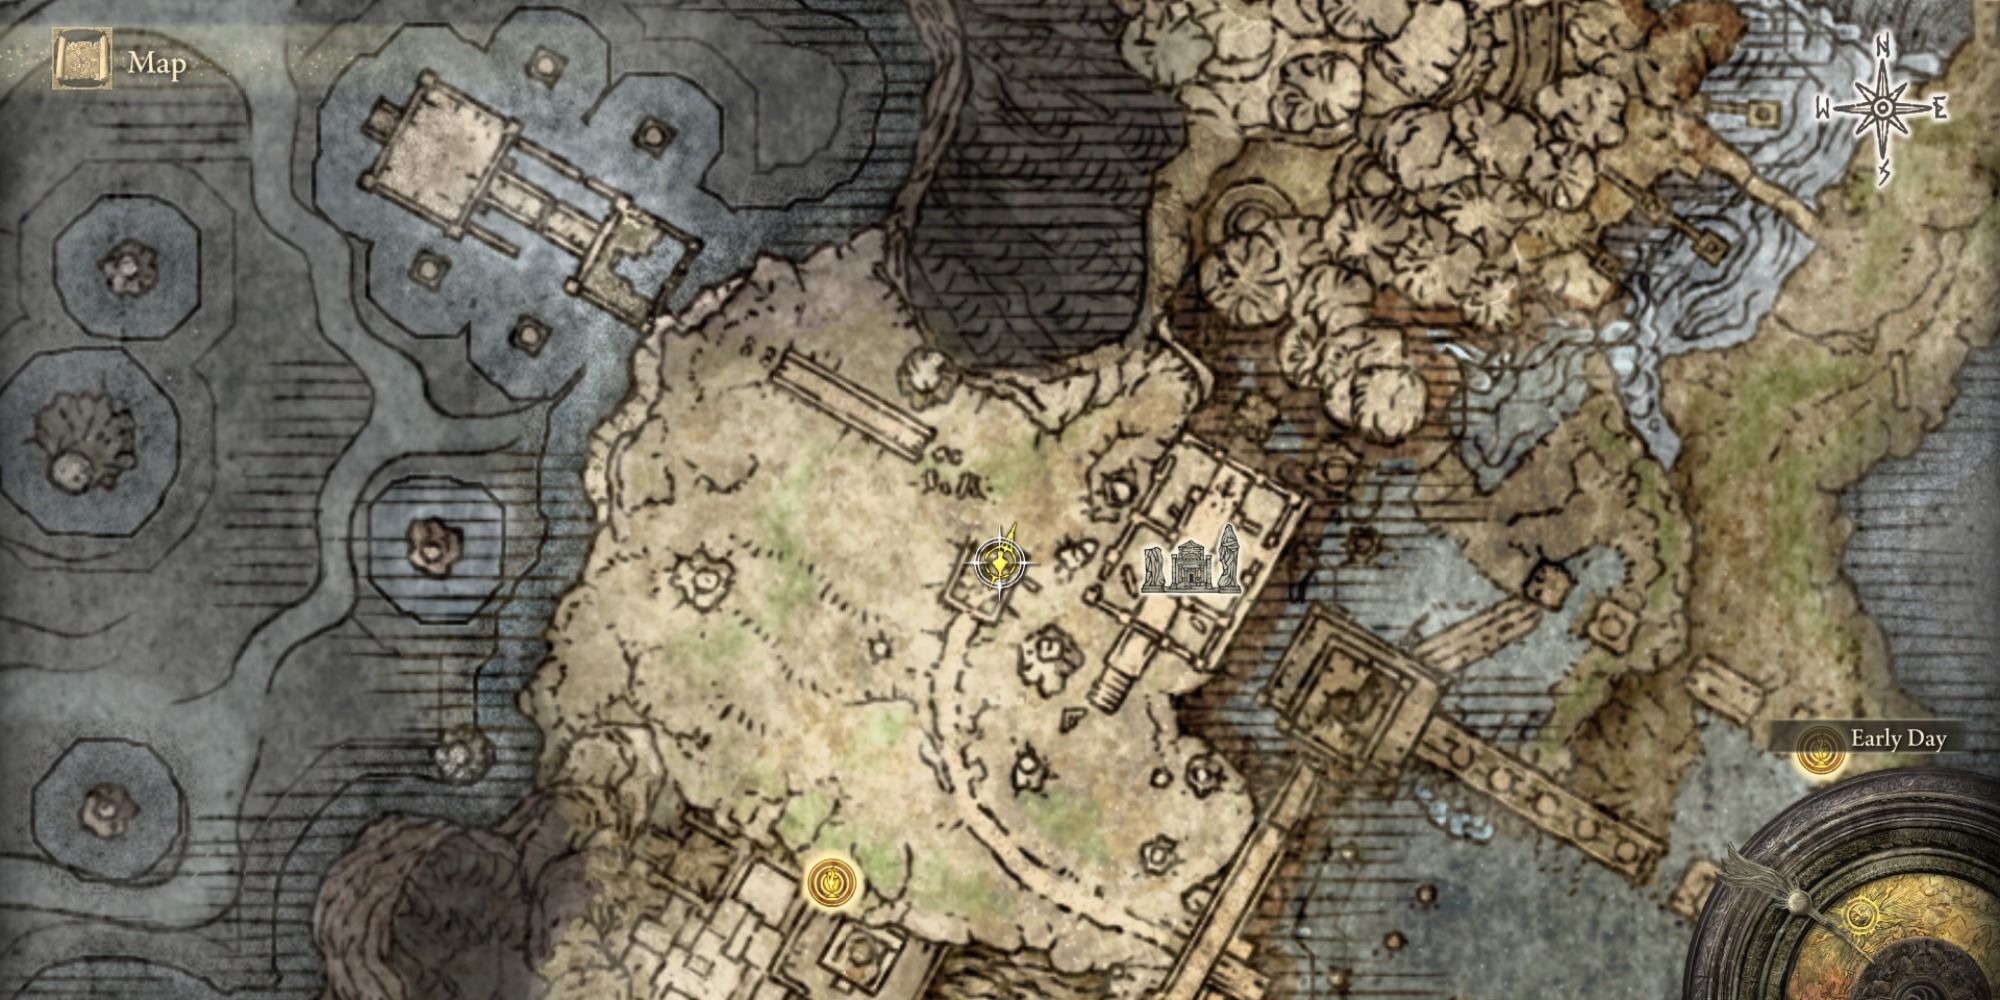
Following the last brazier, head to the cliffside where the singing Ancestral Follower was and look forward. You will see the road end in a small area with stone pillars. There will be a singing Ancestral Follower here and three standard ones. We recommend trying to lure out each of the standard Ancestral Followers towards you and picking them off one by one, then focusing on the singing one. You can eliminate every Ancestral Follower without being detected if you go in stealthily and patiently. After that, light the brazier and continue onto the next one!
Brazier 5
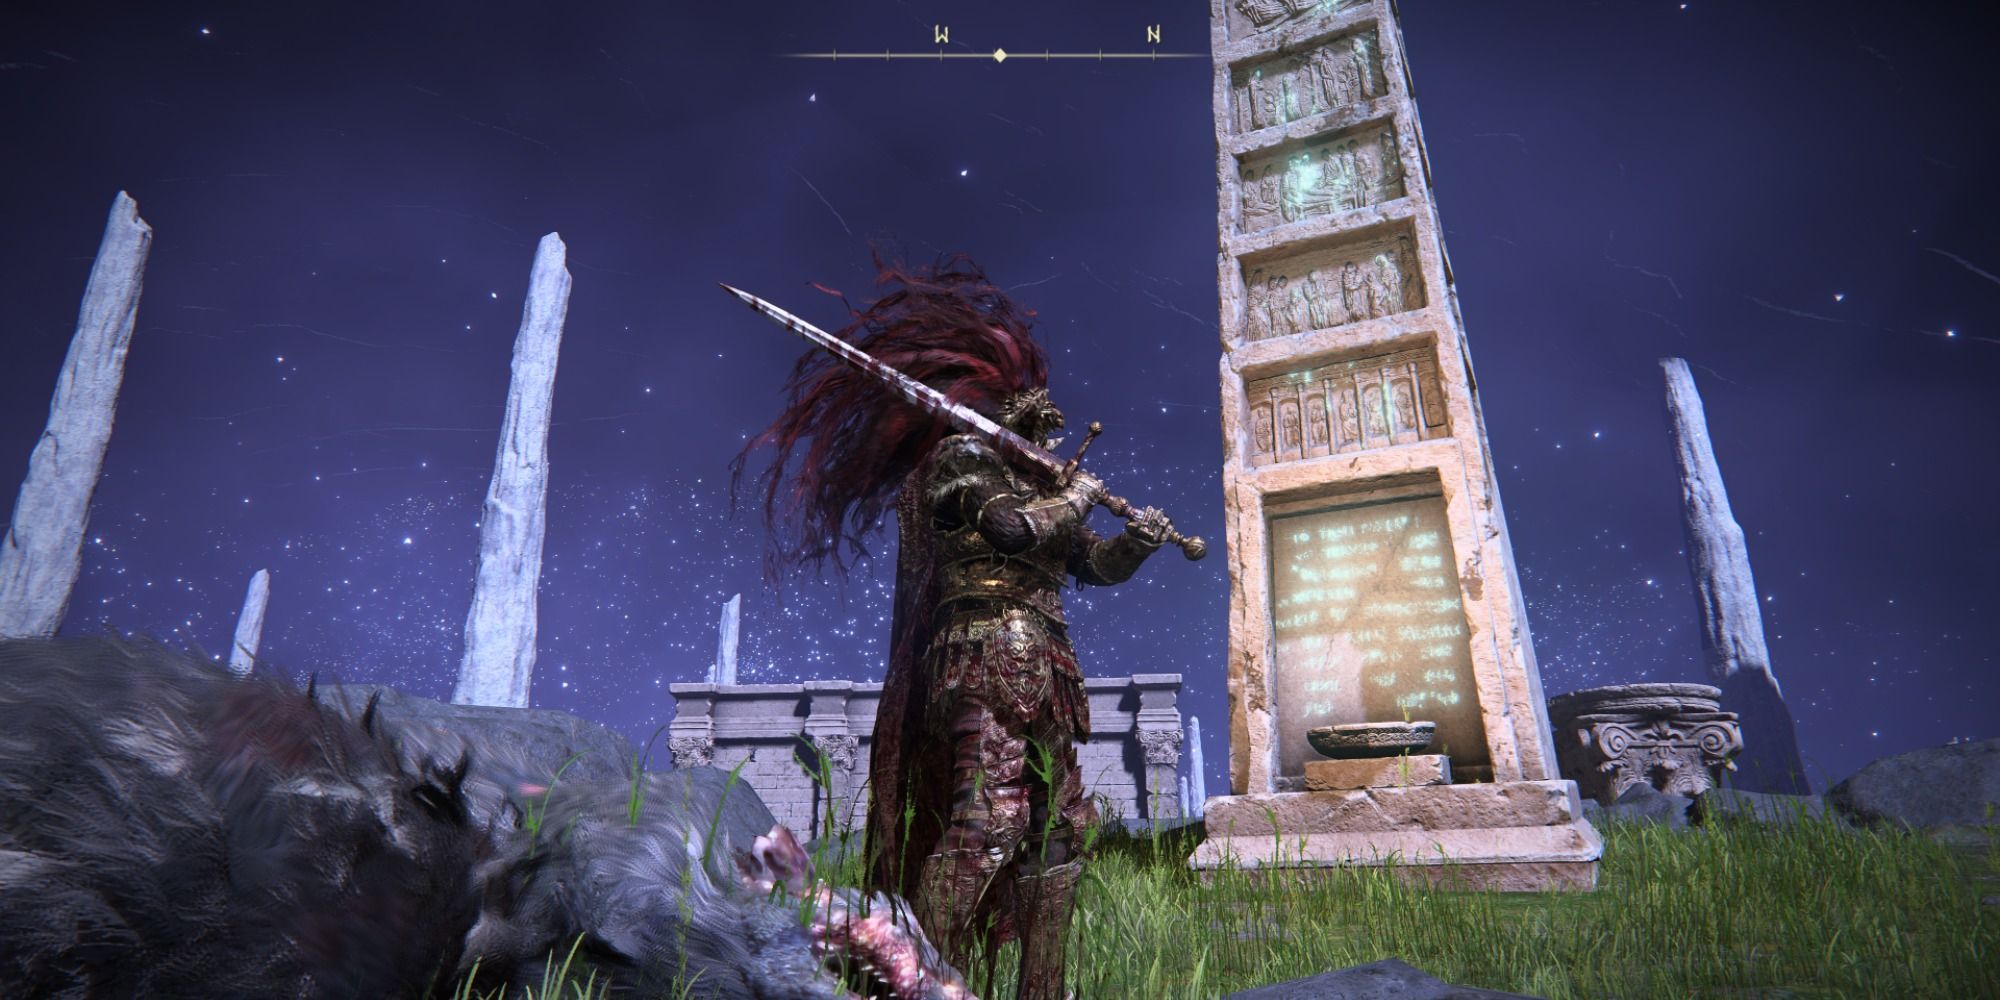
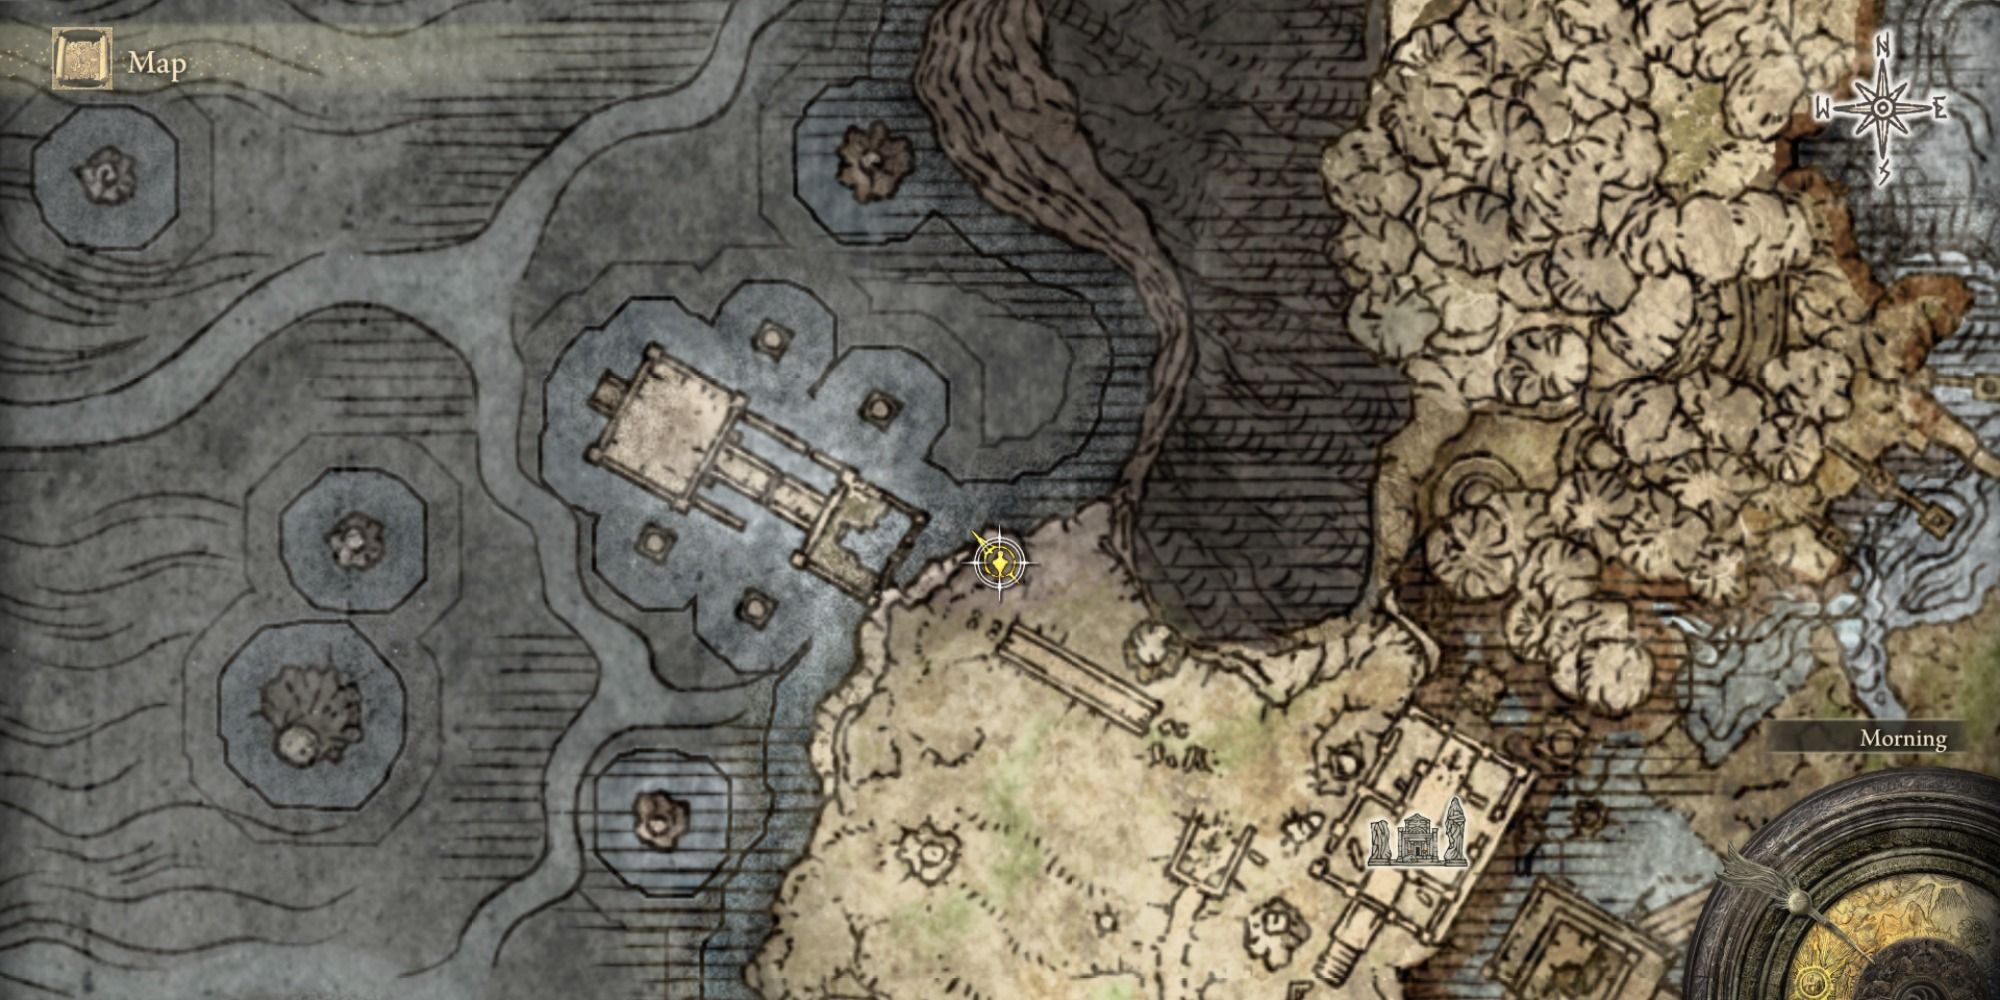
Next up is a bit of a tricky one, but we will try our best to steer you in the right direction. After lighting the fifth brazier, exit from the open part of the stone pillars and continue heading straight until you see a large stone structure with a narrow pathway on the left. On your map, look for a long rectangular structure with a mountain beside it, and head towards the small opening. Avoid the open fields at all costs here. You do not want to attract the attention of the wolves that are running around in the area. Once you pass through the narrow walkway, you will see the obelisk standing on the cliffside with several rats in the area and two Ancestral Followers staring off the cliffside. Lure the rats out one by one, then light the brazier. After that, eliminate the Ancestral Followers however you seem fit, then prepare for the final and most challenging brazier of the group.
Brazier 6
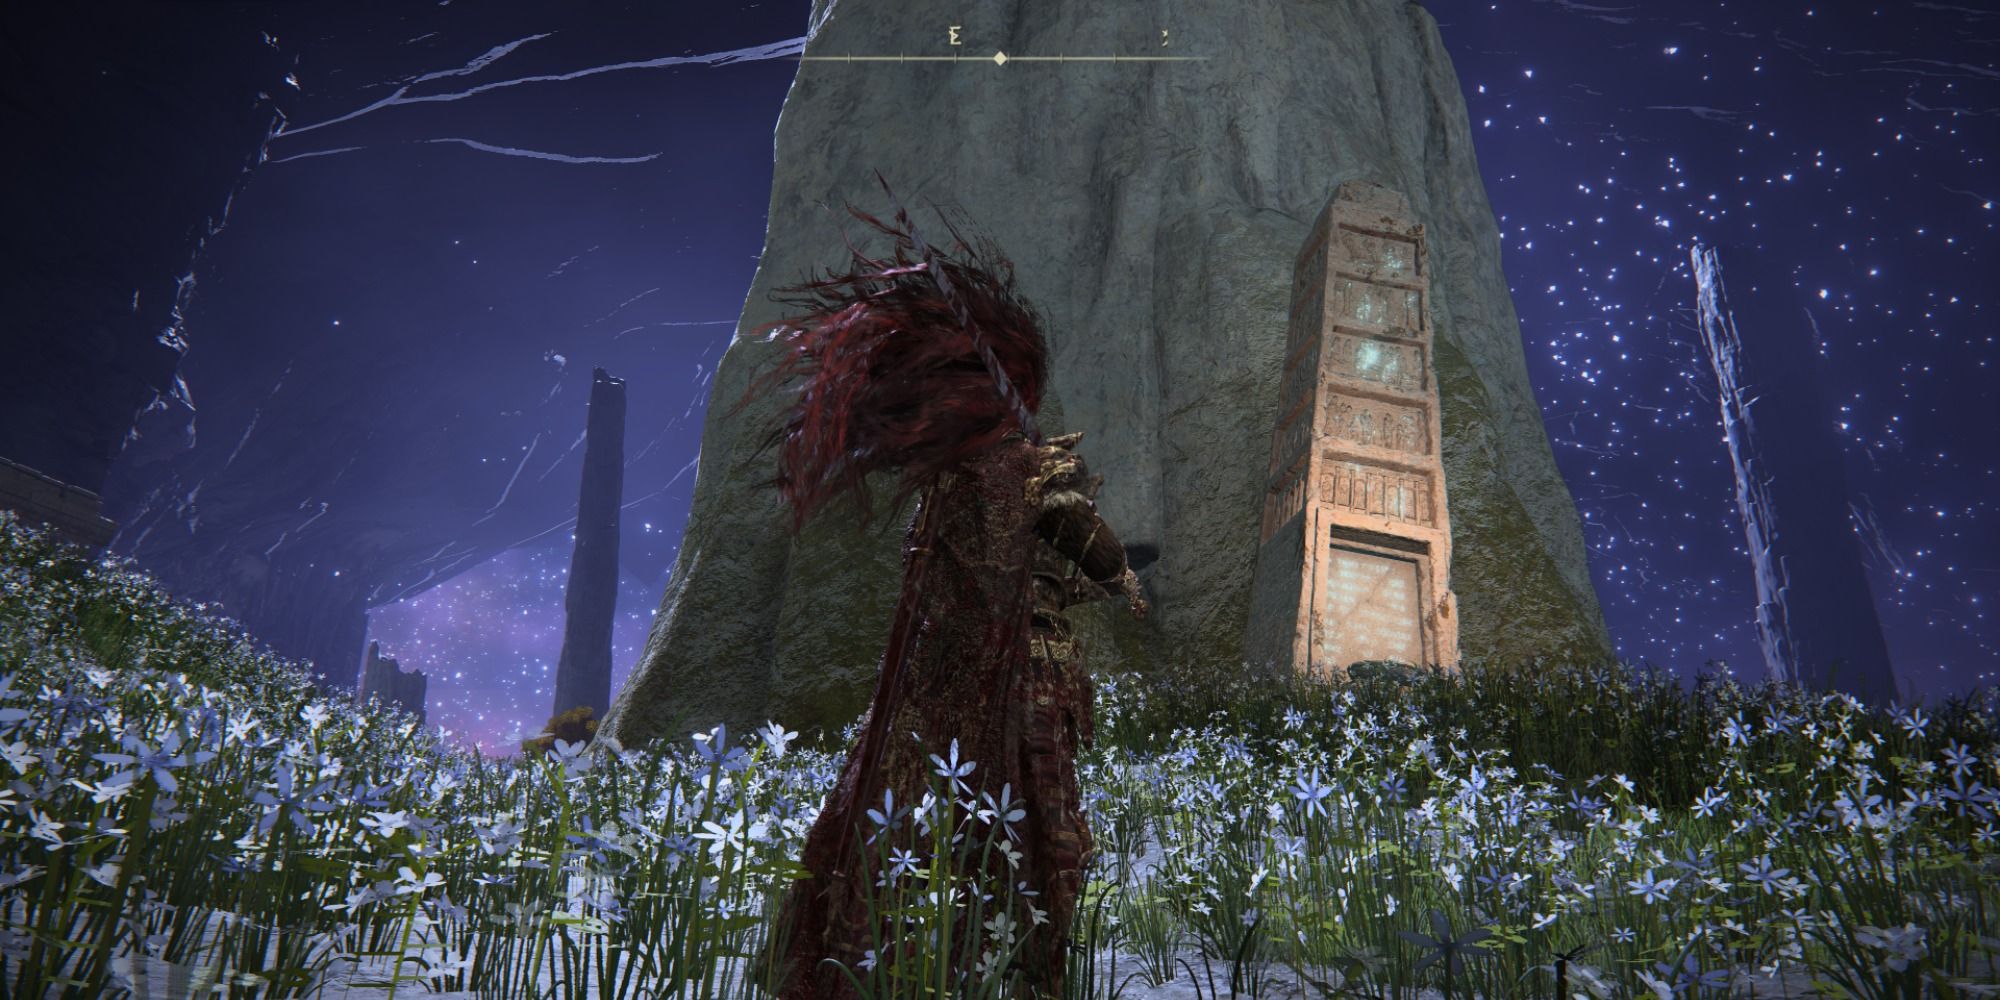
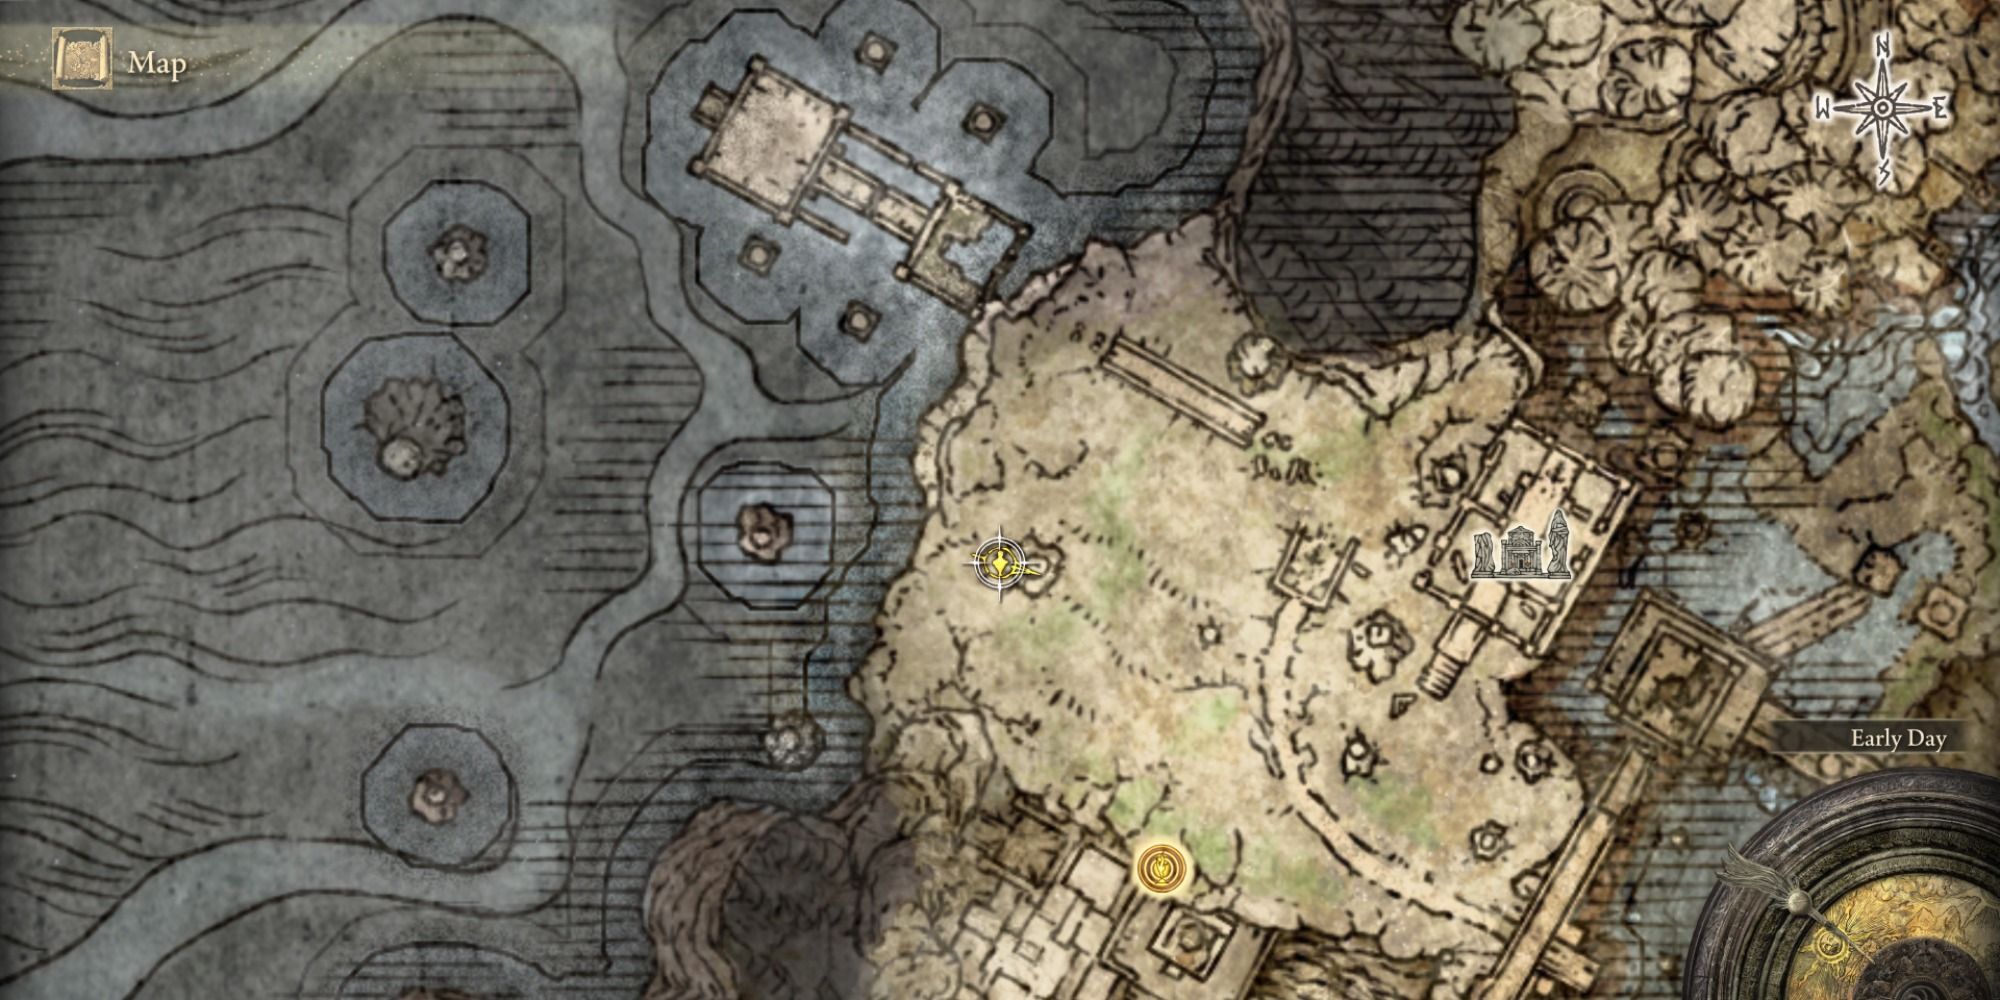
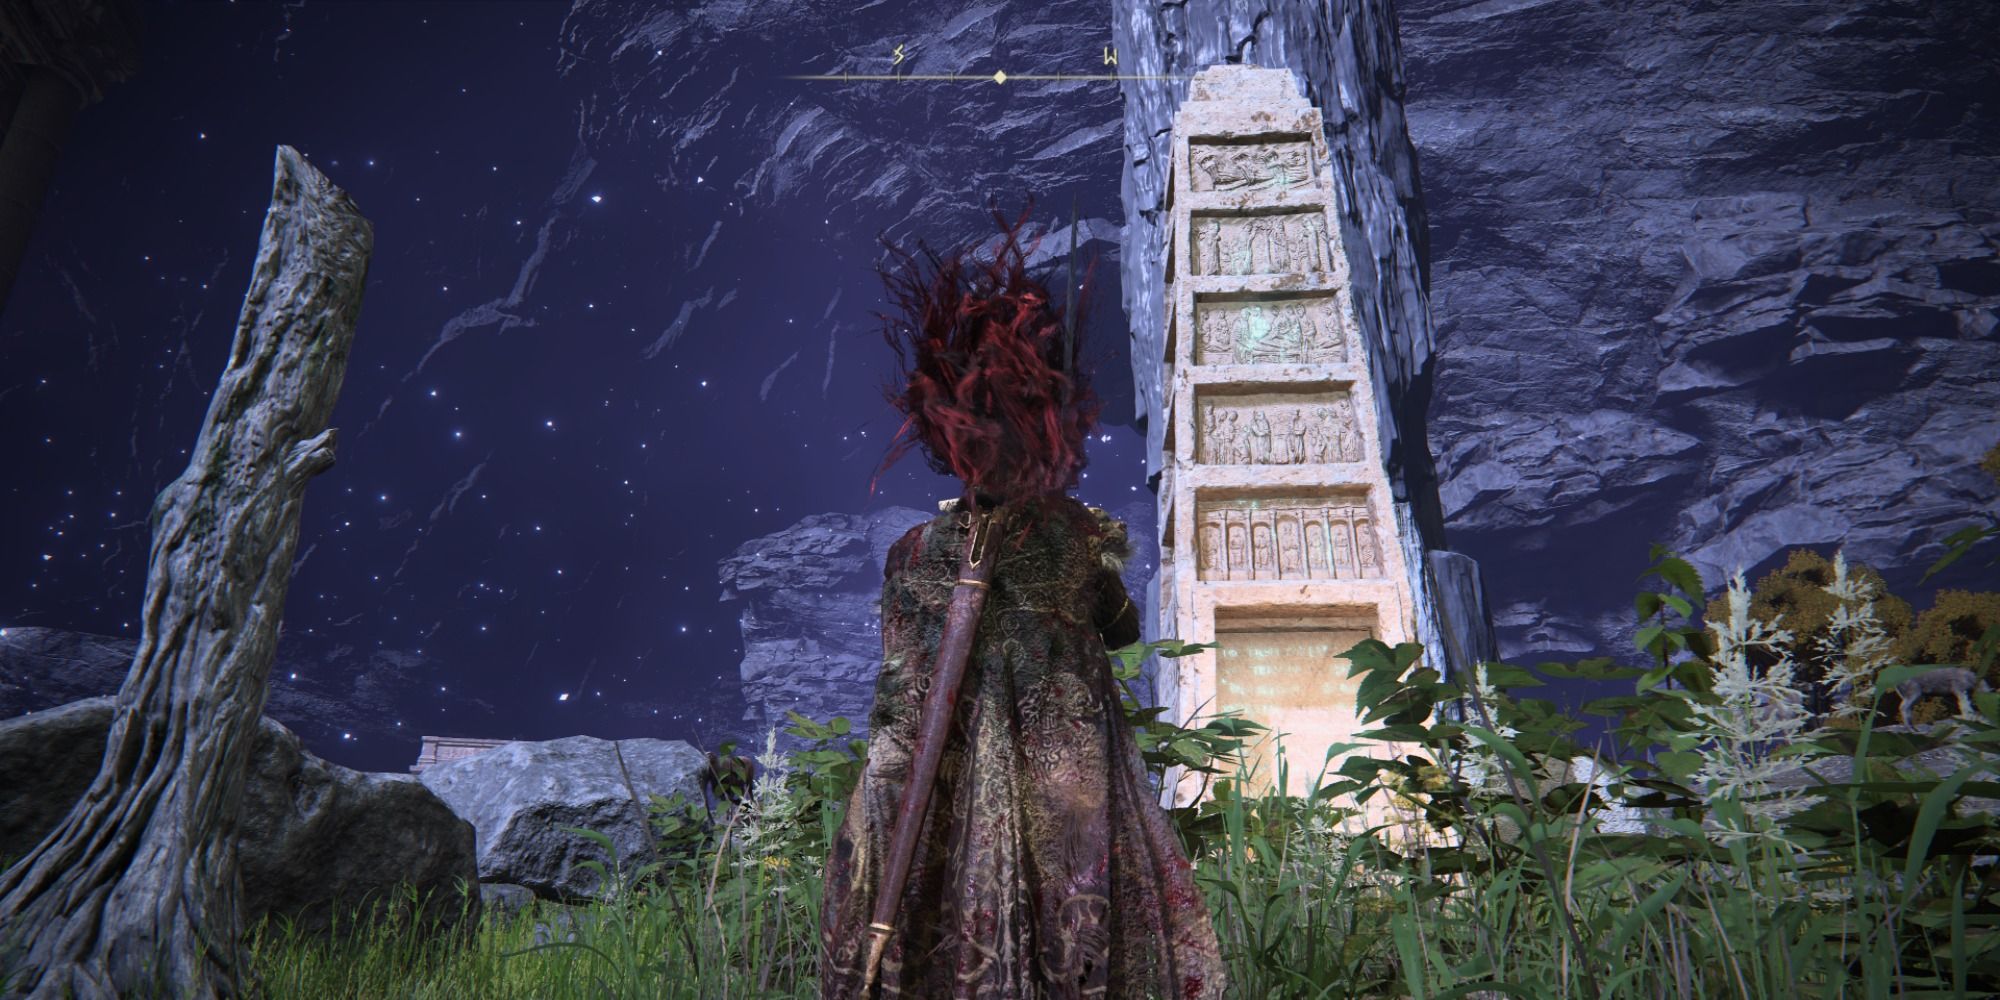
The sixth and final brazier is found just to the west from the fifth one but poses quite a challenge to get to. Many wolves will be running around in the fields directly beside the obelisk, including a large Red Wolf that is extremely hard to deal with. For this, we recommend using Torrent to your advantage and trying to pick off the smaller wolves before focusing on the Red Wolf. This encounter is tough and may take several tries, so try and prepare accordingly. Fortunately, these wolves are the only threats in the area, so you can ride around the field and create much-needed distance after landing a few attacks to reset yourself. After eliminating the Red Wolf and the rest of its pack, you can then head to the Hollowhorn Grounds found in the northeastern part of the map.
The Hollowhorn Grounds
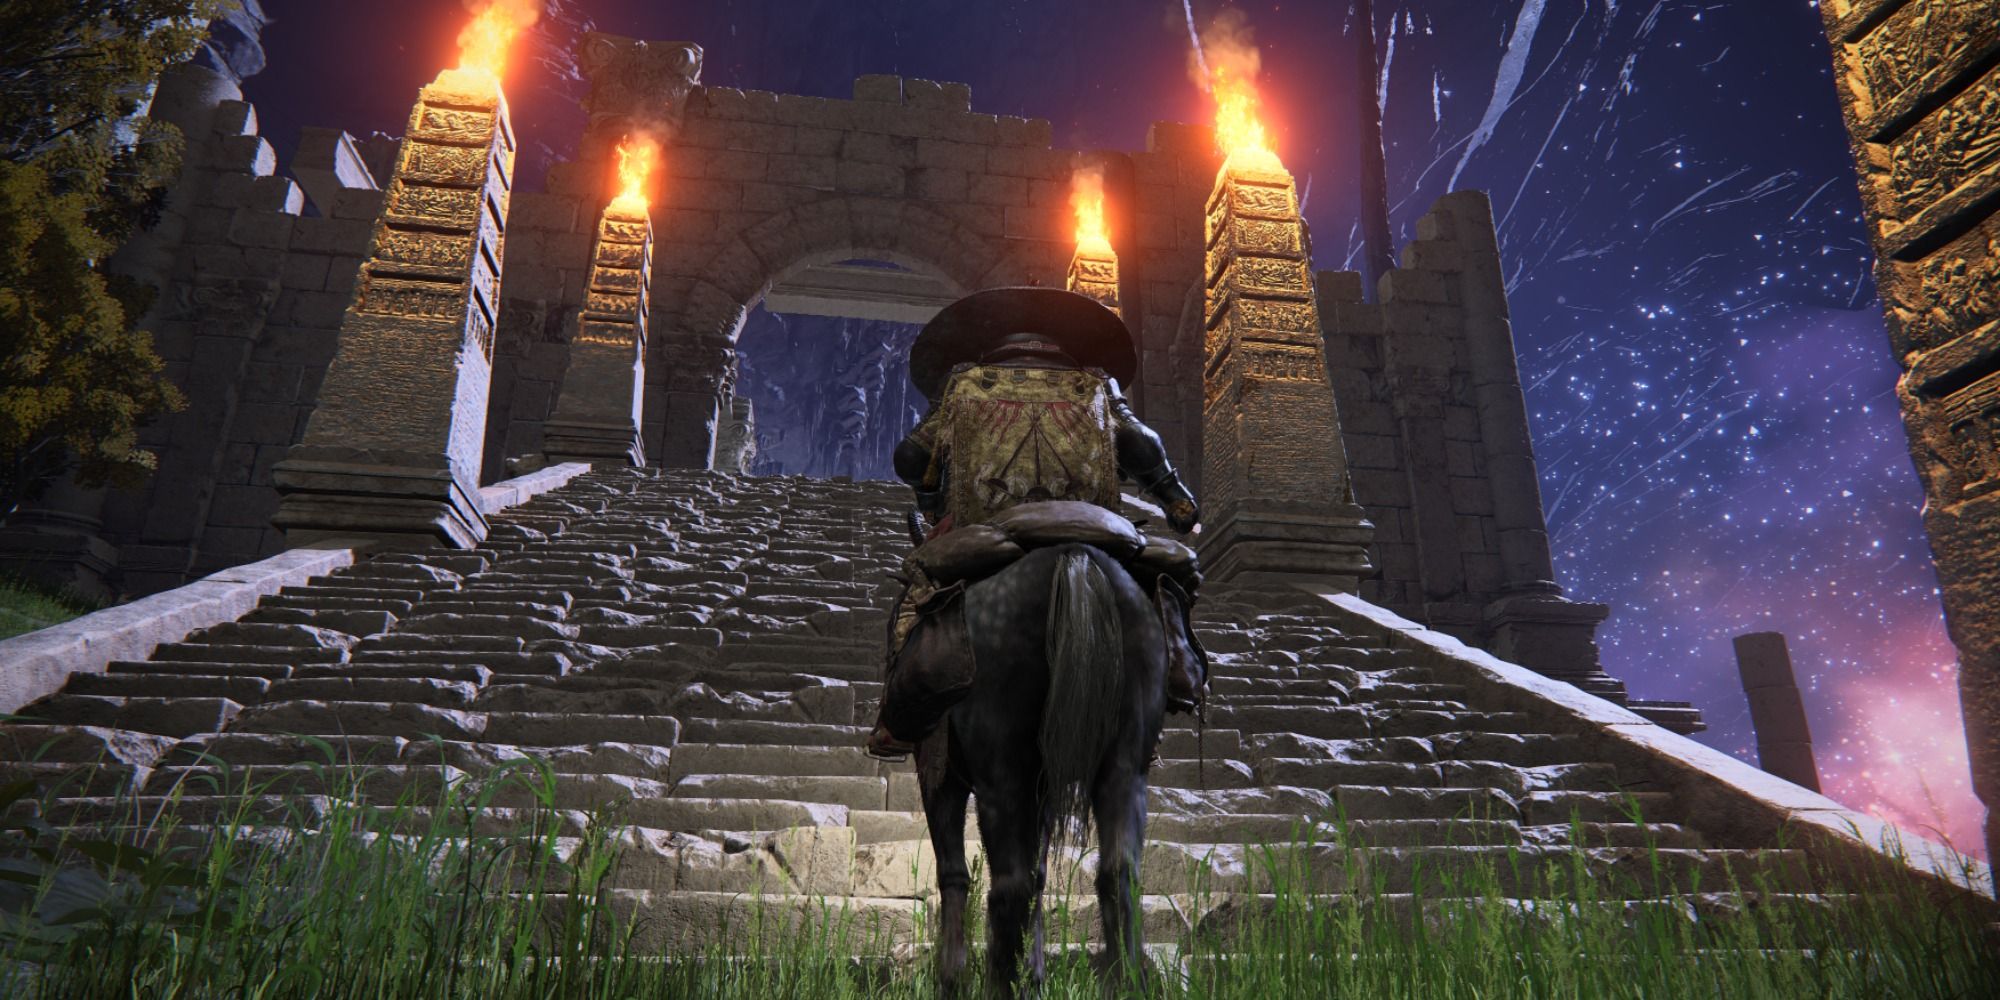
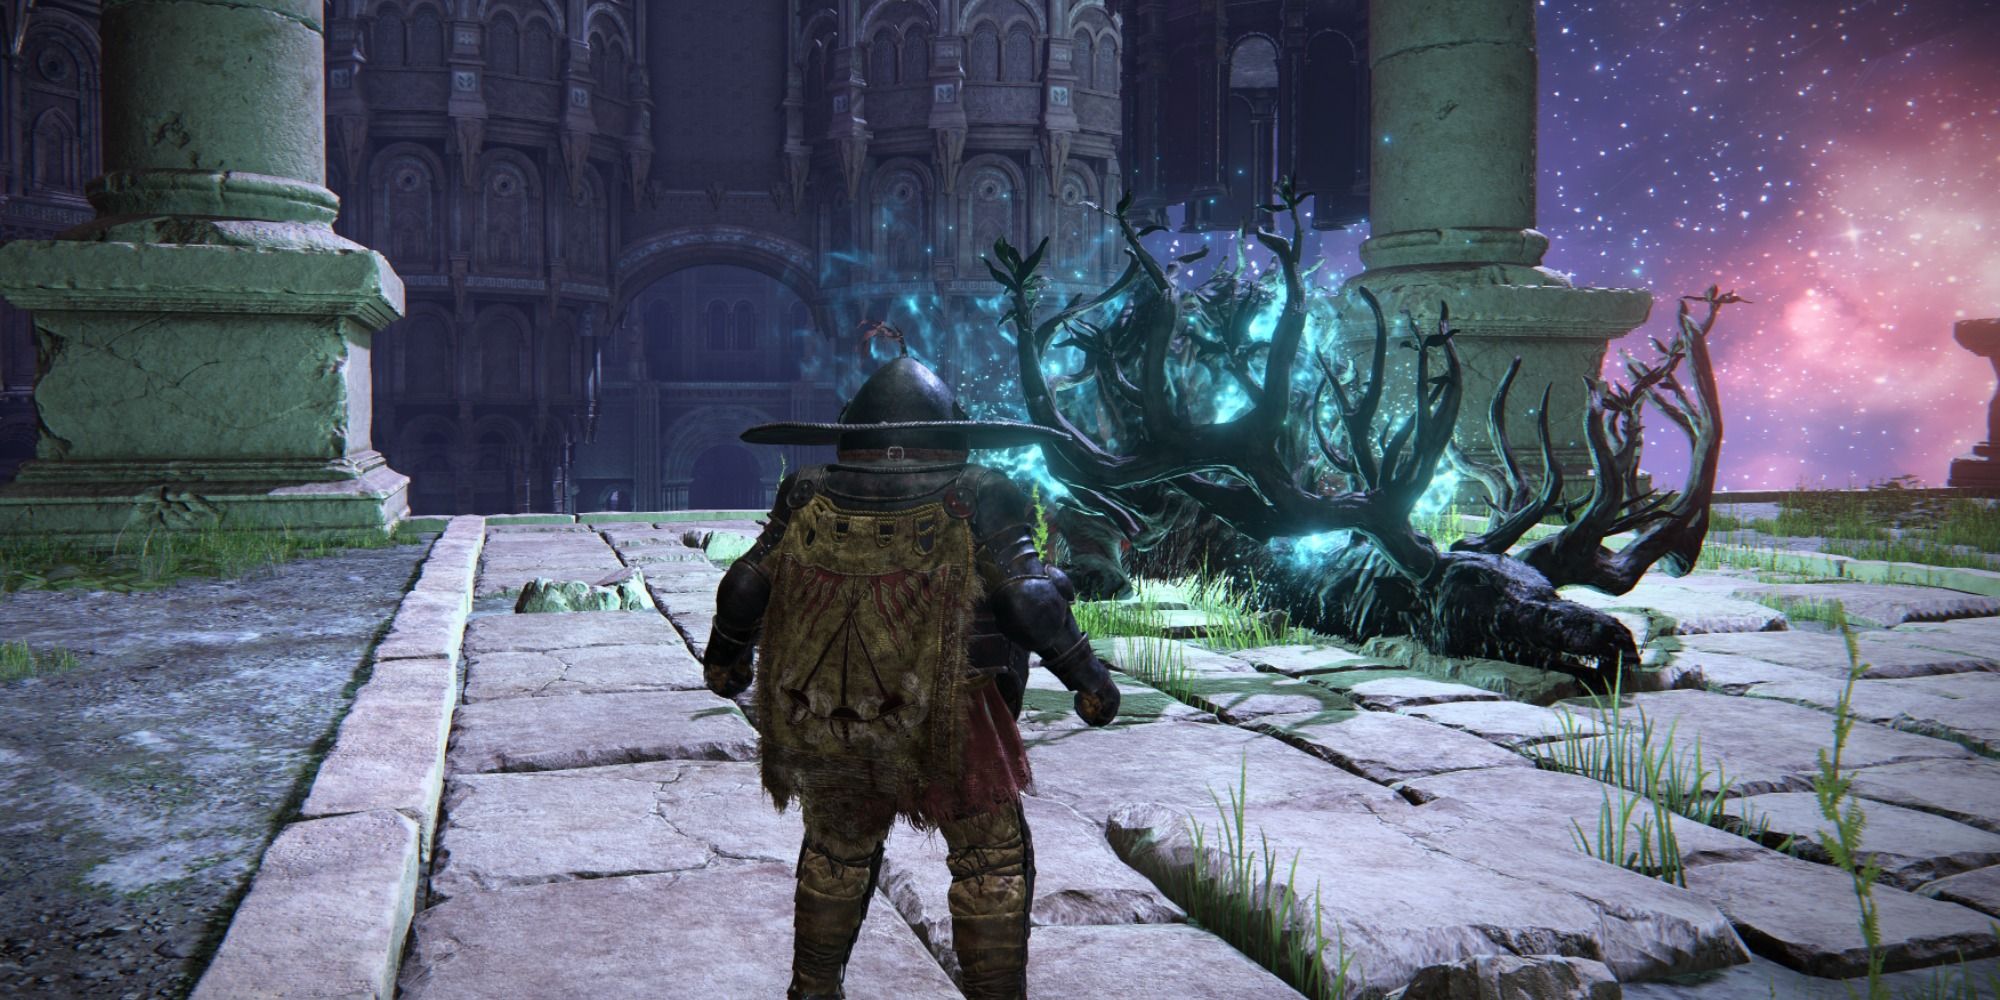
A few enemies will be present in front of the Hollowhorn Grounds, so do not go barreling in headfirst with excitement. You aren't out of the woods quite yet. Though here, you can lure them out one by one and deal with them that way. If you didn't die while igniting the six braziers, this will be the last group of enemies in the area, making things much more manageable. There will be roughly five Ancestral Followers here, including archers and melee-focused ones. As mentioned before, we recommend luring them out, but if you feel confident enough, you can quickly dispatch them. From there, walk up the large staircase and to the very end of the walkway. There will be a deer corpse at the end of the walkway. Interact with it to get transported to the Regal Ancestral Spirit boss fight!


